Similar Posts


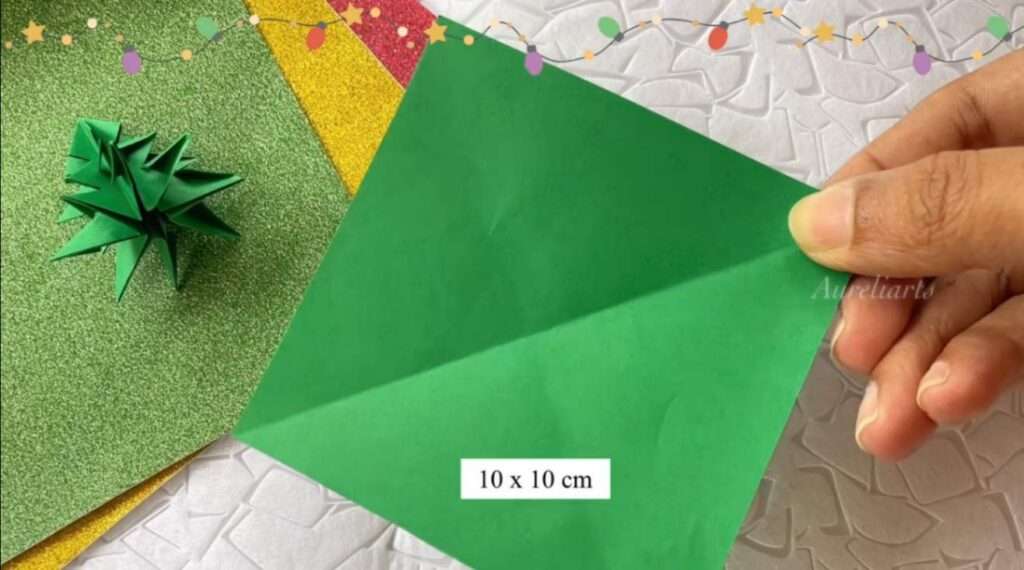
Creating a 3D paper Christmas tree is simpler than it looks. Follow these steps to craft your adorable mini decoration, which you can use to decorate your home and office desks.


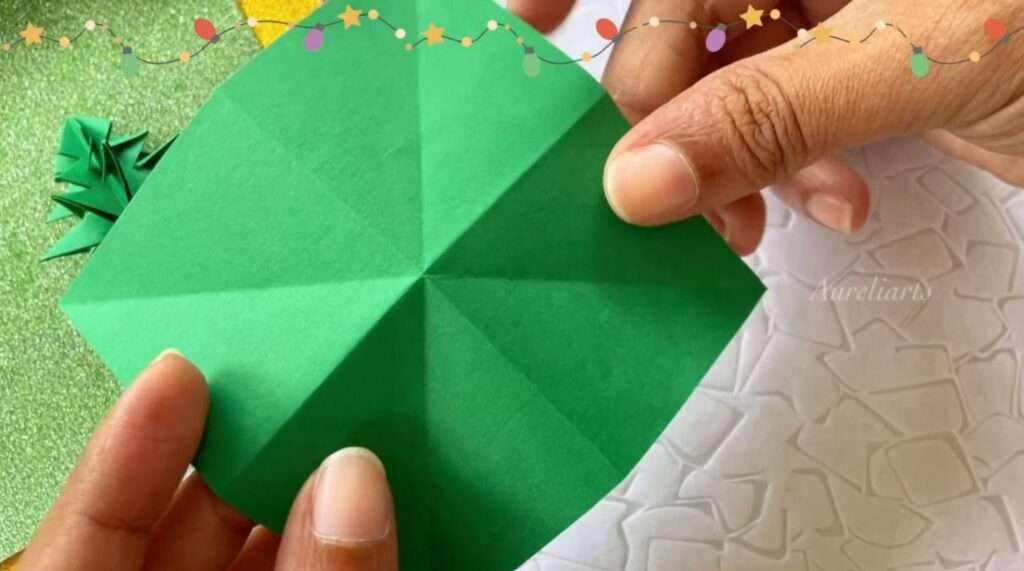
3. Fold the paper diagonally from corner to corner both ways and unfold. This step creates an “X” crease pattern across the paper.


Unfold and you will see the below 4 creases.
4. Using the creases as a guide, collapse the paper into a rectangle shape by pushing the side edges inward. You should end up with a triangle that has two folded flaps on each side.

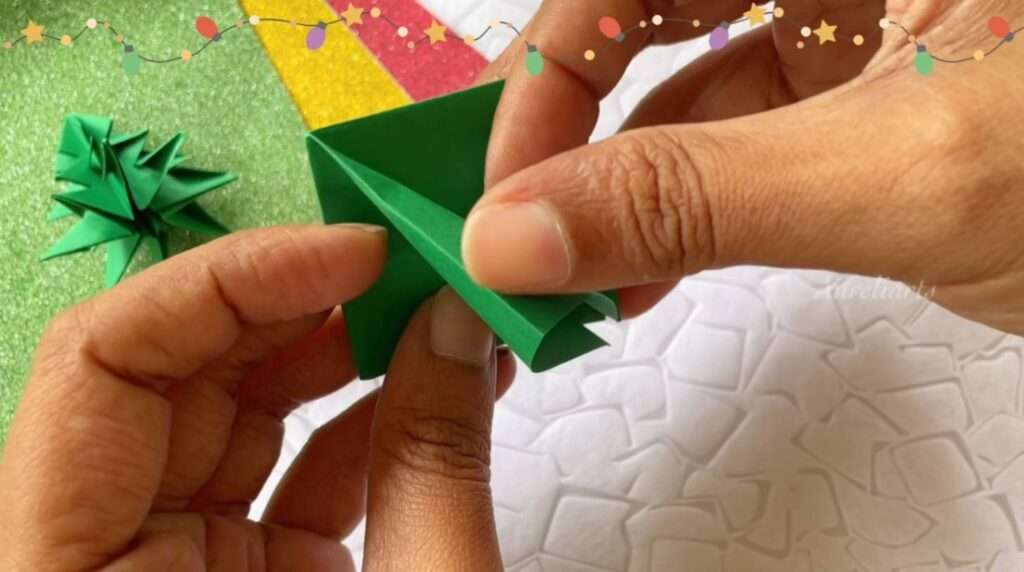

5. With the triangle’s point facing up, fold one corner of the triangle’s flap towards the centerline to create a small triangular flap. Repeat on the other side of the same layer.


6. Flip the triangle over and repeat the process with the other side. Now, each side of your paper should have folded triangular flaps.
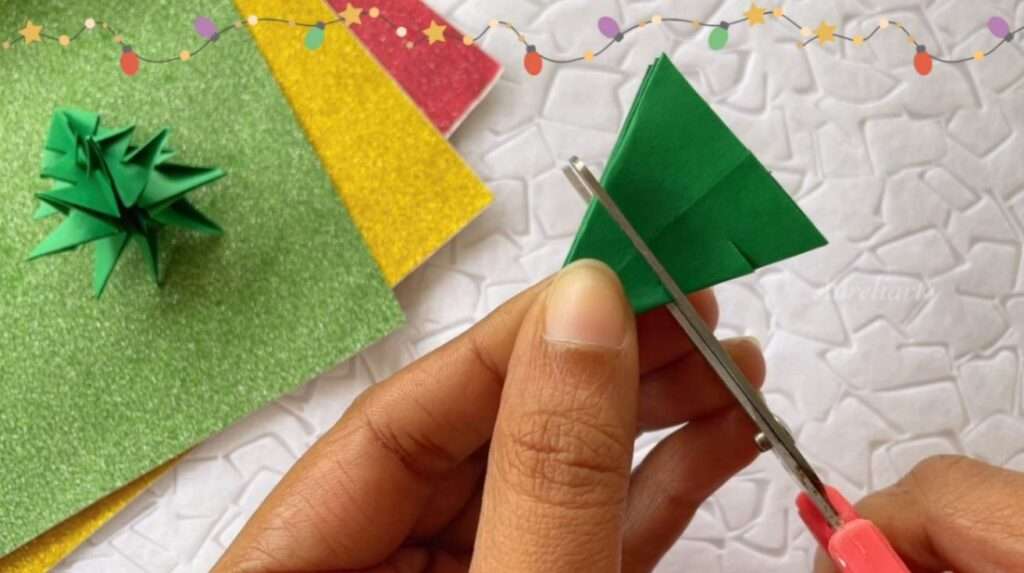
Cut the excess base part.
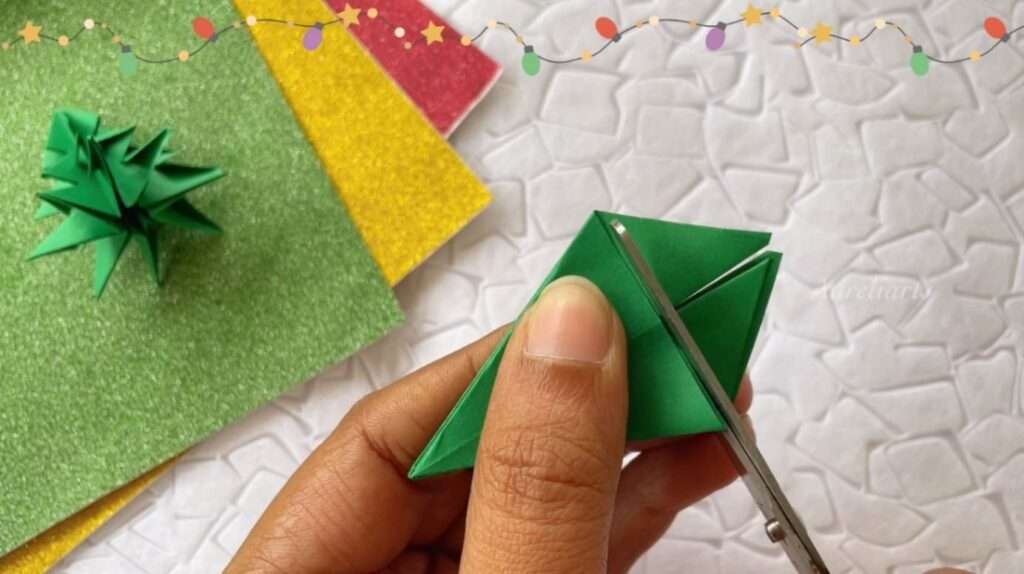
7. Cut small, even slits along each folded flap, stopping just before the centerline of the triangle. These slits will form the tree’s branches.
8. Fold each slit outward to make them look like branches. This gives your tree a layered, dimensional effect.


9. Adjust the branches to your liking by gently fluffing them out. If you want your tree to be more secure, you can use a small dot of glue between each layer.

10. Repeat the process if you wish to create more trees to form a mini forest.

Now your 3D mini Christmas tree is complete! Display it on your desk, window sill, or include it in your holiday centerpiece. These trees also make great handmade gift toppers!

For more fun and easy craft tutorials, visit Aureliarts, where creativity comes alive.
If you like to watch a video tutorial on how to make this pumpkin garland, here it is…
Your comments and suggestions are highly appreciated.