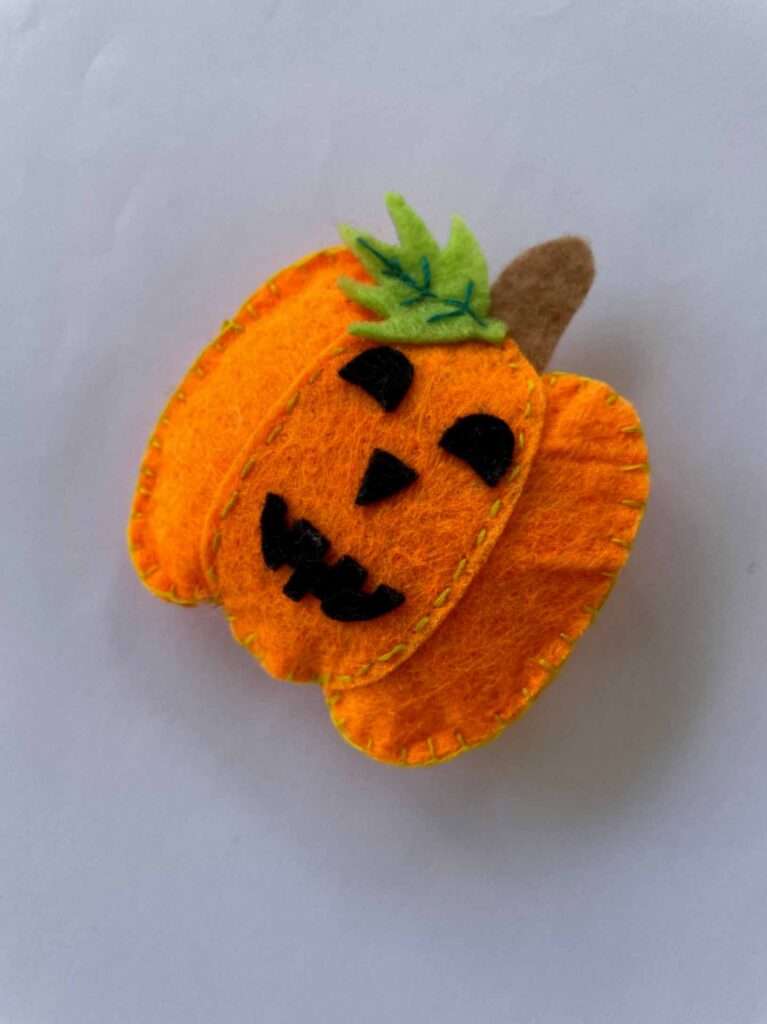
Today we are making this adorable felt pumpkin craft! We love to do felt crafts and this fun Halloween pumpkin craft is perfect for the fall season.
we’ve been loving some felt ghost and felt bat craft. you can check it out too.
We’ve got lots of fun Halloween felt crafts and those are our popular favorite.
This project is simple enough for even teens to do, and the results are both festive and charming. So let’s get started with this fun and easy Halloween craft!
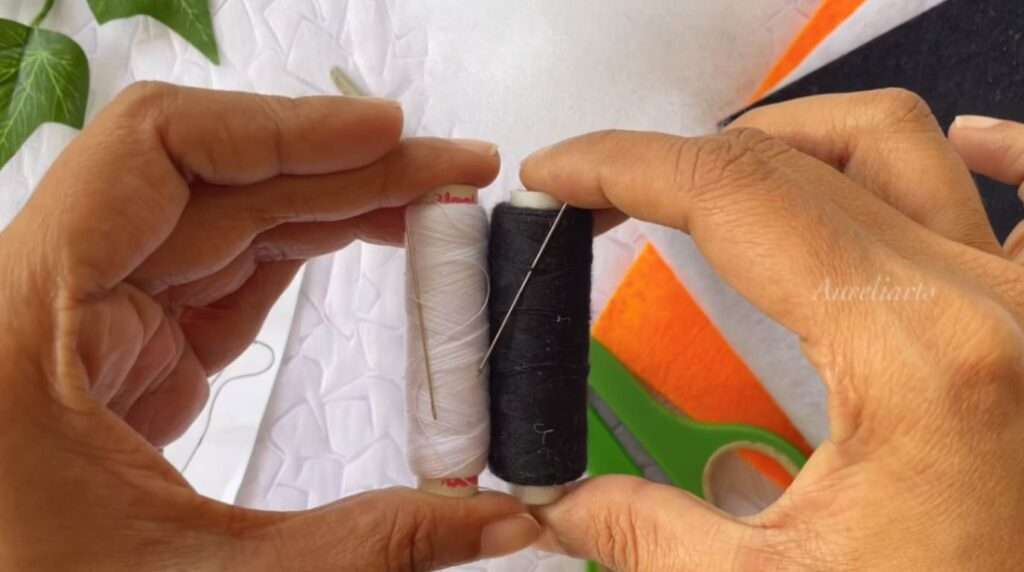
To get started making your pumpkin from felt material, start by grabbing all your supplies.
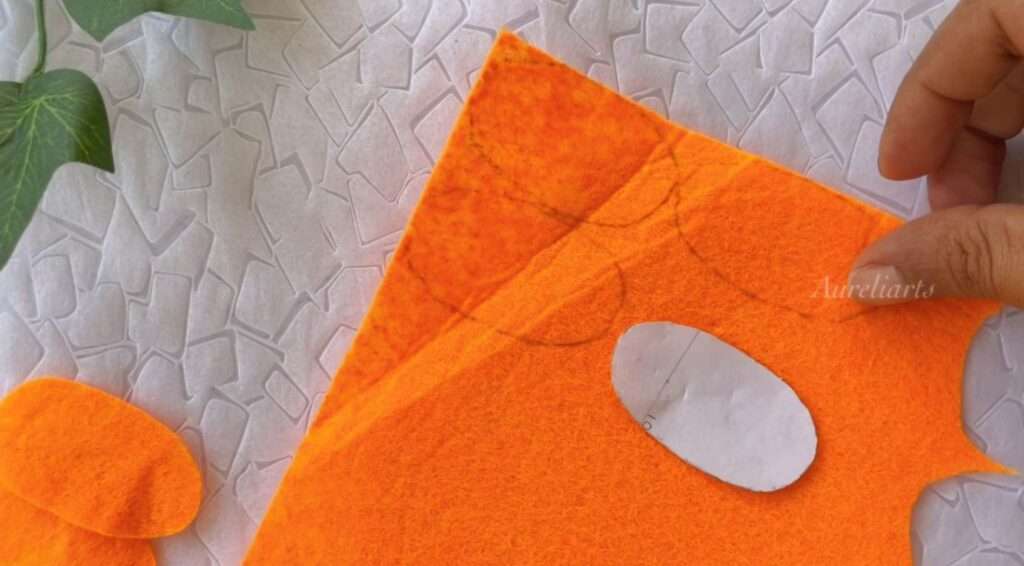
First, we need to cut the shapes of pumpkins with felt. For this, print and cut the pattern we provided here.
Tip:
We have the oval shape pattern for the pumpkin base. You can draw an oval shape as a pattern too. With that, you can make any size of pumpkins you like.

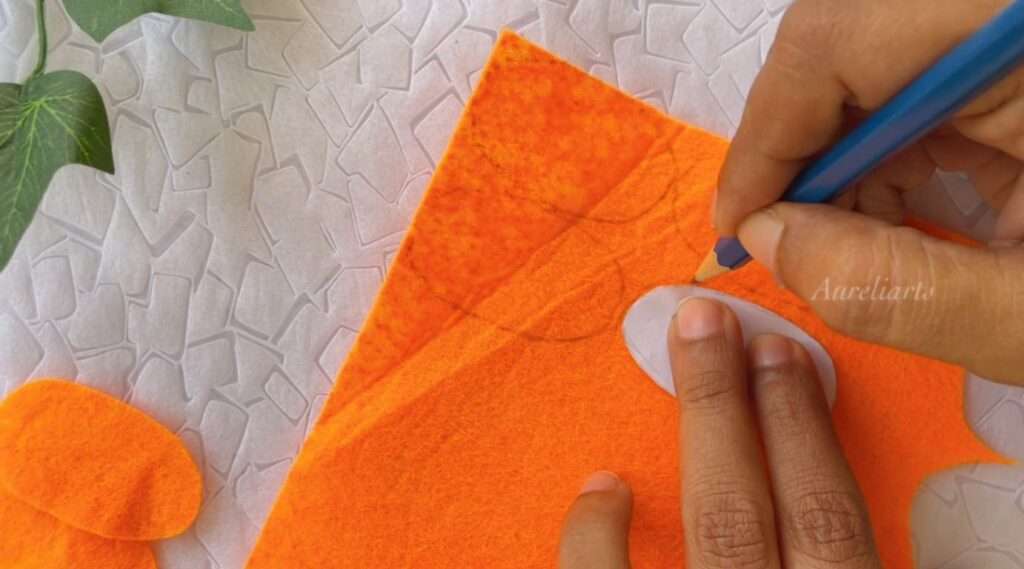
Now you can put the printed oval pattern on an orange felt fabric and trace it.
Cut the felt pieces.
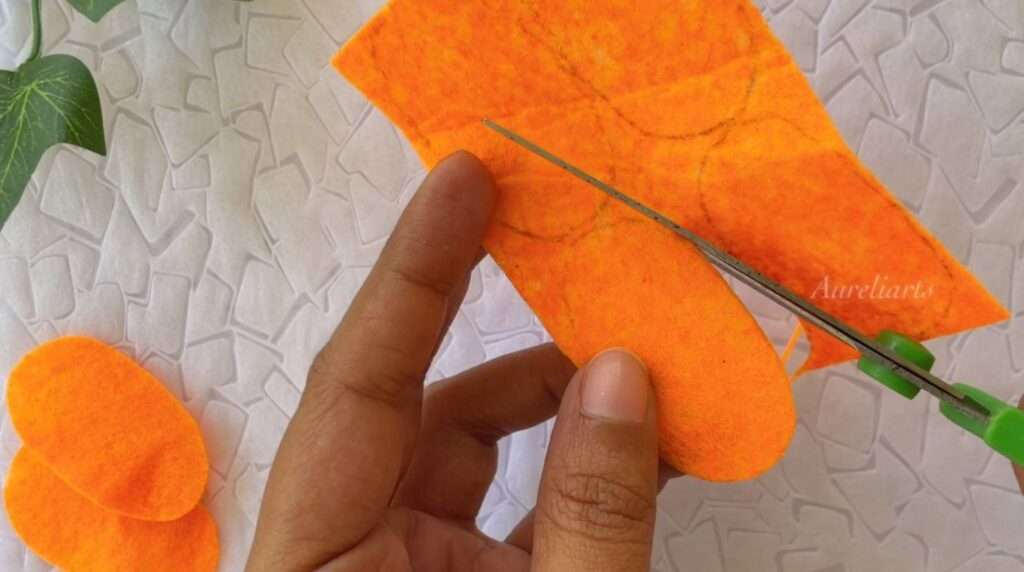
We need 6 pieces for one pumpkin. 3 for the front part and 3 for the back part of the pumpkin.
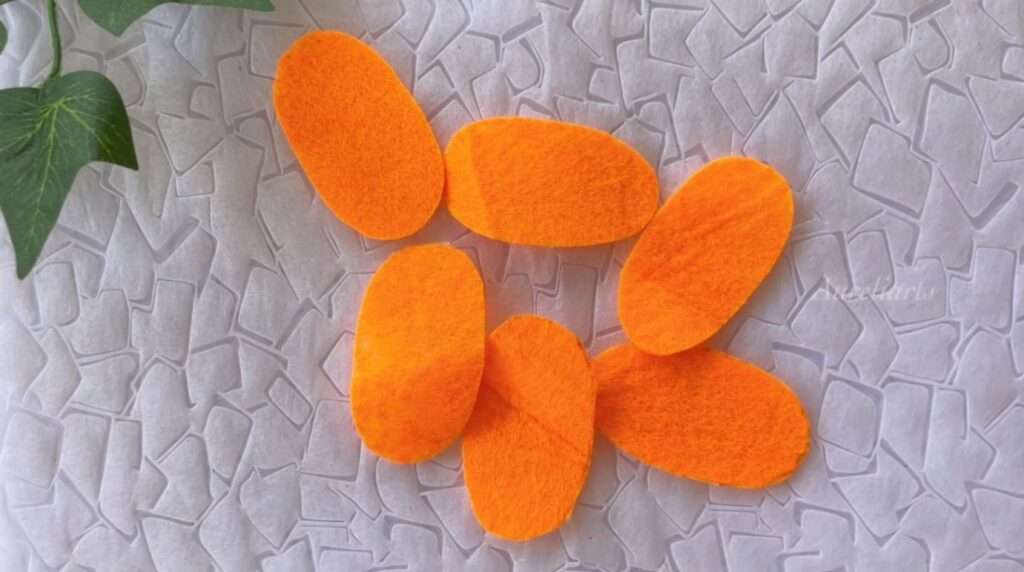
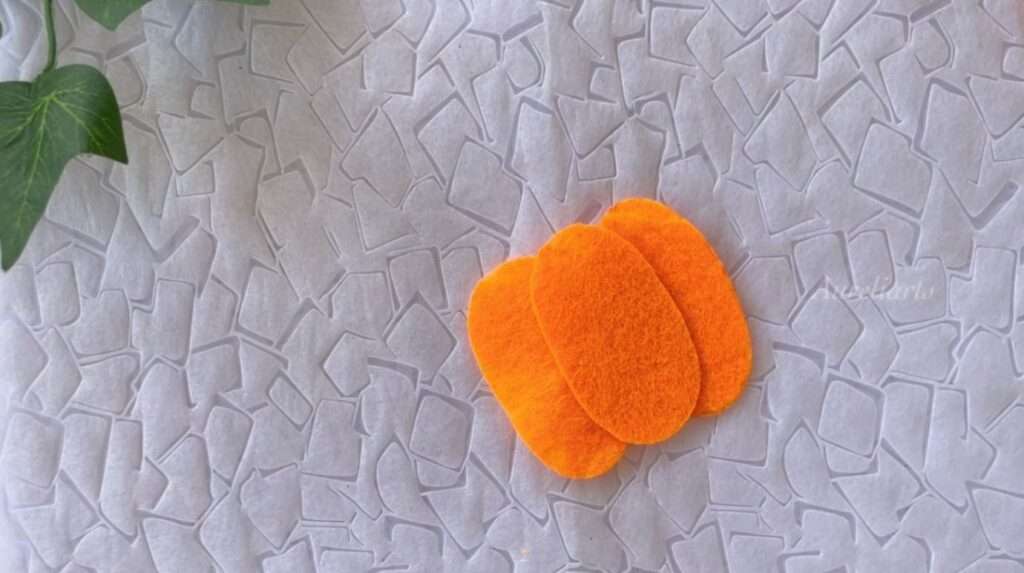
Now we need to make the front and back pumpkin base from these 6 felt pieces.
Grab 3 felt pieces and put them like the below image.
Now we can start sewing the edges of the pumpkin. I used yellow colored thread and you can use orange thread to get a seamless look.
First, I started to sew the right part and the middle part of the pumpkin.
Put the middle oval shape on top of the right oval shape. Then sew the edges like the below image.
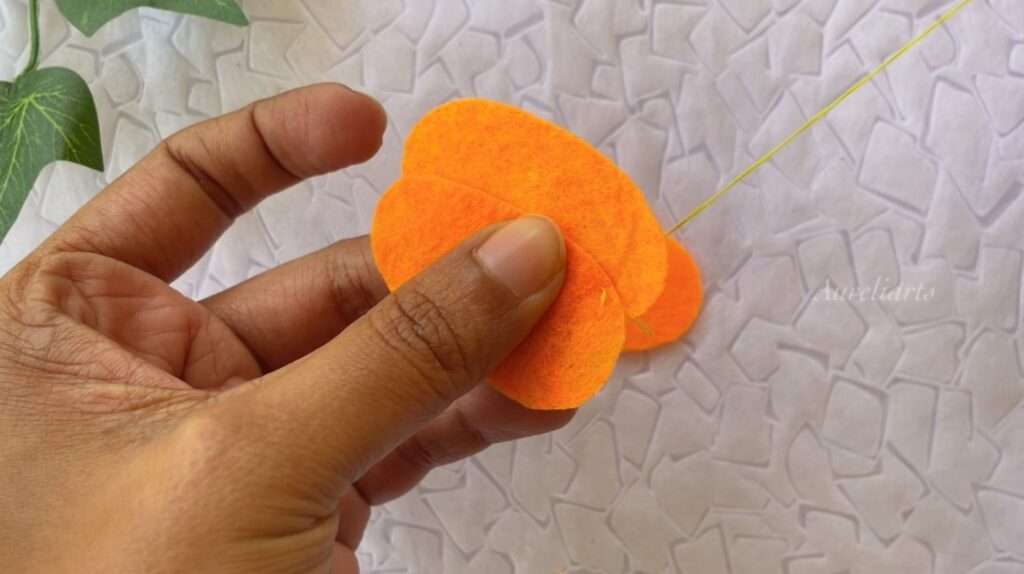
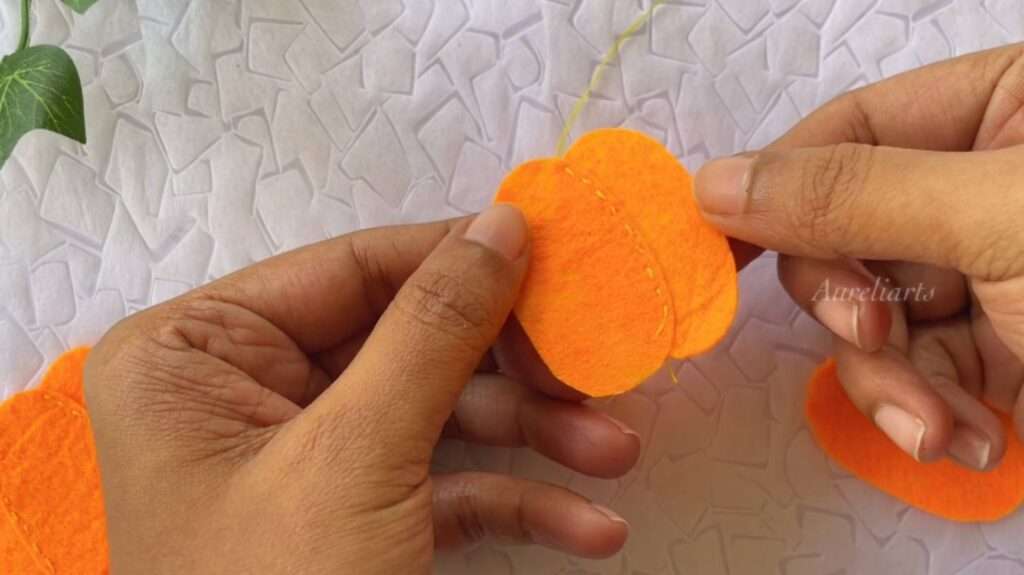
Repeat the process for the left side also.
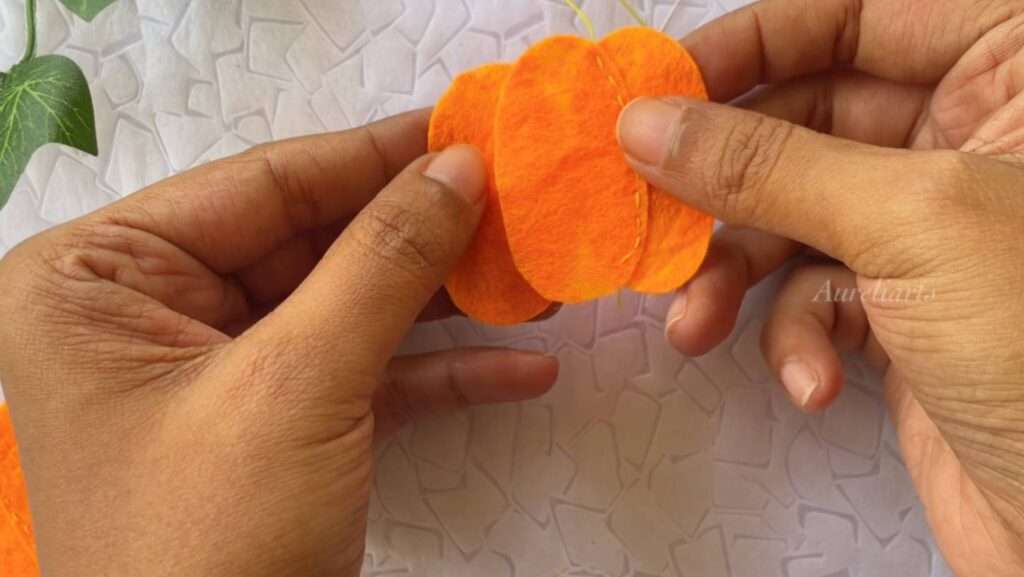
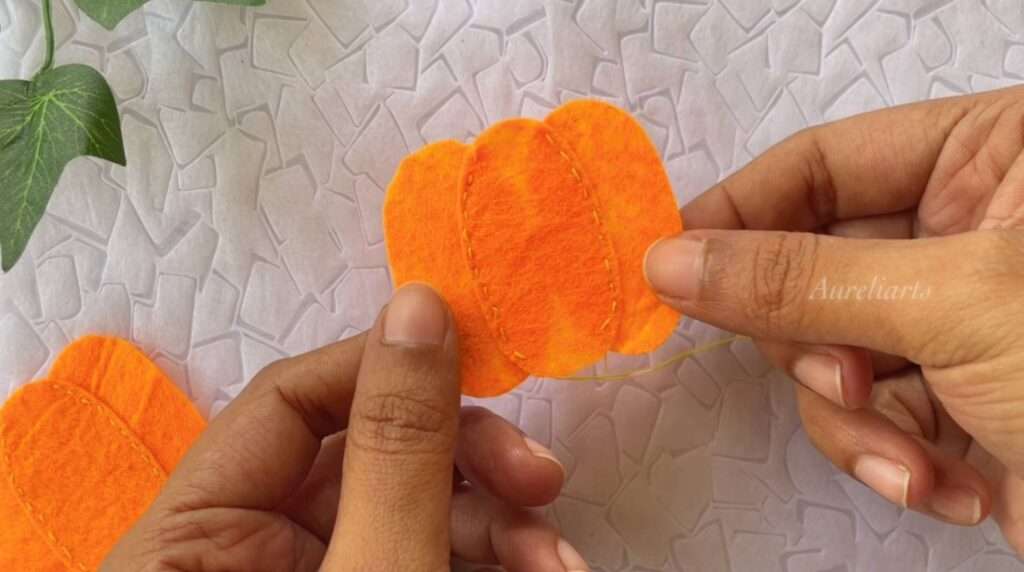
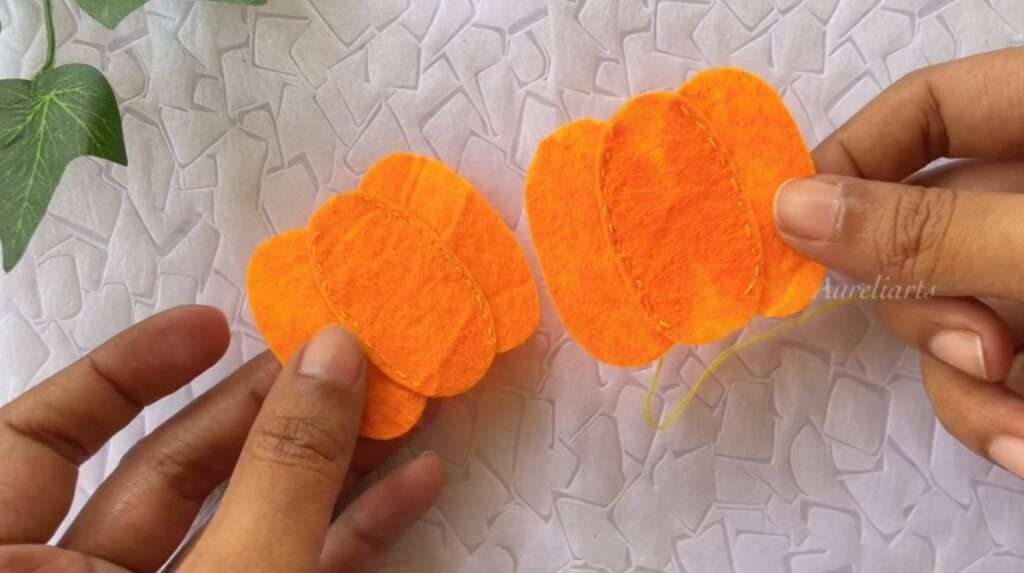
Now you will get the pumpkin base. You have to make 2 pieces from 6 oval felt shapes like the below image.
Now we can start to make the pumpkin face. Cut small pieces from black felt as eyes, nose, and mouth.
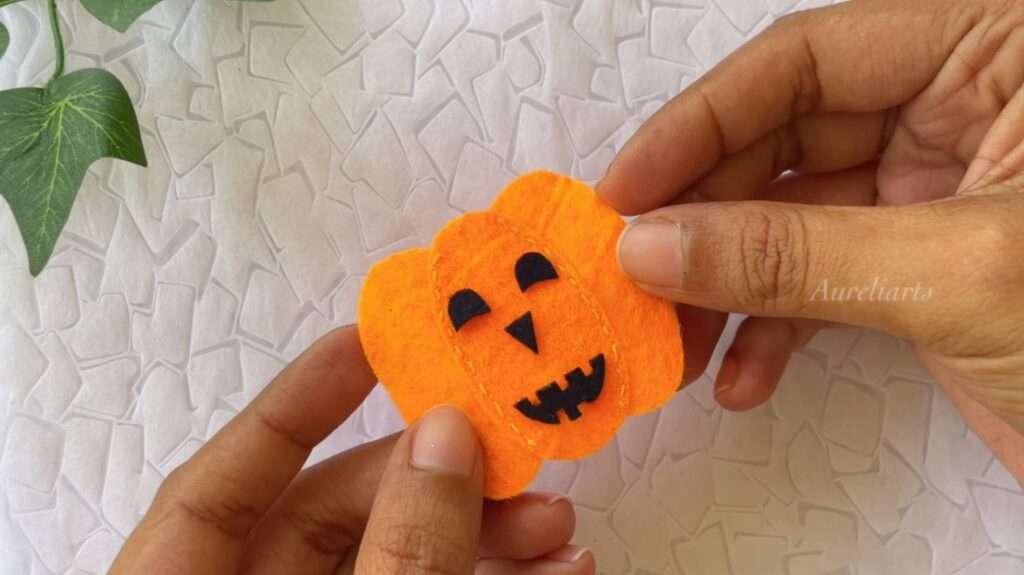
Sew each piece by keeping them on one of the pumpkin bases.
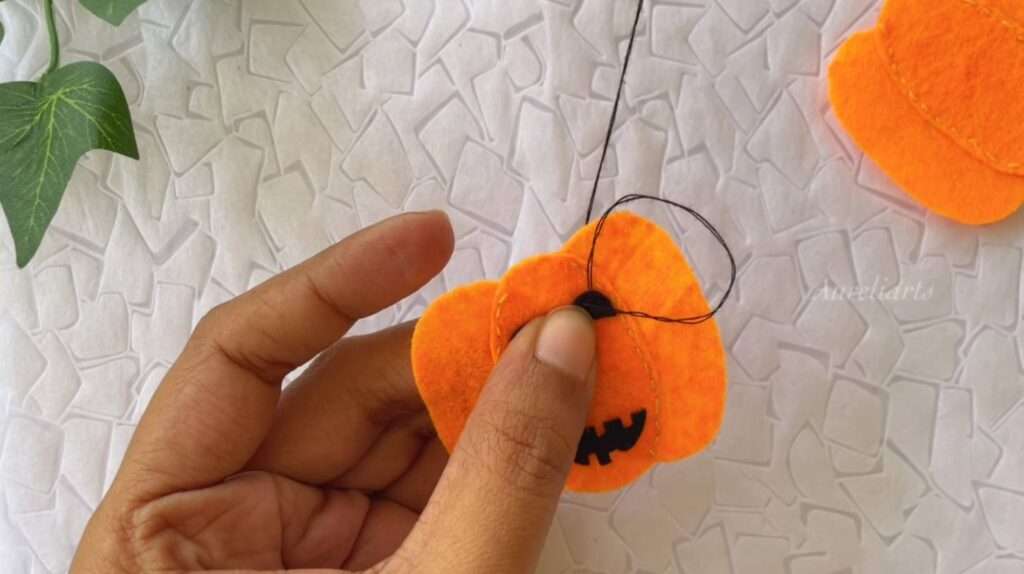
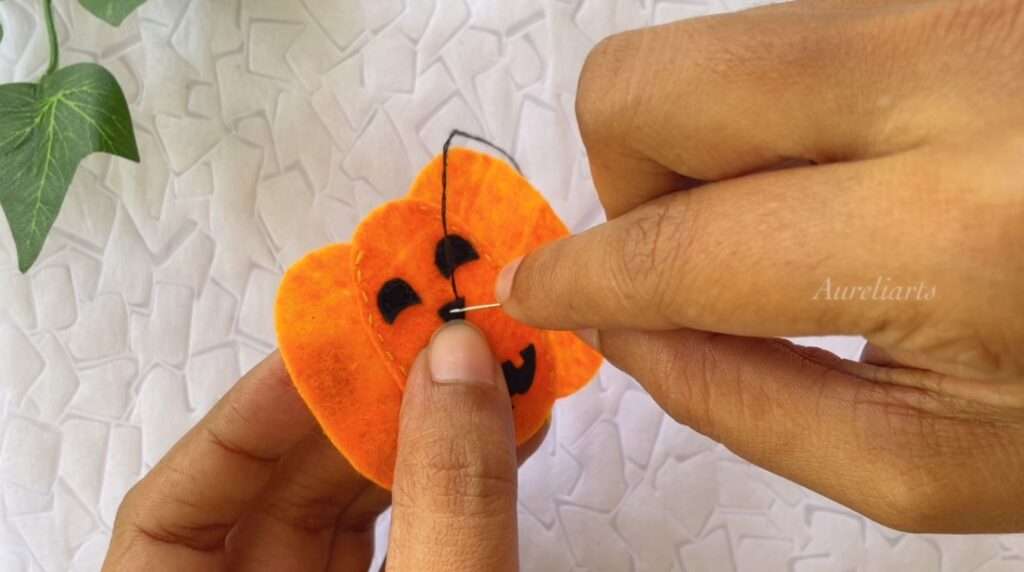
Then we can add a little stem for the pumpkin using a brown felt piece. You can just cut a square shape or stem shape from the brown felt.
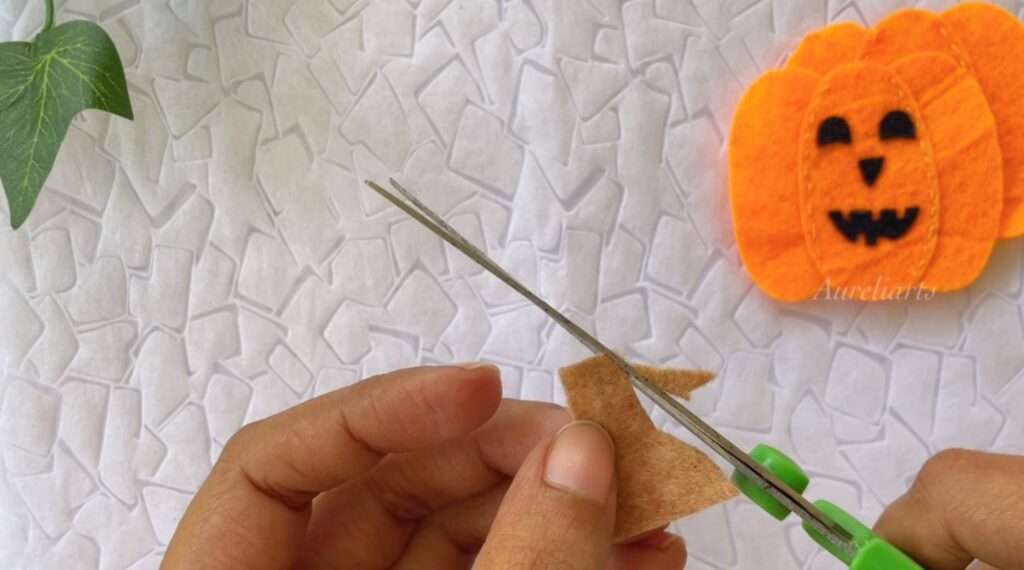
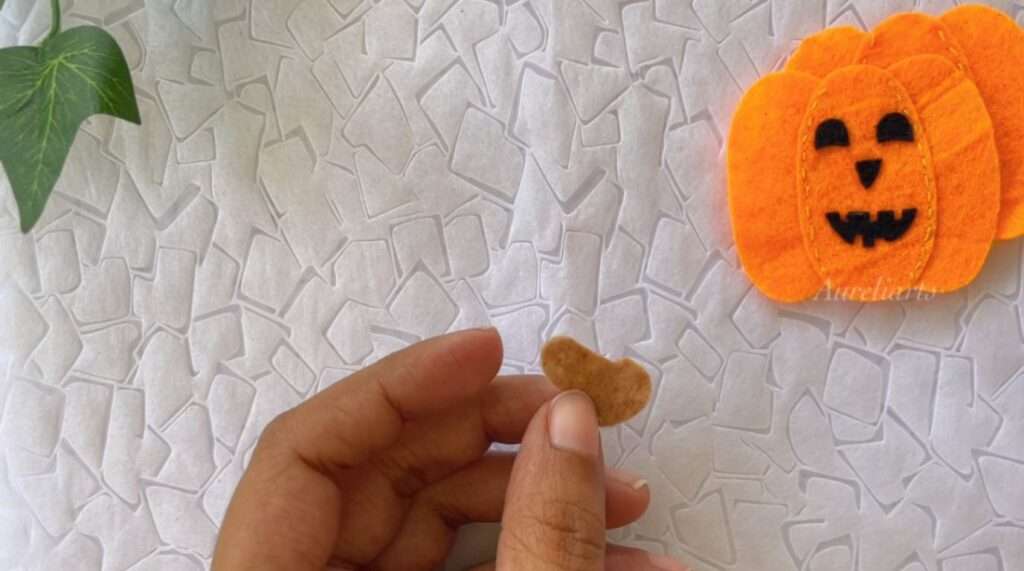
Then you can sew the stem on the pumpkin face. Keep the stem behind the face which we prepared previously and attach it to the face.
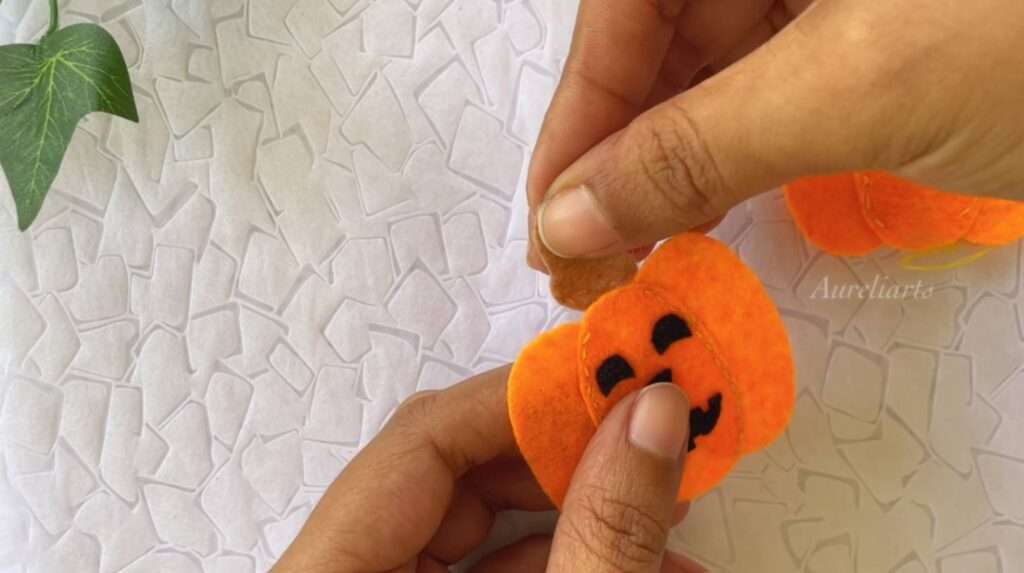
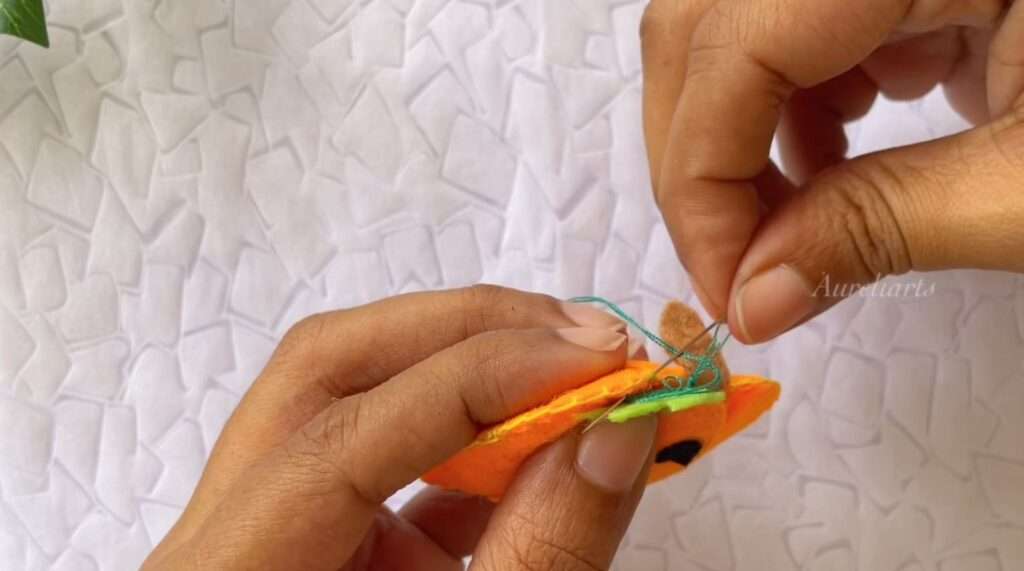
Then you can sew the front part and the back part of the pumpkin together. Start stitching around the sides of the pumpkin to attach them.
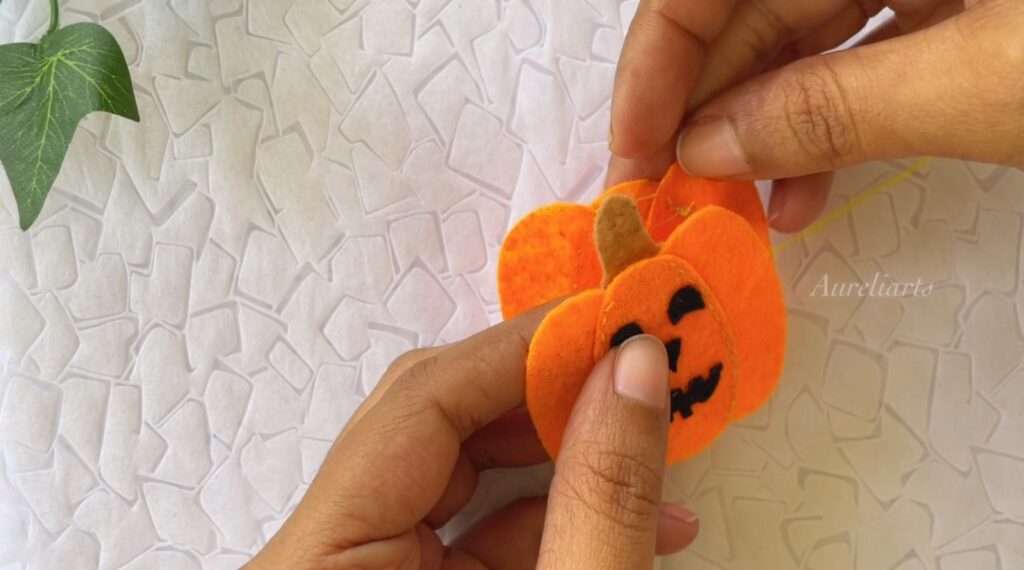
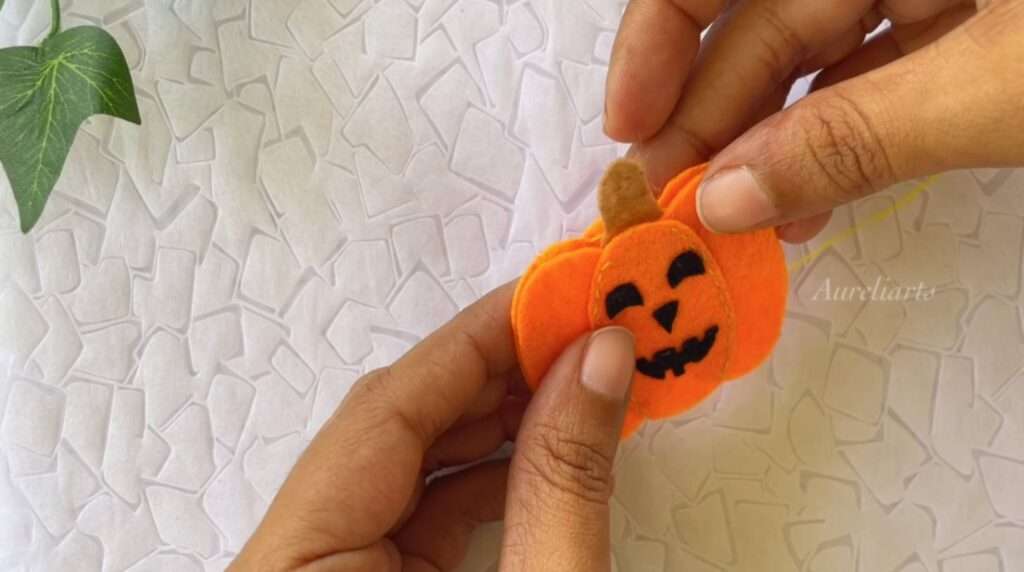
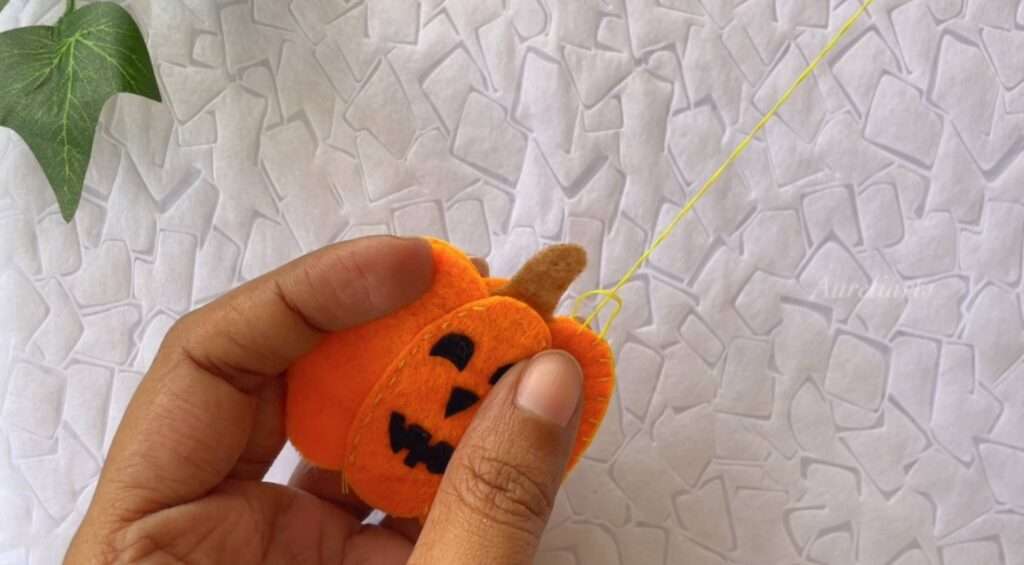
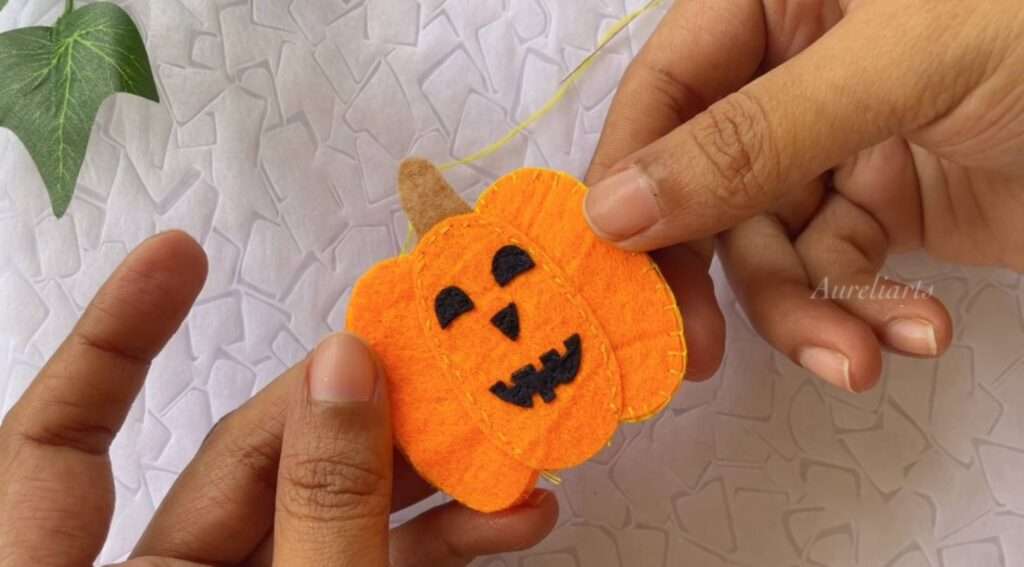
When sewing the pieces together, make sure to leave a small opening so you can stuff the pumpkin.
Use some of the cotton or leftover felt scraps to stuff the pumpkin. You can get help from a scissor or a pen when stuffing it.
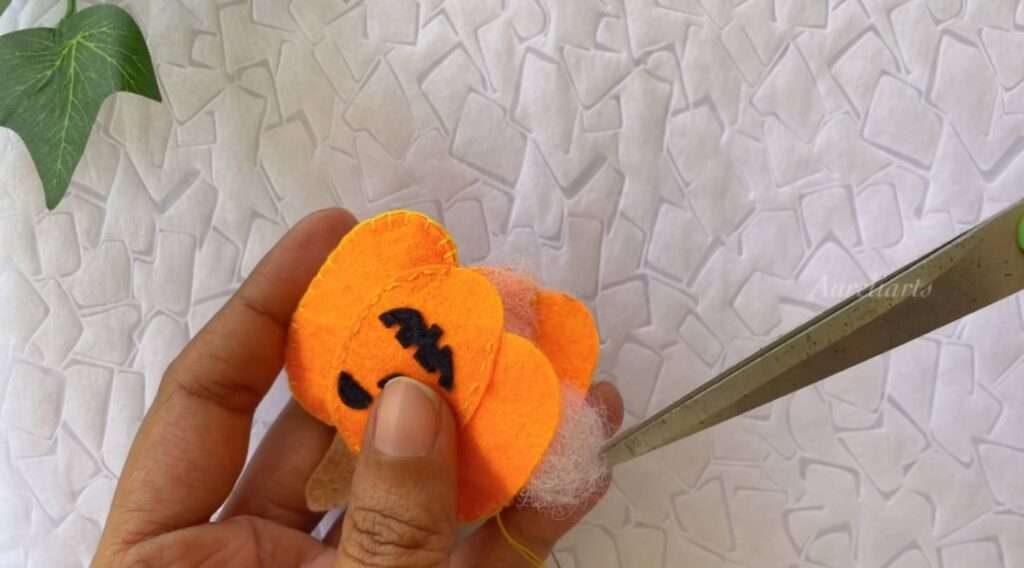
After you’ve stuffed the felt pumpkin, finish stitching up the opening to keep all the stuffing inside.
Tie off the thread with a couple of knots and cut off any excess thread.
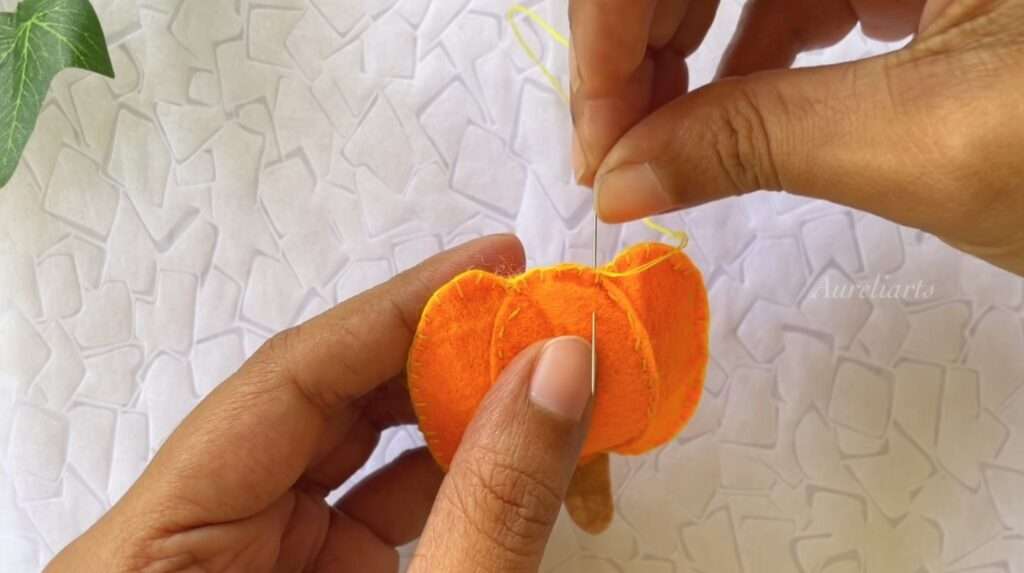
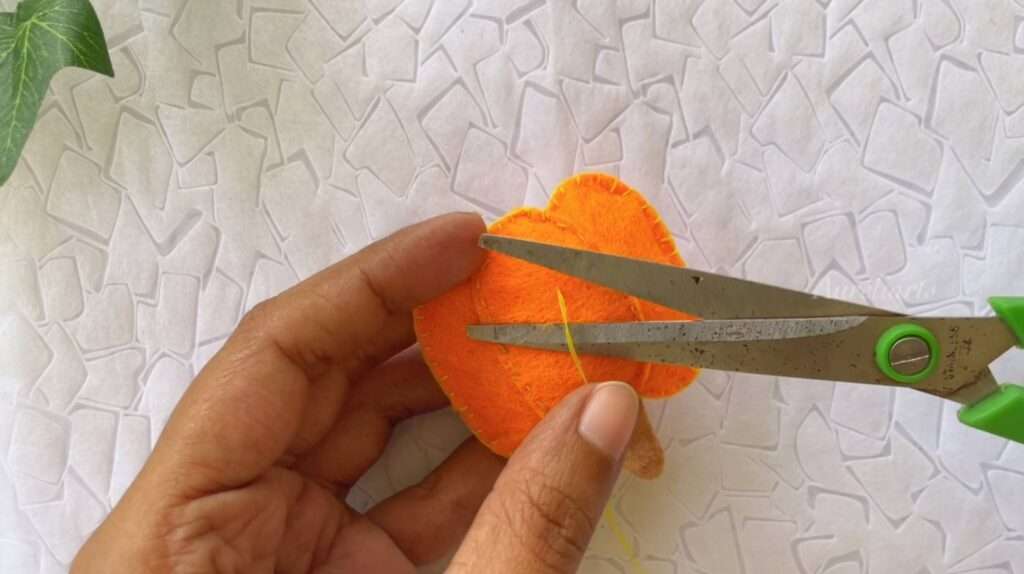
This is how it looked after stuffing.
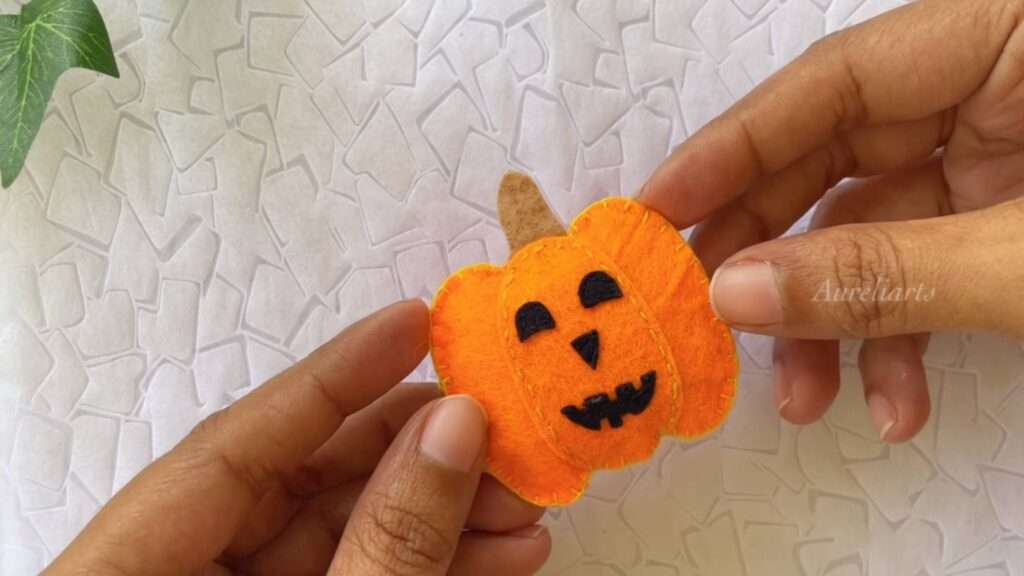
Stay with us.. We are not finished yet!
Cut a left from light green felt and add details like leaf stems from the green thread.
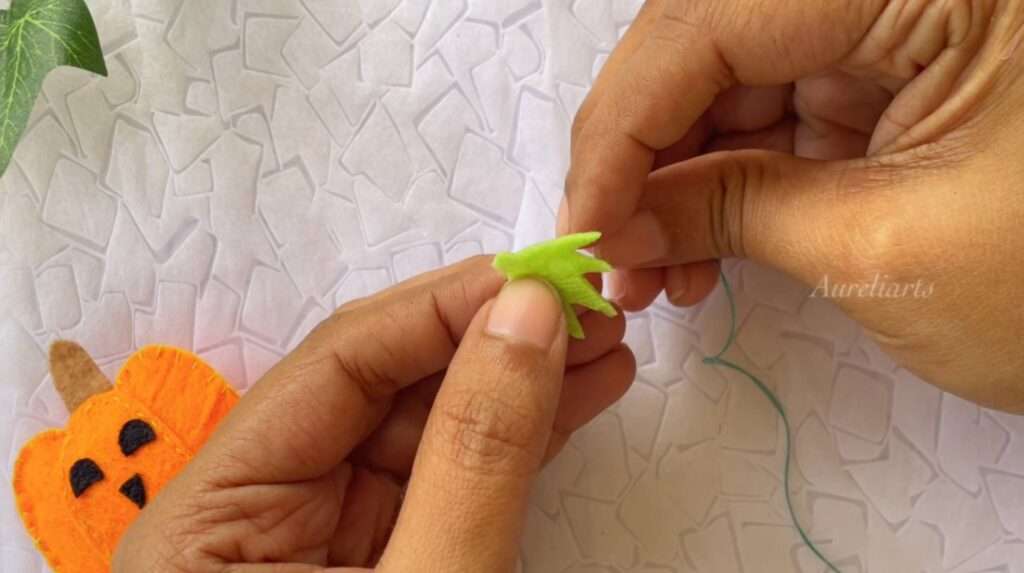
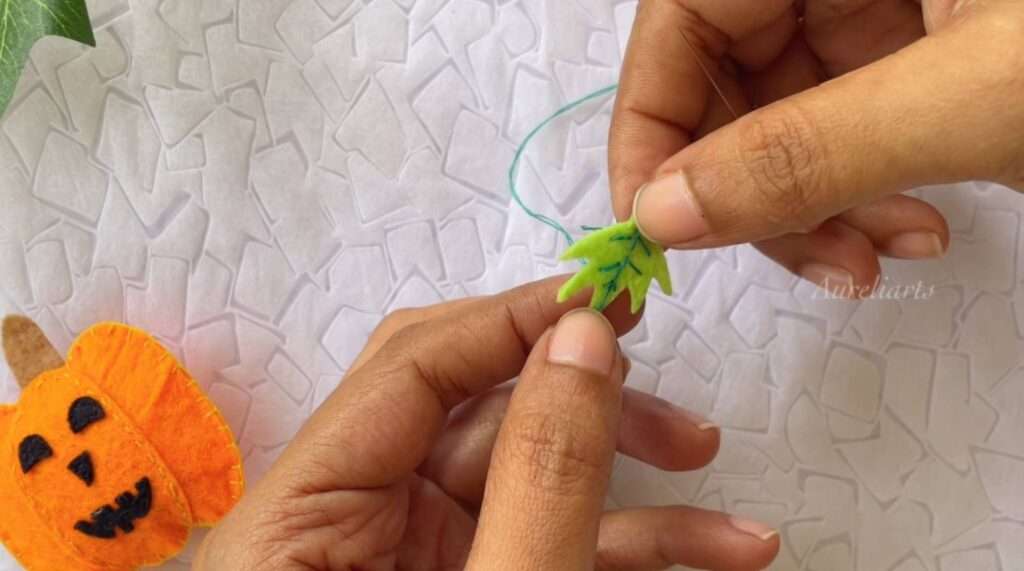
Then attach it near the stem of the pumpkin.
Finally, add a cute ribbon loop to the backside of your felt pumpkin so you can hang it on your wall or Halloween tree.
I forgot to add a ribbon loop, but I love the way it turned out.
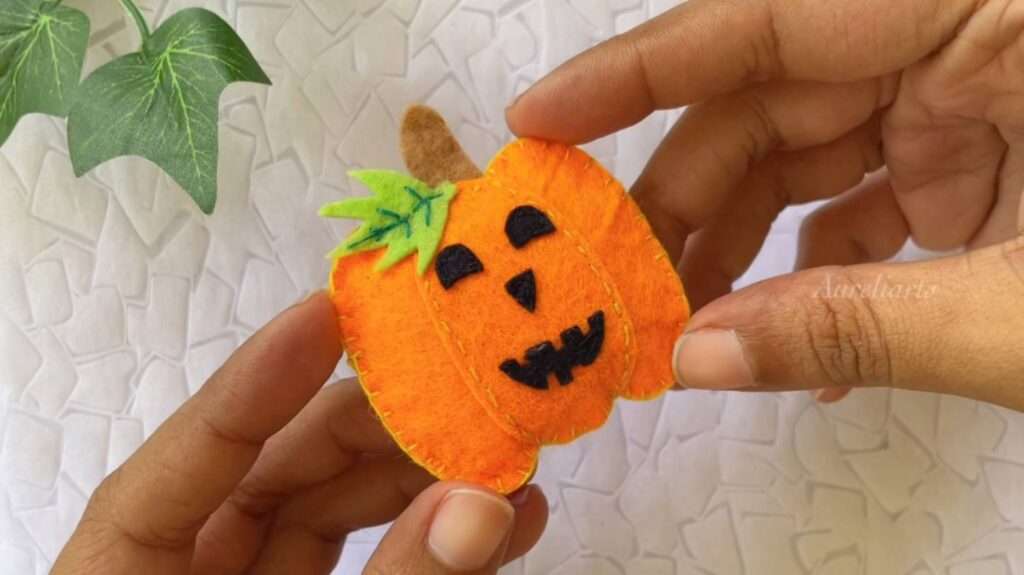
And voila! You’ve got a finished felt Halloween pumpkin ornament ready to hang or give as a handmade gift this Halloween season.
This looks so adorable, right?
And if you want to grab the free felt pumpkin pattern, here it is.
pattern
Make sure to check out the rest of our Halloween crafts.
Prep Time: 5-10 minutes
Active Time: 20 minutes
Total Time: 25 minutes
Difficulty: Medium

This cute DIY felt pumpkin ornament is a gorgeous handmade felt Halloween ornament that looks great for your Halloween decorations.
It also makes a wonderful gift or a fun craft to make and sell.
Have fun with your color choices. For a more seamless look try to match your thread color with the felt color that you’re sewing on.
If you like to watch our video tutorial on How to make a Halloween Felt Pumpkin tutorial, here it is..
Your Comments and suggestions are highly appreciated.