Today we are making a DIY Felt Bat ornament for Halloween! This makes a festive decor and a fun handmade Halloween ornament.
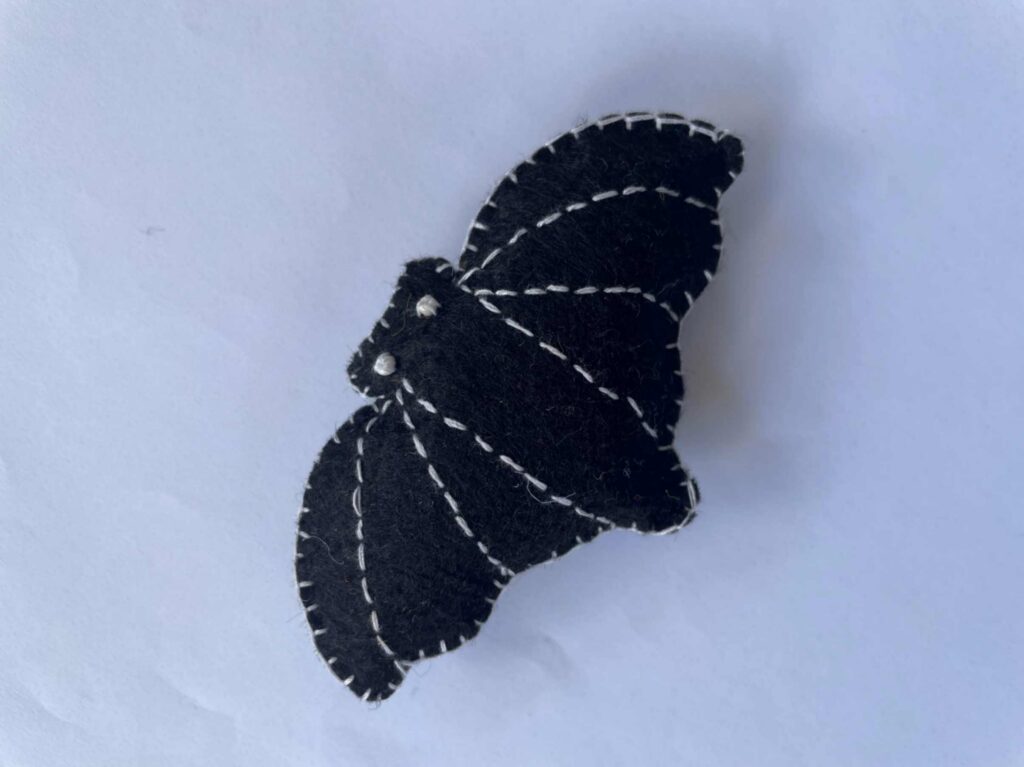
Together with the Halloween bat ornament, we have more fun and cute Halloween felt decorations.
Stay with us till the end and you will find some cute and fun ideas to make during this fall season.
He’s some of our favorite DIY felt Halloween ornaments.
We have a free pattern so you can easily create your felt bat craft.
And if you enjoy making this bat ornament, you might also like our felt ghost and our felt pumpkin ornament.
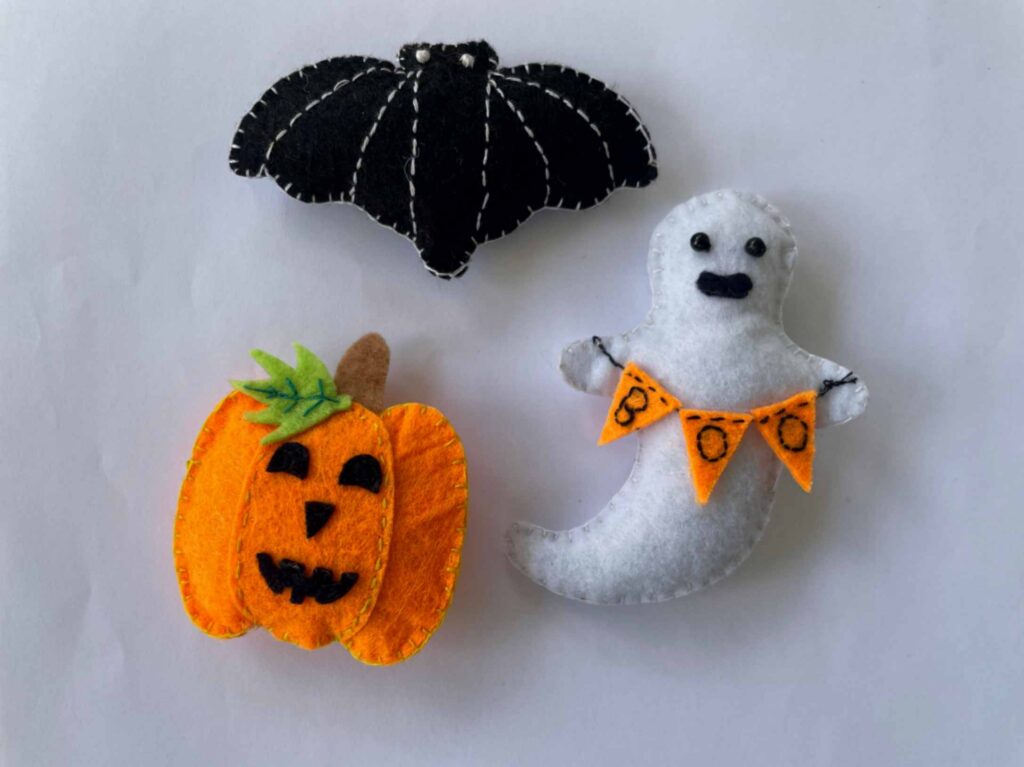
We also have lots of other fun DIY felt ornaments.
So, let’s see how we can make this Halloween felt bat ornament.
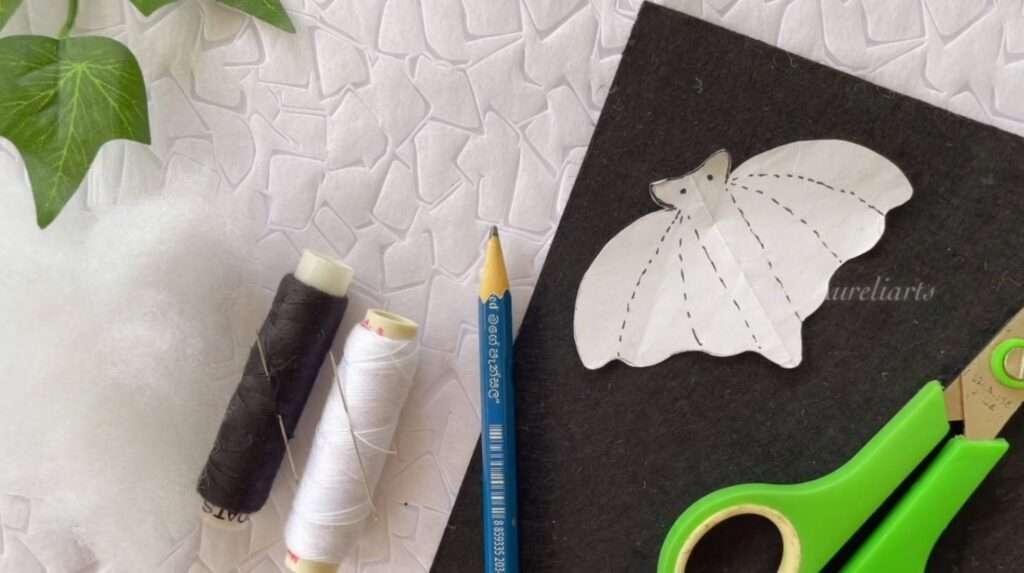
Gather all the materials we listed above and prepare your working area clean before starting to make the craft.
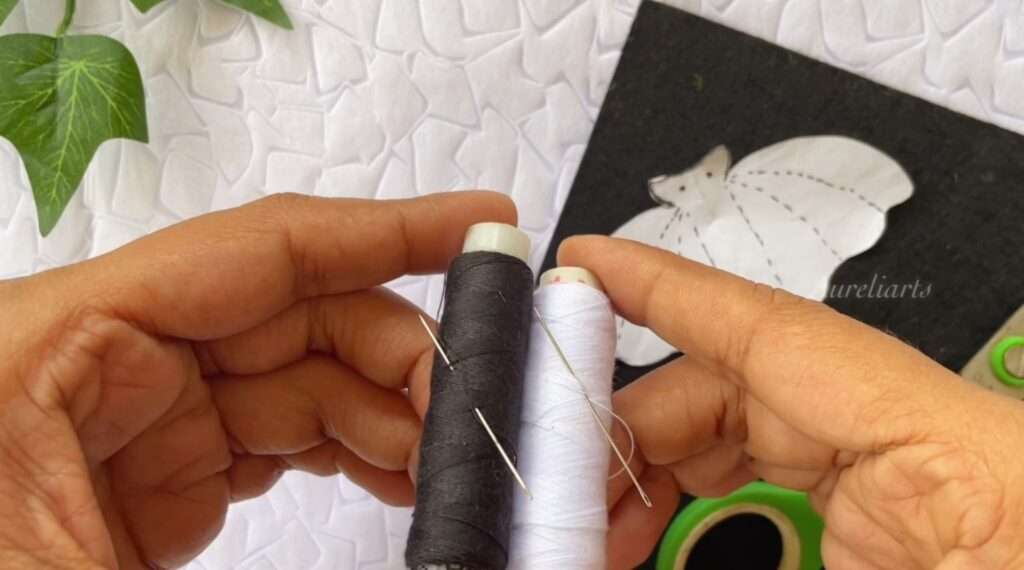
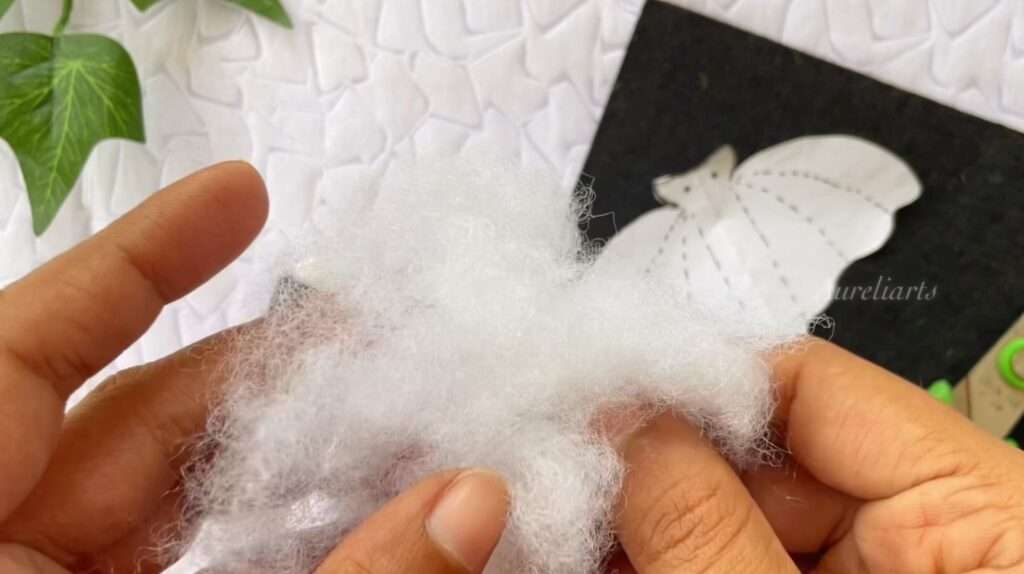
Felt Bat Pattern: You can grab the exact bat template we used to create our felt bat. It’s a printable PDF pattern that you can grab at the bottom of the post.
To start, download the bat pattern and print it out. Then follow our step-by-step tutorial.
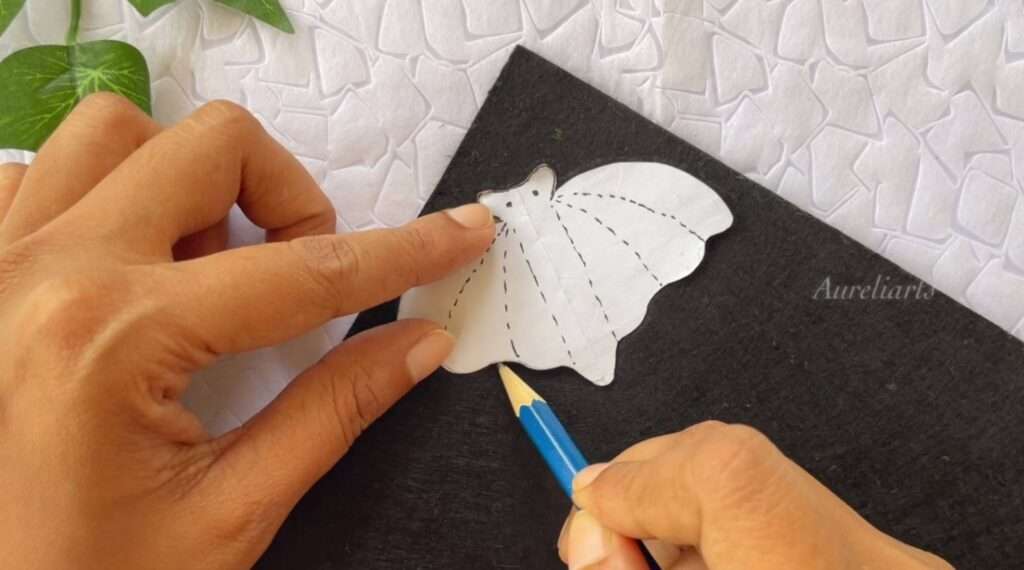
Cut out the printed pattern and keep it on the black felt to trace the pattern.
We can use an HB pencil to trace this. Otherwise, we will not be able to see the pattern as the felt is black color.
Or you can use a white color pencil or pen.
Trace the pattern two times, as we need two pieces to make this bat.
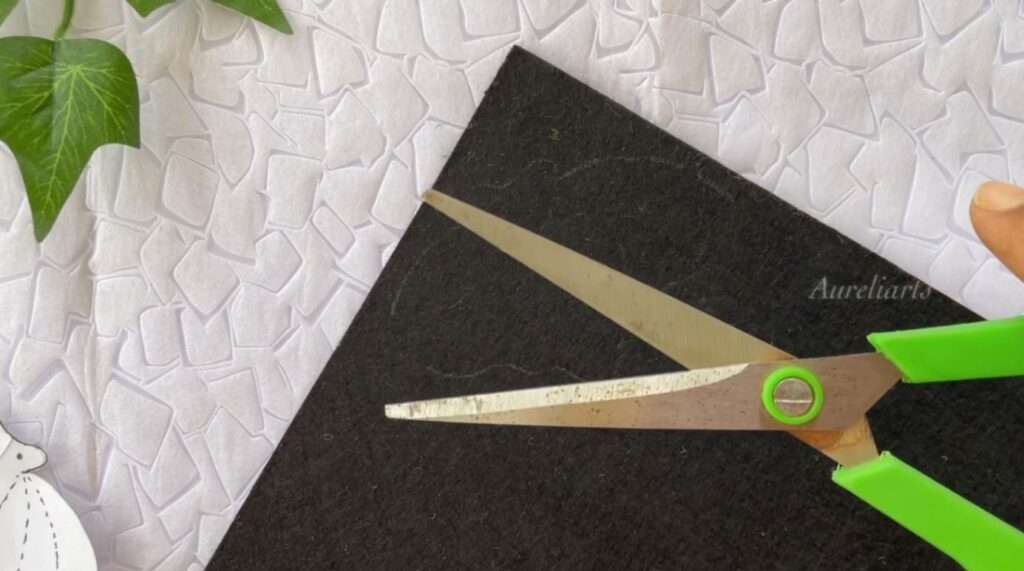
Cut out the felt pieces.
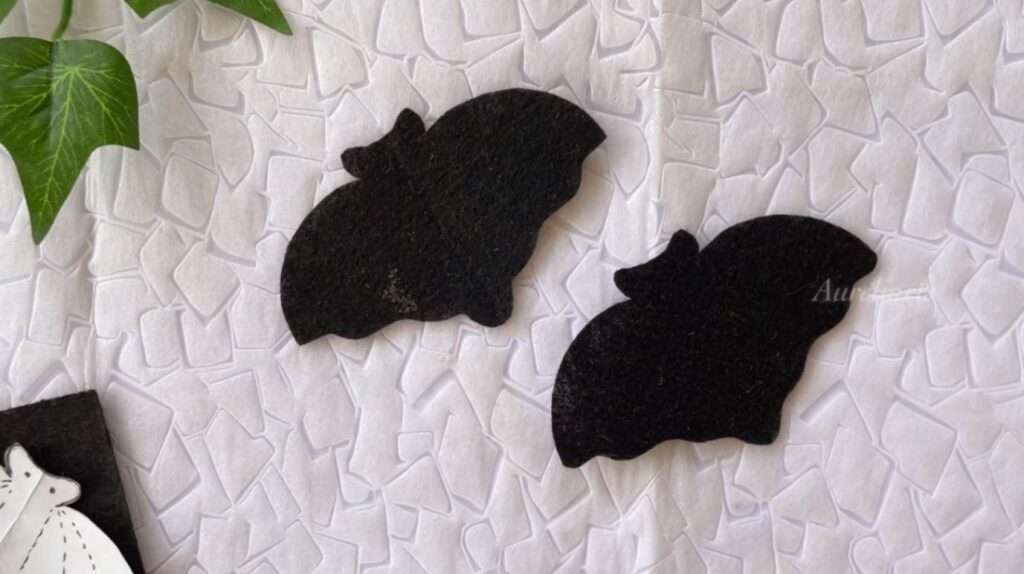
The pattern includes the body of the bat. So we do not need to worry about cutting so many felt pieces.
You will get two body parts for the bat as shown in the below image.
Now we are going to add details for the bat’s body.
We are adding eyes and wing details.
To add wing details, we first mark how the wings should be sewn. So grab your pencil and mark wing details like below.
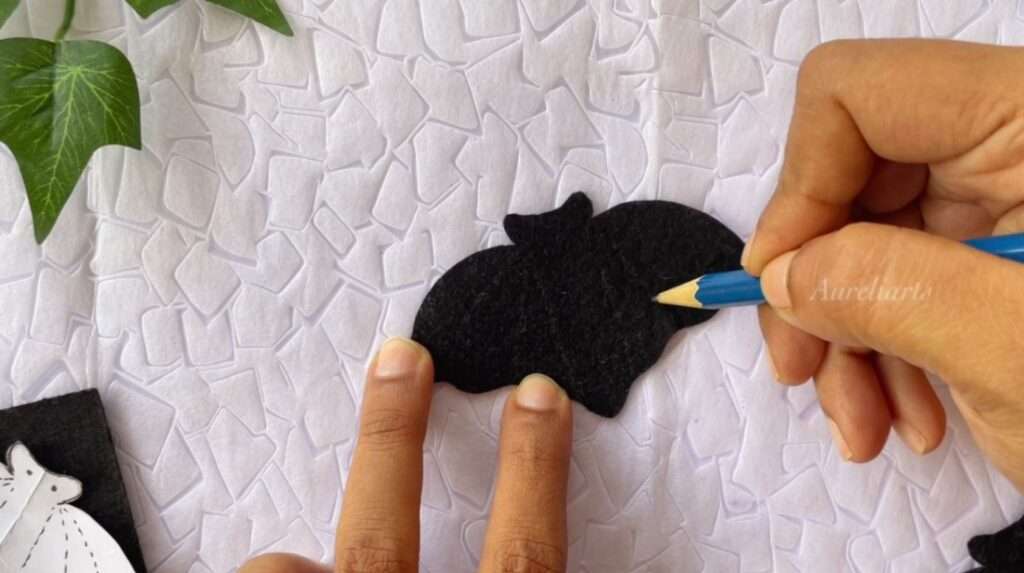
Marks eyes too. Then it will looks like this,
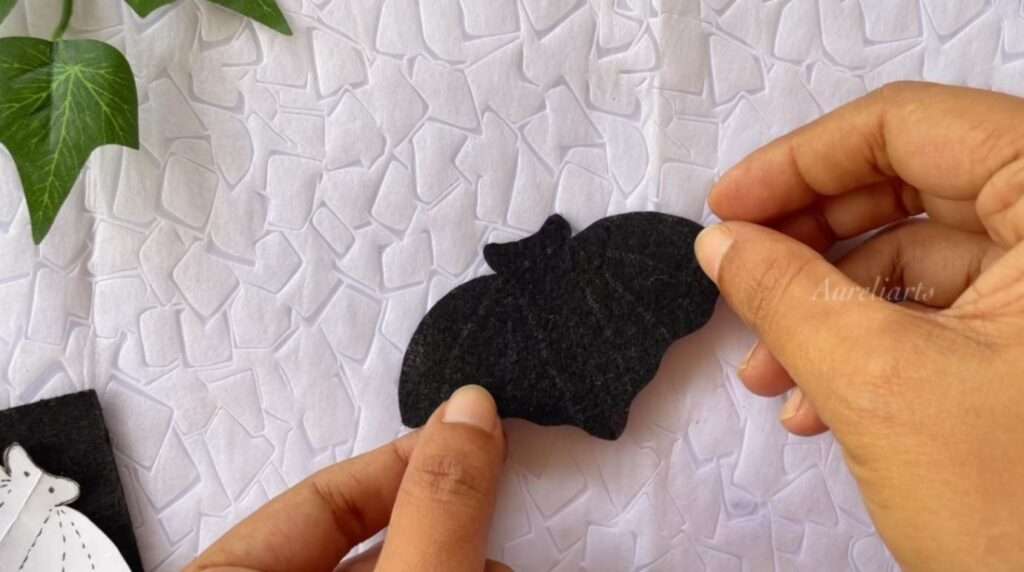
Take small white beads for eyes and start sewing them on the head of the bat.
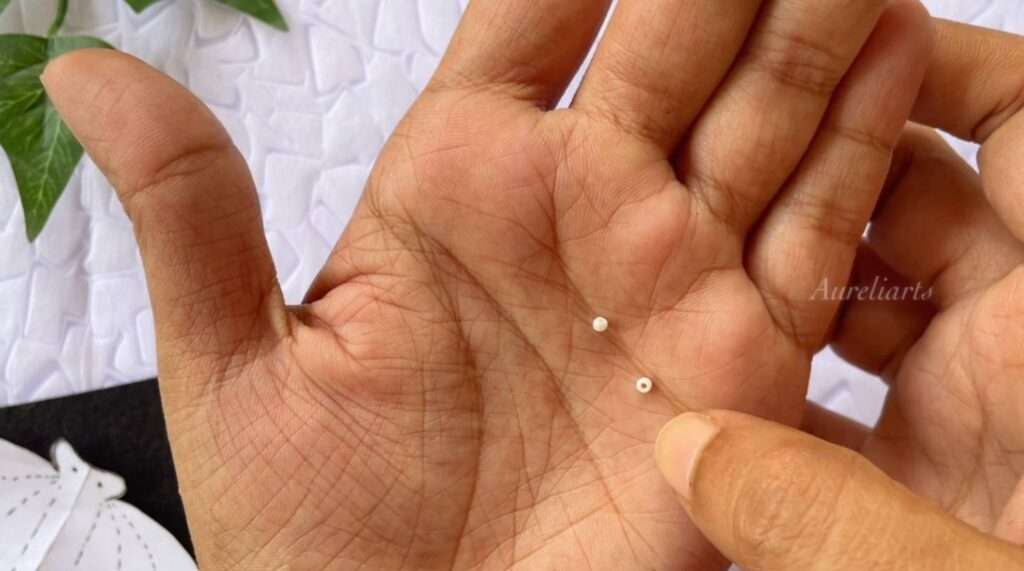
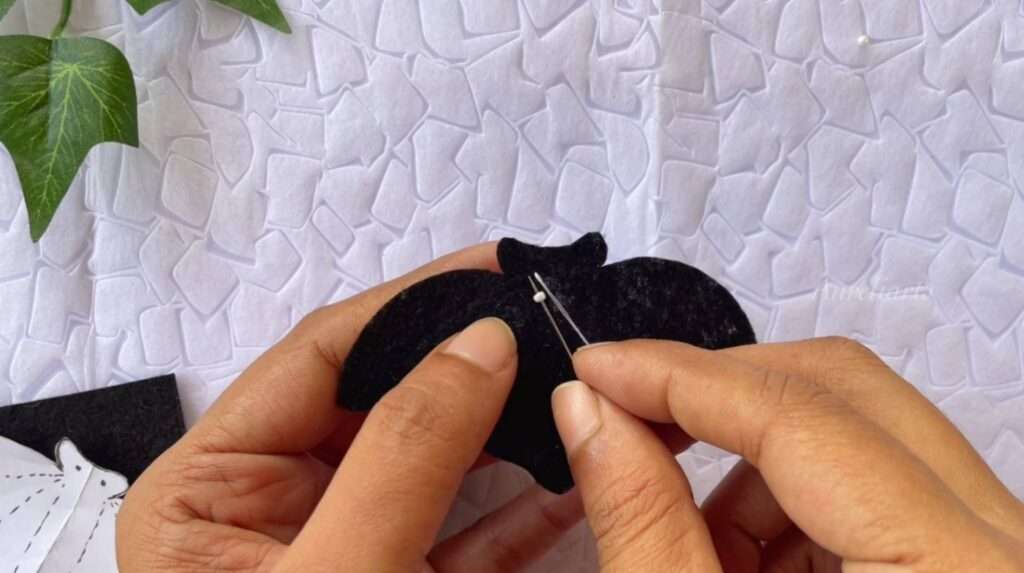
It will look like this after attaching white beads as bat’s eyes.
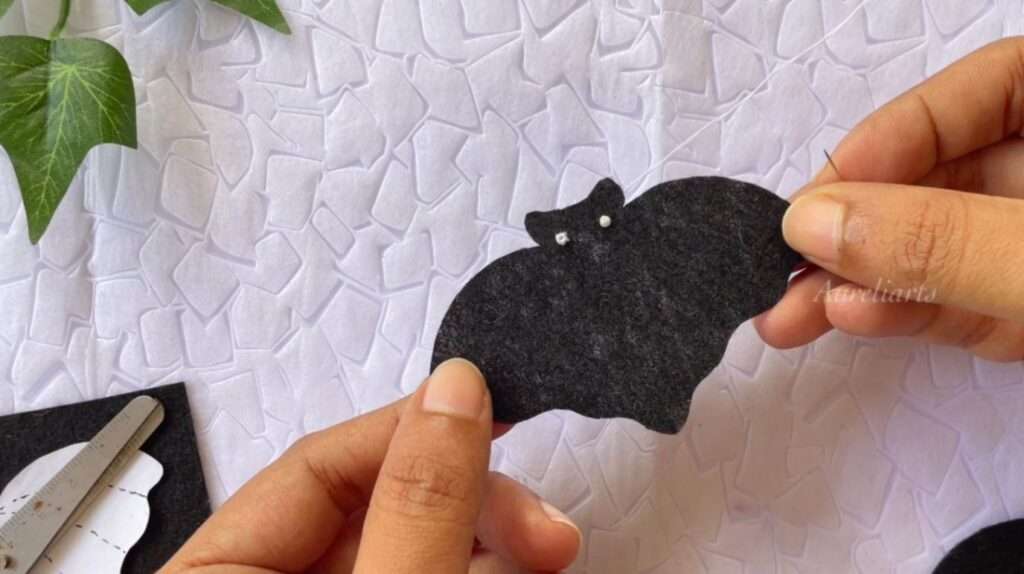
Now we can start sewing wings of the bat that we marked before. Sew wing lines along the pencil markings.
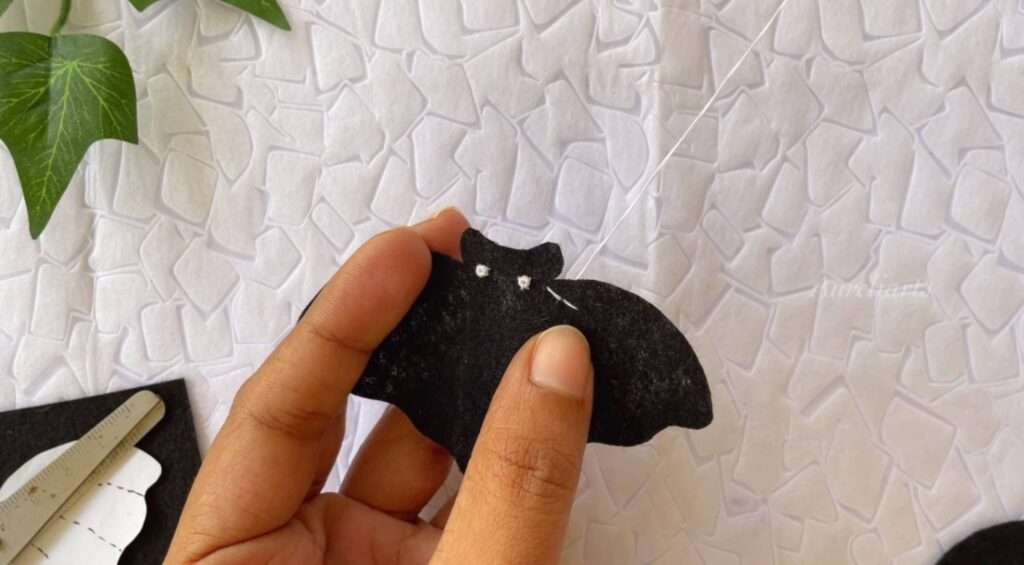
Use white thread and normal stitches to make wing lines. Then it will see clearly and it will give more attractive finish.
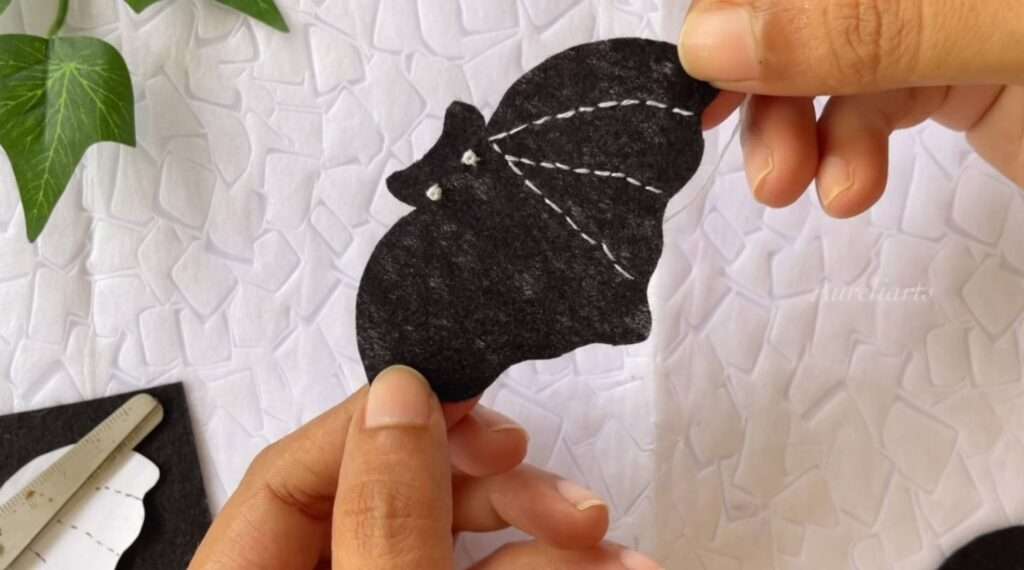
Complete sewing the wing details like this.
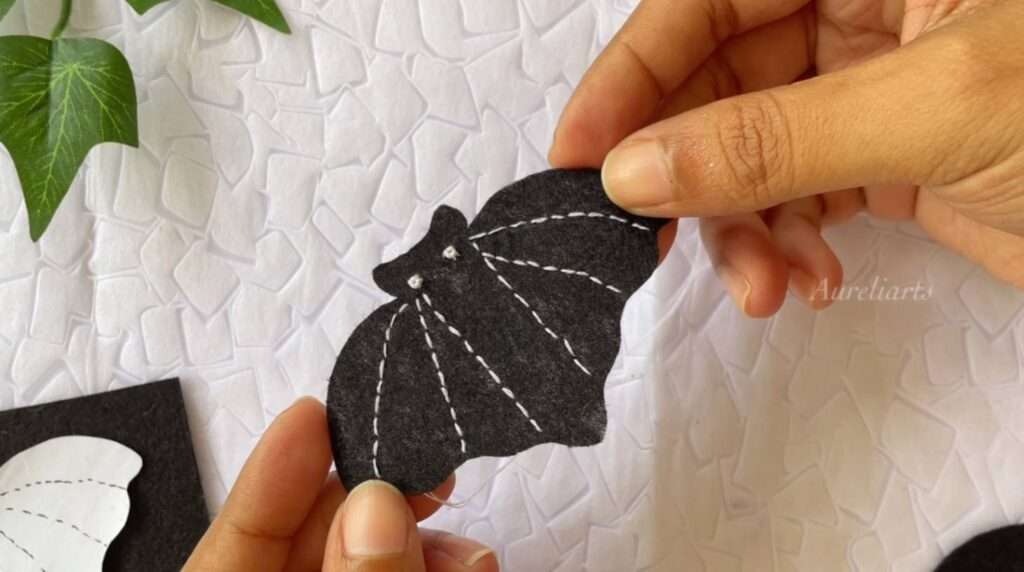
Grab other felt pieces of the bat’s body and keep them together to make the body and start sewing.
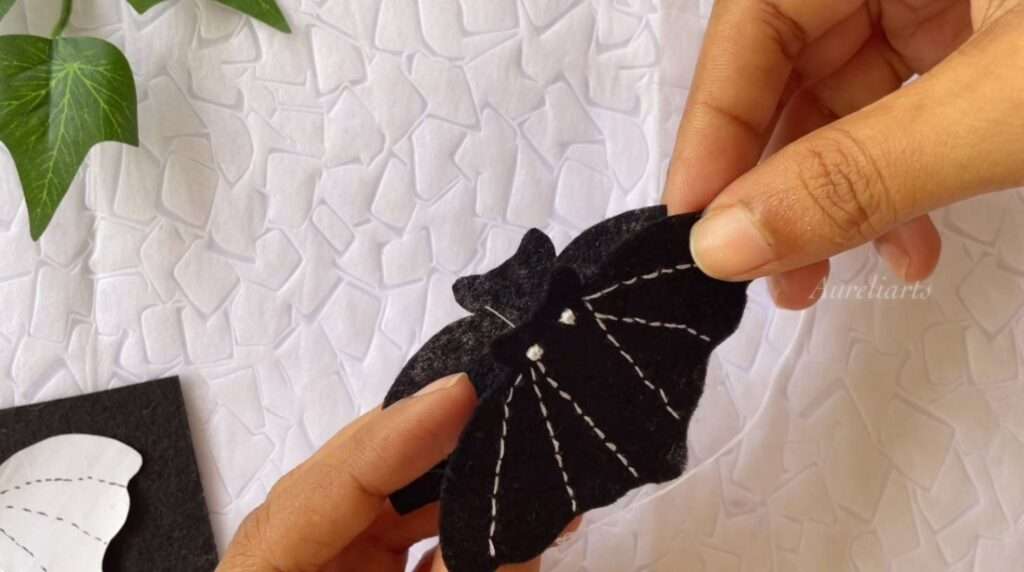
Stitch around the outside of the bat and join it to the base.
Use a blanket stitch to sew both pieces.
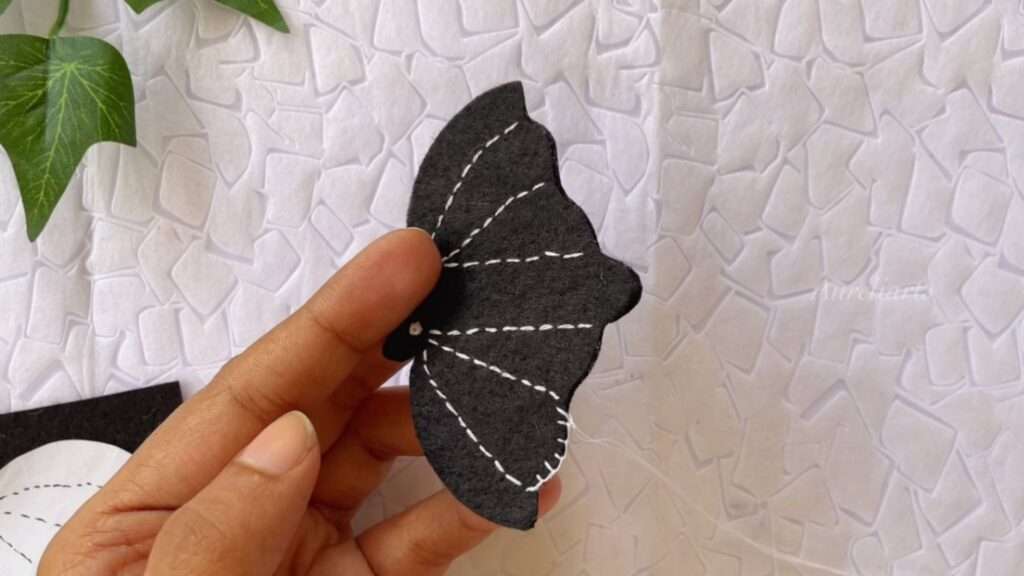
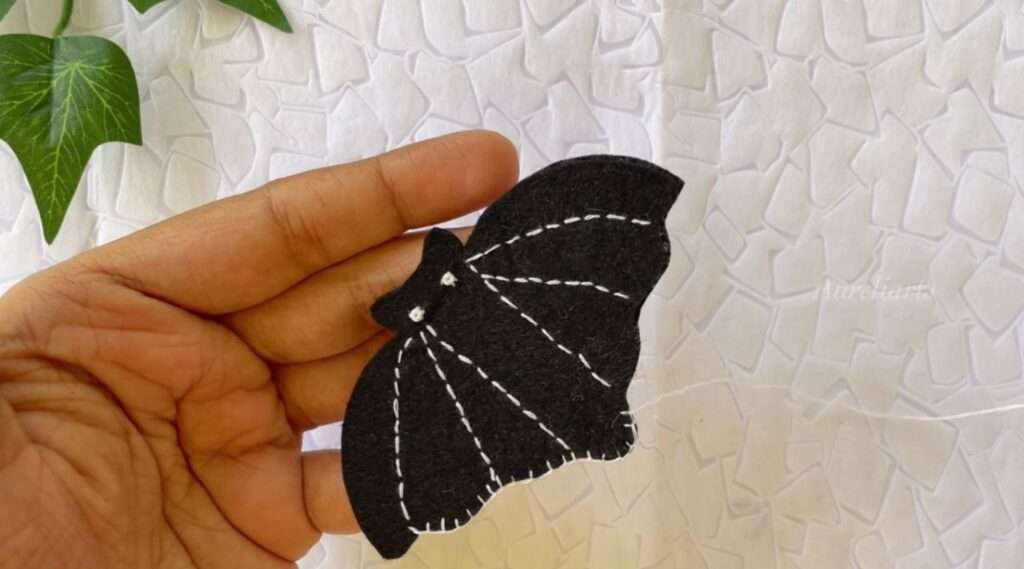
Leave a small opening on the side of your bat, so that you can stuff your ornament.
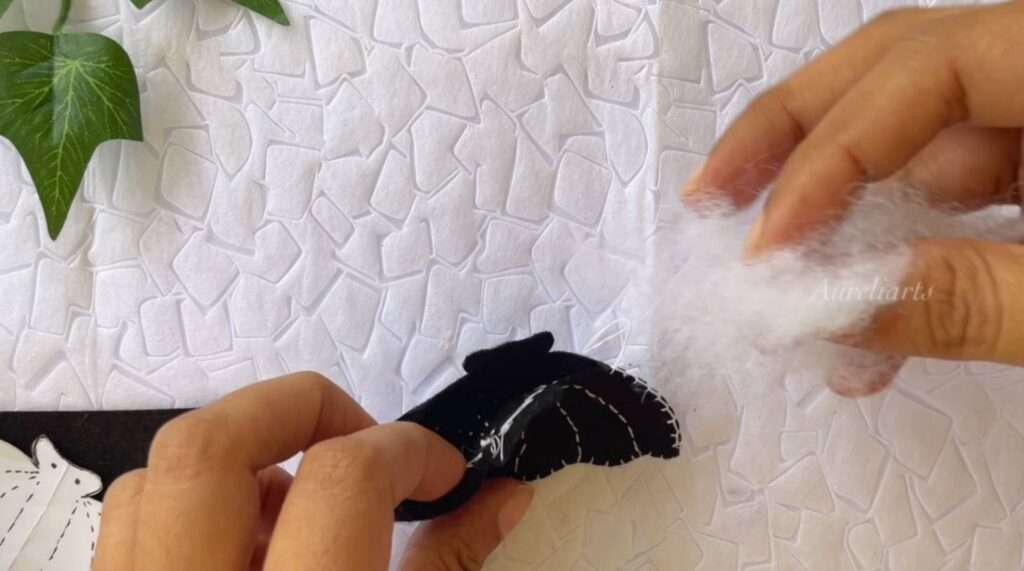
You can use cotton or scrap felt pieces to stuff your bat. I used cotton.
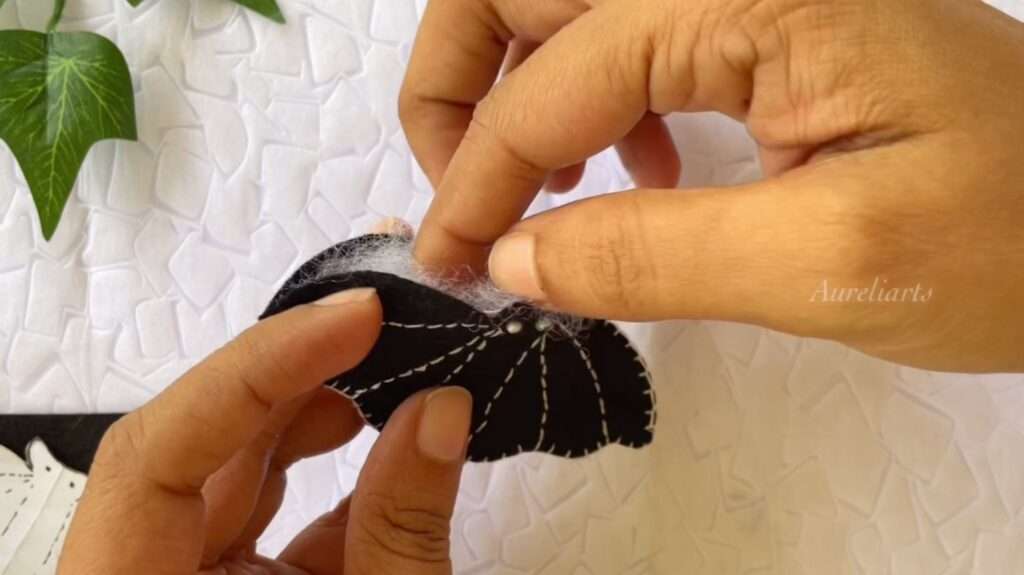
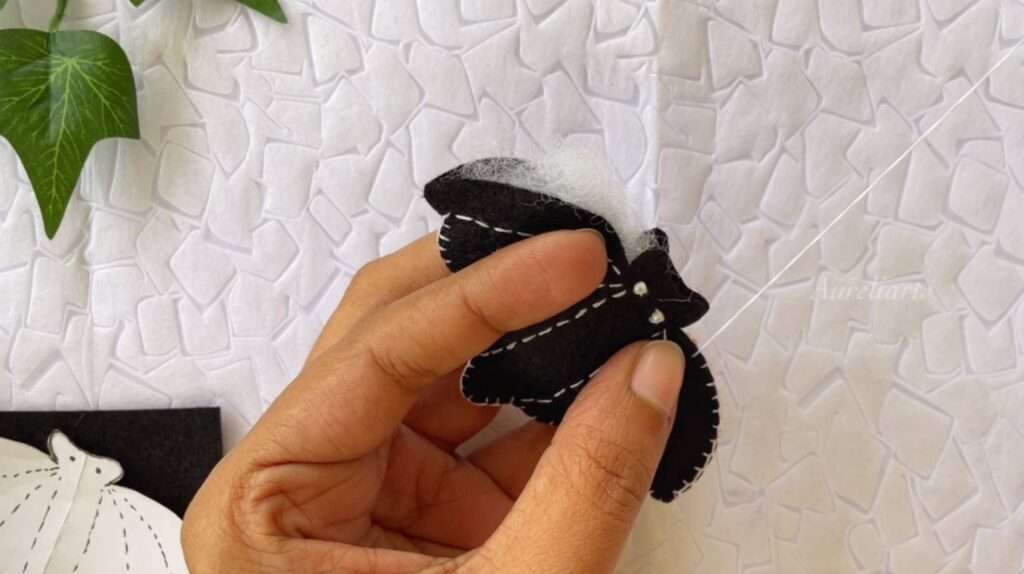
Once you’ve filled your felt bat with stuffing, close the open end with a few neat stitches.
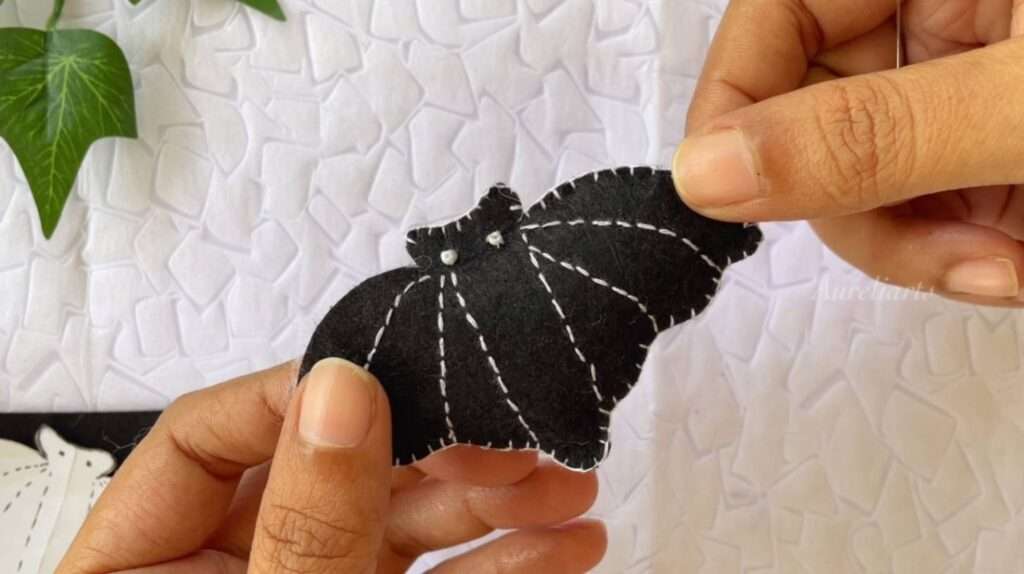
Finally, add a cute black or white ribbon loop to the backside of your felt bat so you can hang it on your wall.
Or you can leave it as it is like I did. Because I love this bat as a plushie ornament.
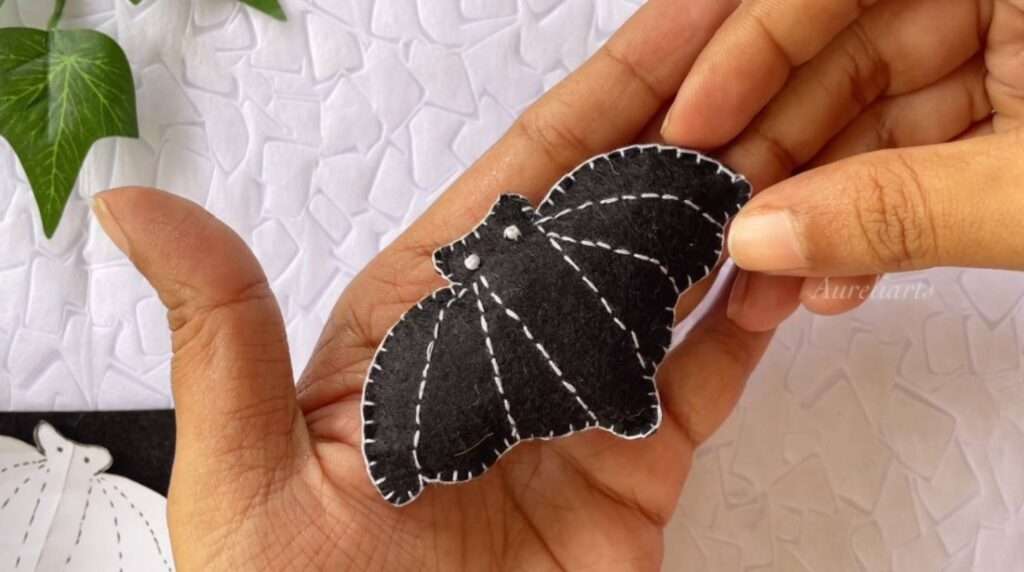
And voila! You’ve got a finished felt bat ornament ready to hang or give as a handmade gift this Halloween season.
This looks so adorable, right?
And if you want to grab the free felt bat pattern, here it is.
……pattern…..
Make sure to check out the rest of our Halloween crafts.
Prep Time: 5-10 minutes
Active Time: 20 minutes
Total Time: 25 minutes
Difficulty: Medium

This cute DIY felt bat ornament is a gorgeous handmade felt Halloween ornament that looks great for your Halloween decorations.
You can make many felt bats to decorate your room.
It also makes a wonderful gift or a fun craft to make and sell.
Have fun with your color choices. You can try purple, green, orange, and many other colors to make this bat.
It will make a cute decoration for your home.
If you like to watch our video tutorial on How to make a Halloween Felt Bat tutorial, here it is..
Your Comments and suggestions are highly appreciated.