DIY How to make a Halloween Ghost
In this Halloween season, let’s make some cute Halloween crafts. So, today we will make this cute Halloween felt ghost ornament. This is so an entertaining craft idea to make with your loved ones. This is an easy project that can be completed pretty quickly.
All you need for the materials are felt pieces and a few sewing supplies. Make sure to grab the felt ghost pattern we include as well!!
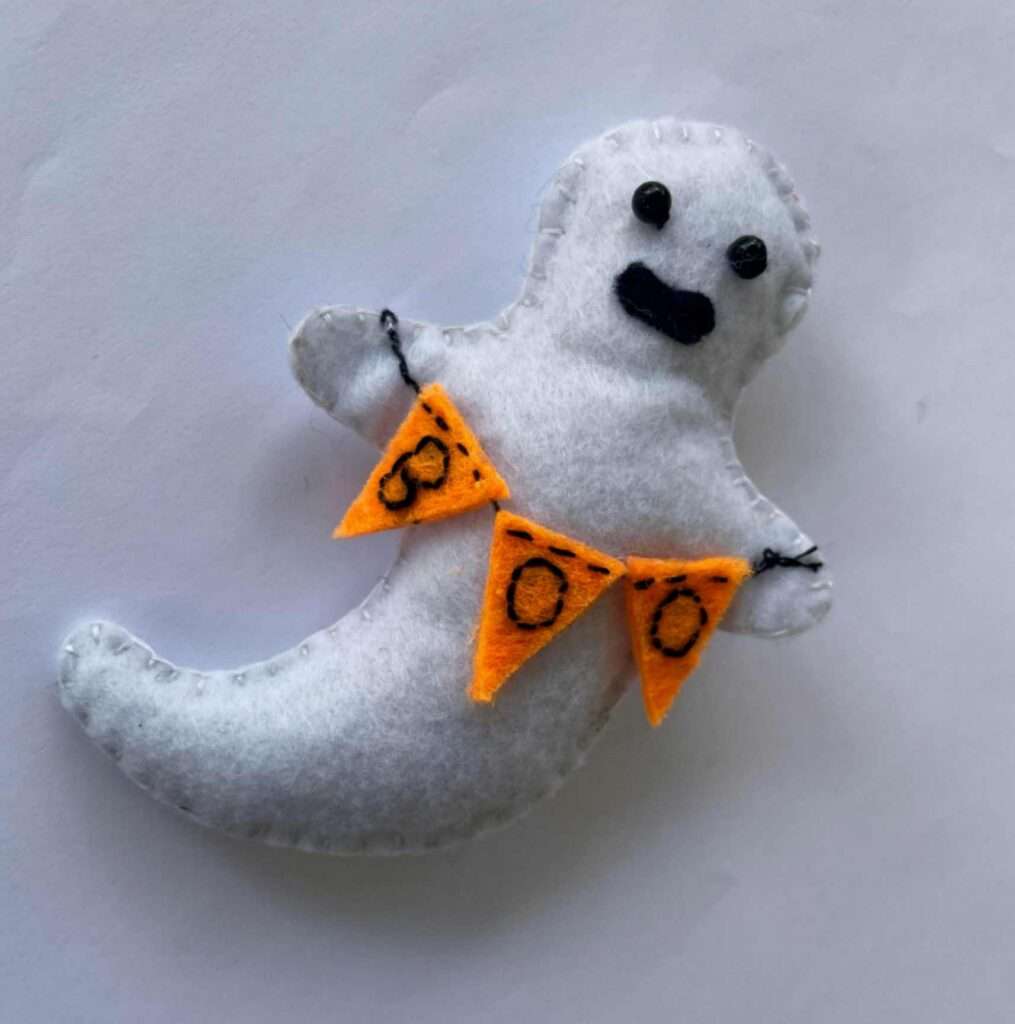
This cute little felt ghost makes a great Halloween ornament for your Halloween wreath or to hang as your room decor. Making this felt ghost is a fun and entertaining project to spend your free time.
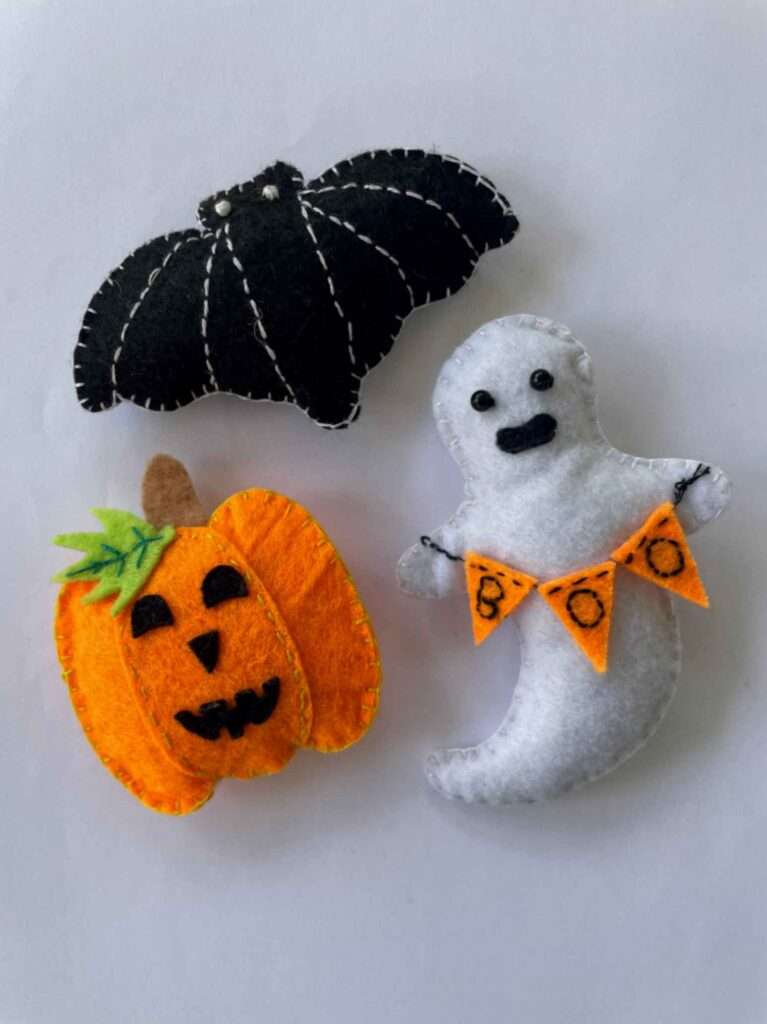
And since this little “Boo” guy is super cute, we know that if you like him you’ll also enjoy our Halloween felt pumpkin and felt bat too.
So, if you’re ready to get started making this fun DIY felt ornament this Halloween season, follow the instructions below!
Supplies Needed.
- White felt material
- Black felt material
- Orange felt material
- Black beads for eyes
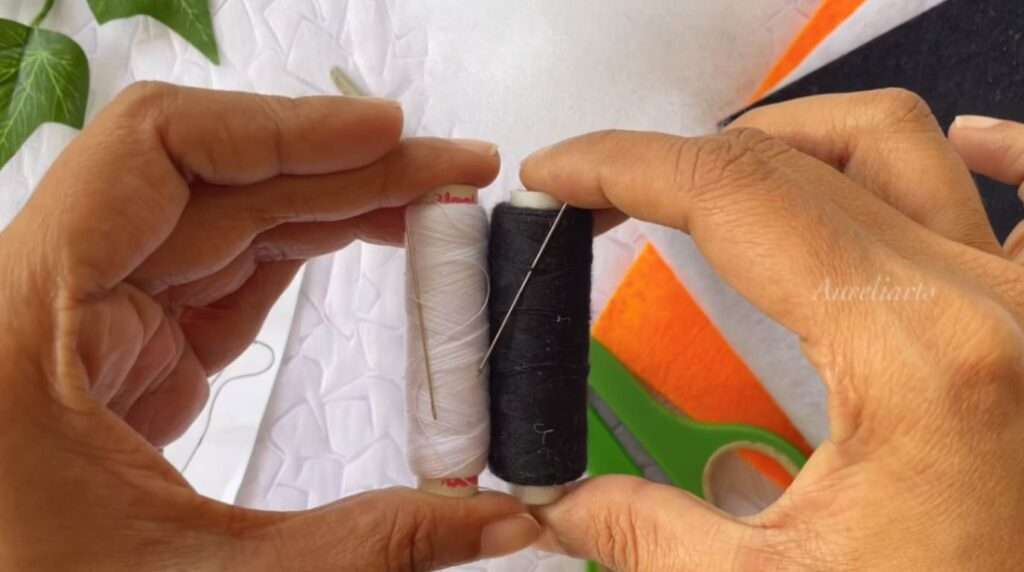
- White, Black thread
- Needle
- Scissors
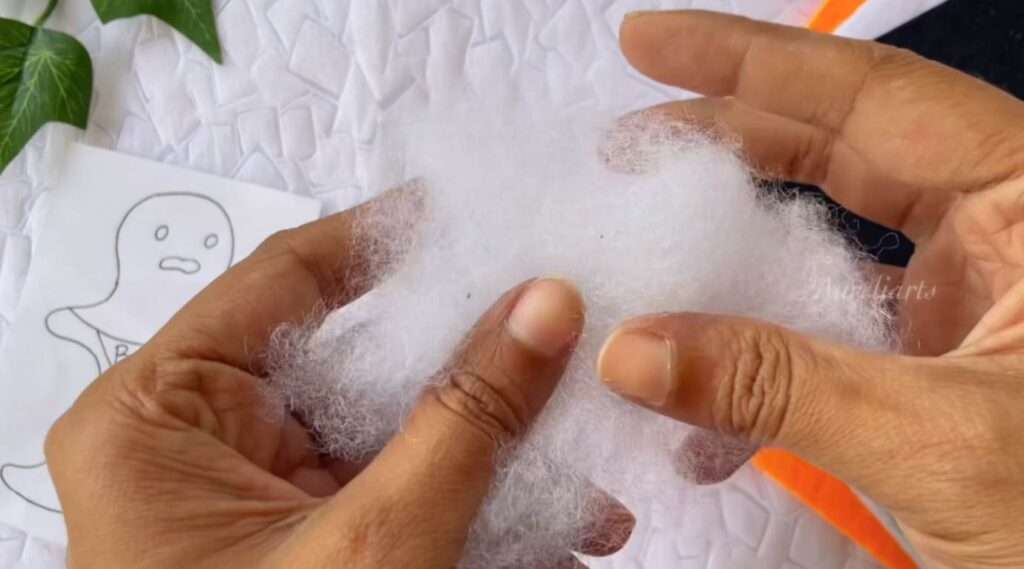
- Cotton
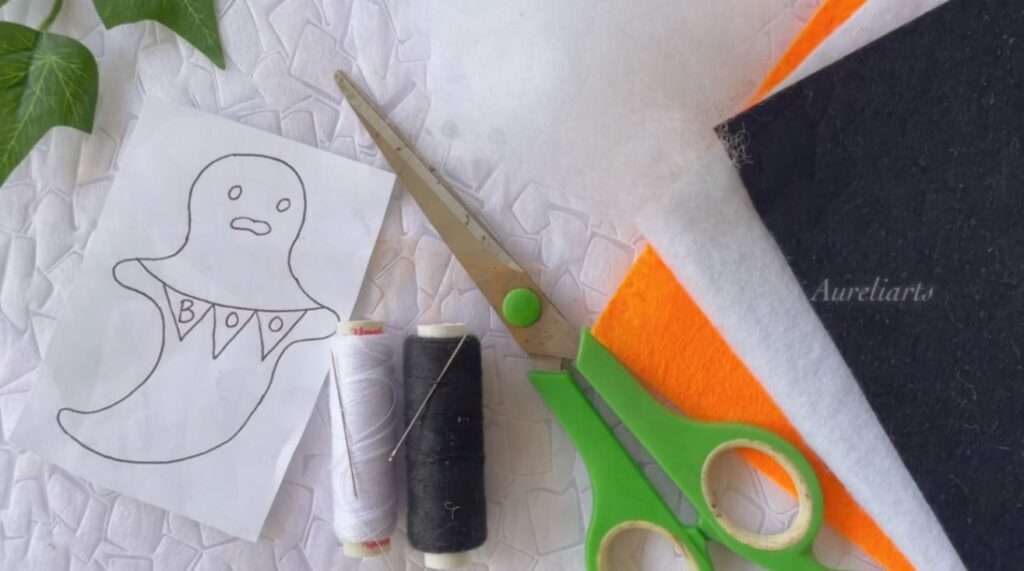
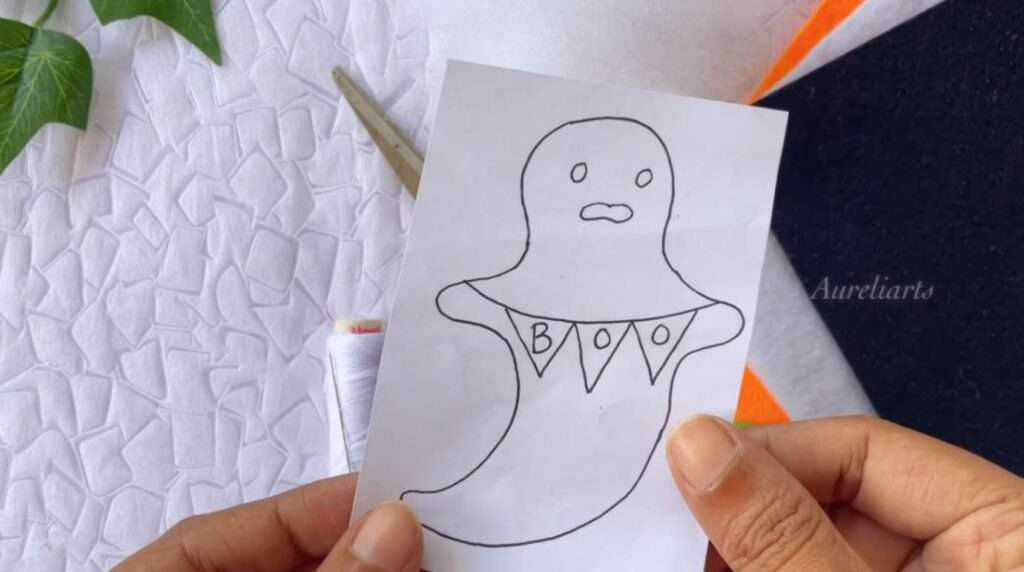
You’ll need the printable ghost template which you can grab below.
The colors we choose are as follows:
- White felt for the body of the ghost. (front and back of the body)
- Black felt for the mouth.
- Orange felt for the “Boo” flag garland.
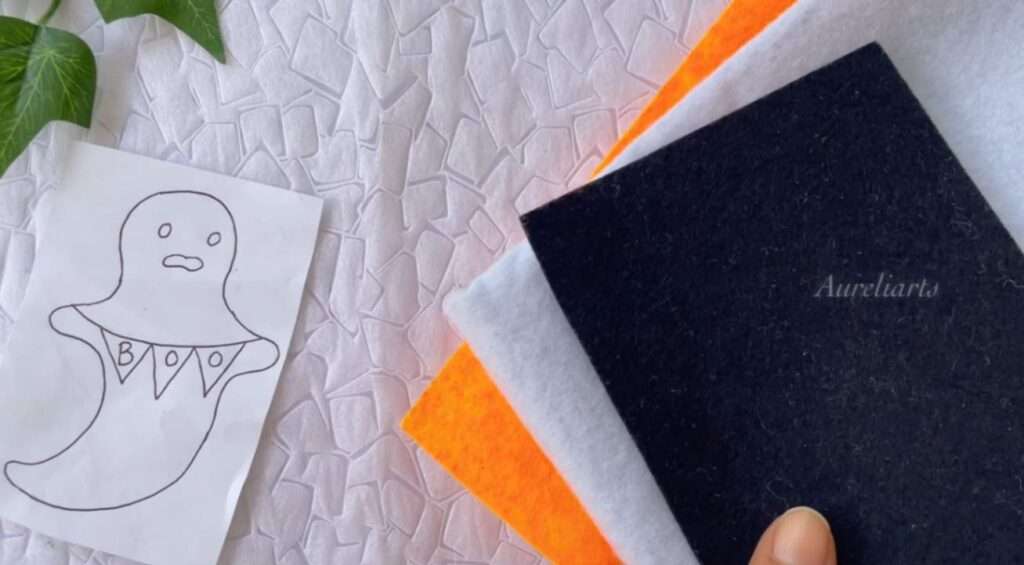
You can choose any color you want. But as we all know, usually ghosts are in white, so we prefer to use white felt fabric as the primary color for the ghost.
Now let’s jump into the steps of making this cute little “Boo” ghost ornament.
How to make a Felt Ghost ornament.
Here we’ll show you step-by-step how to make your own cute Halloween felt ghost ornament.
We include a free printable ghost pattern that can be printed and used again and again.
If you plan on making several ghosts, I suggest going through the steps fully once, then batch-creating your ghosts by doing several copies of each step.
Step One: Grab the Felt ghost Pattern.
First, download the felt ghost pattern we provided below and print it.
It’s a template that includes the base of the ghost along with its mouth, and triangle flag garland.
Once it’s downloaded, print and cut out all of the pattern pieces.
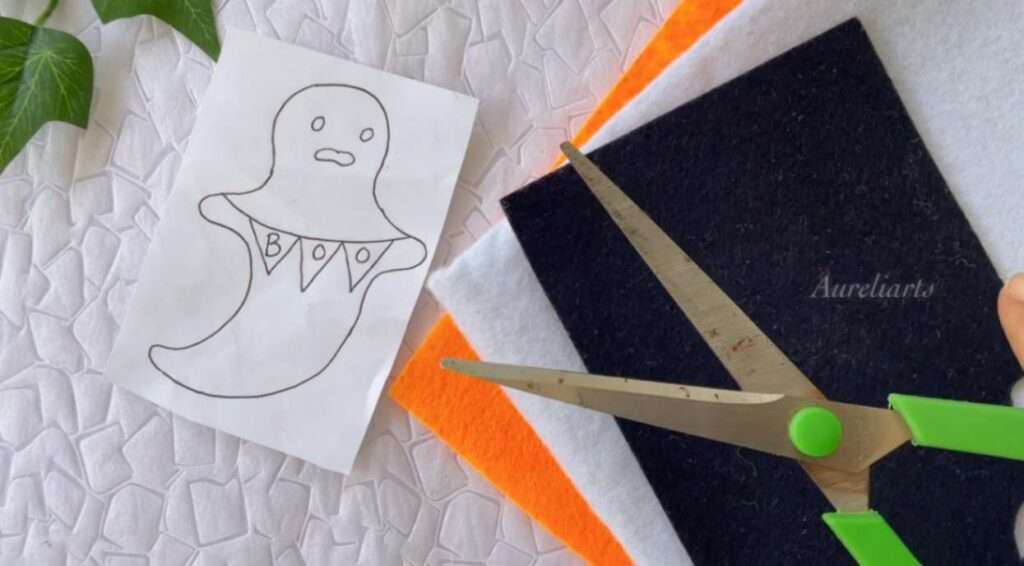
Next, trace the pattern, the body on white felt, the mouth on black felt, and flags on orange felt.
Then cut all of your traced pattern pieces from the felts.
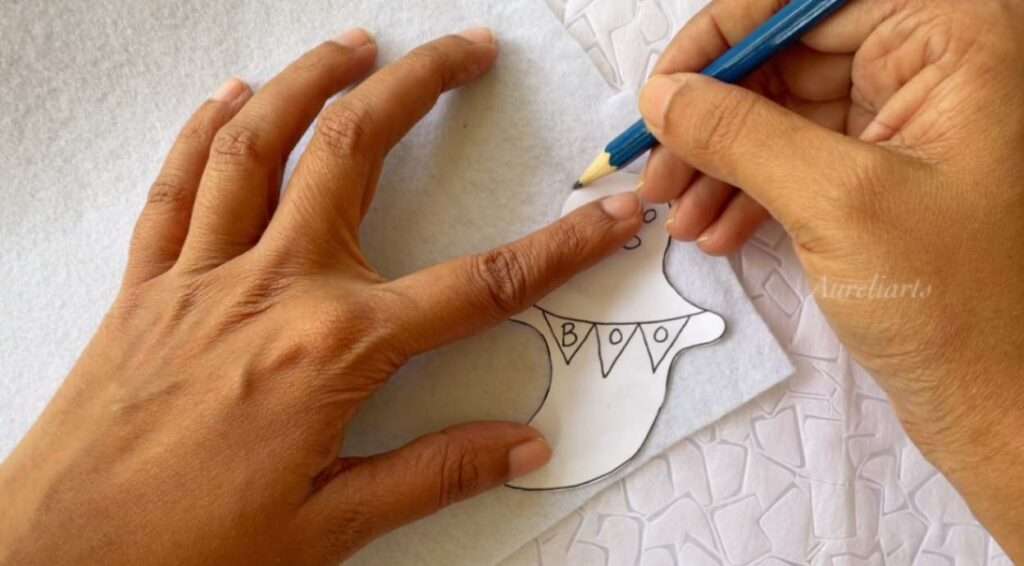
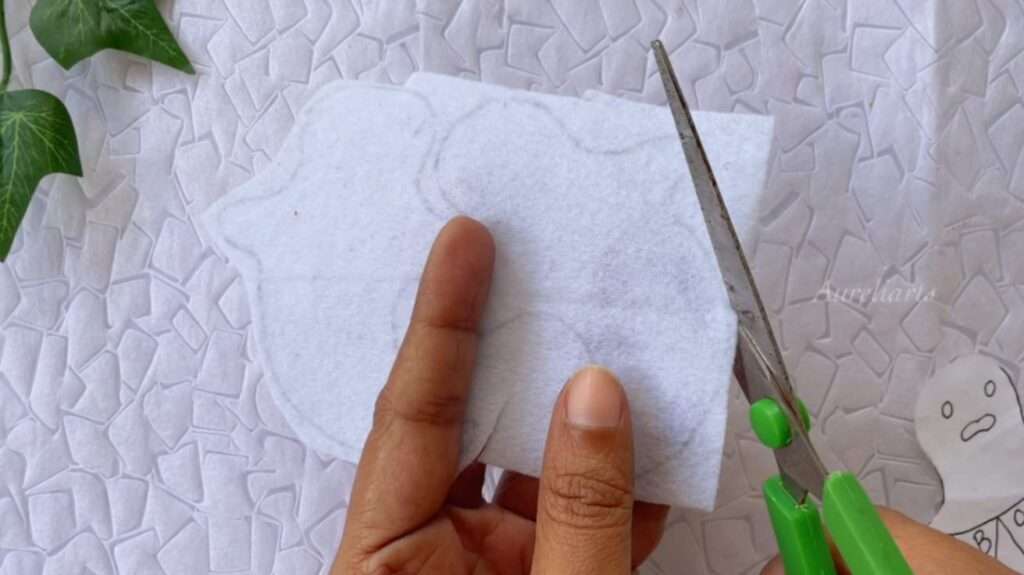
Now you will get pieces like below.
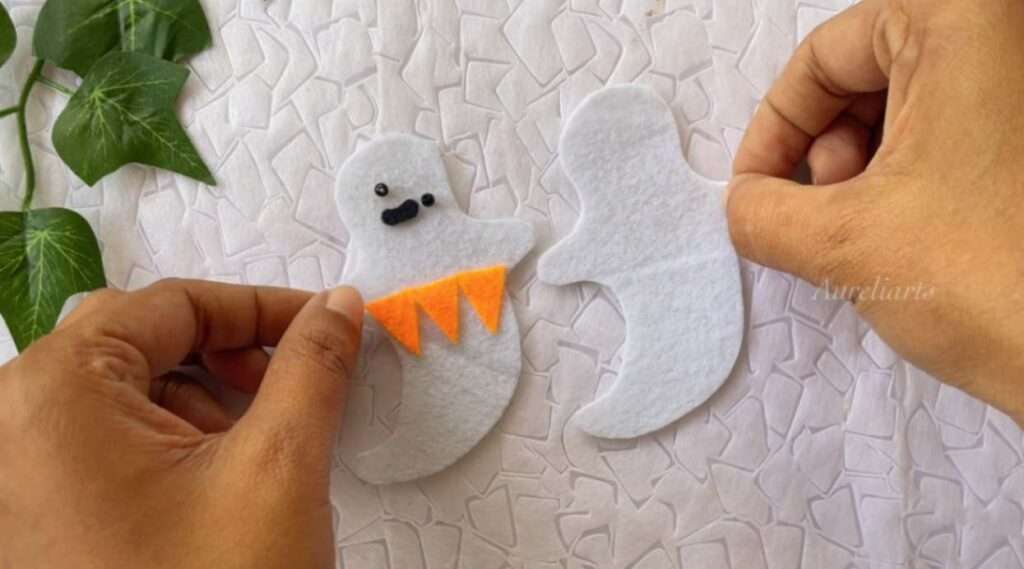
Step Two: Create the Ghost Face.
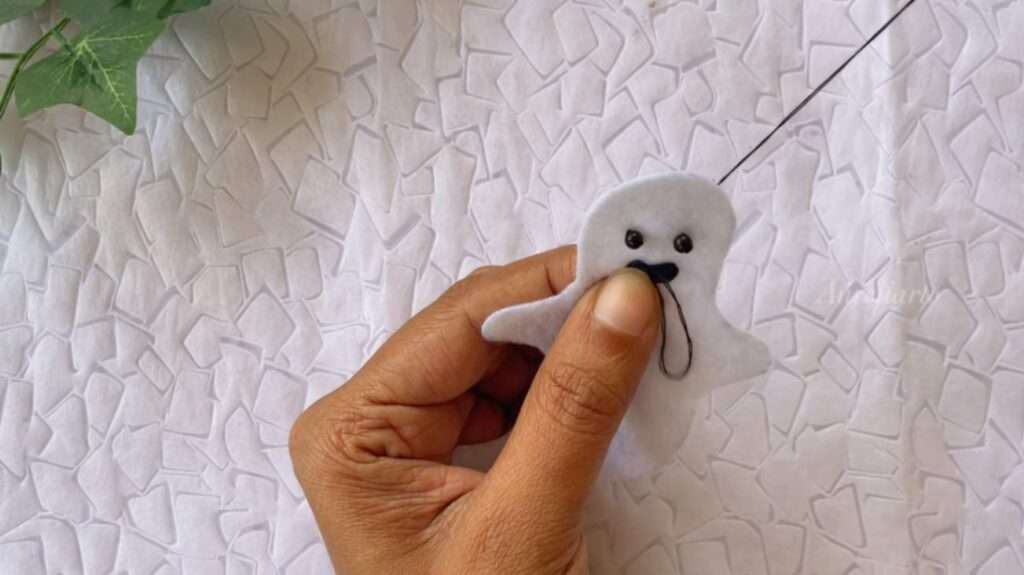
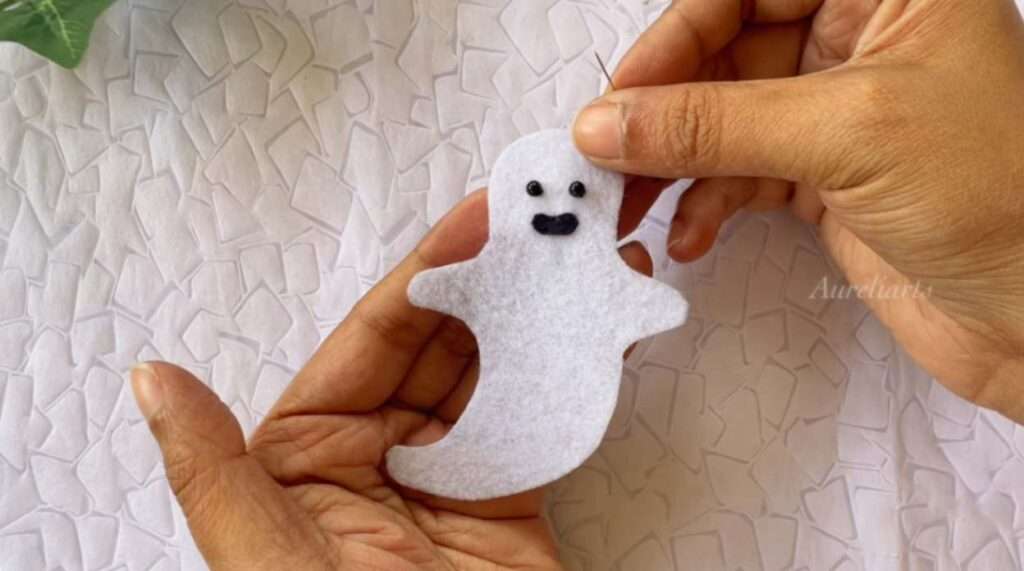
Now grab black beads and stitch them into the top of the ghost’s head pattern.
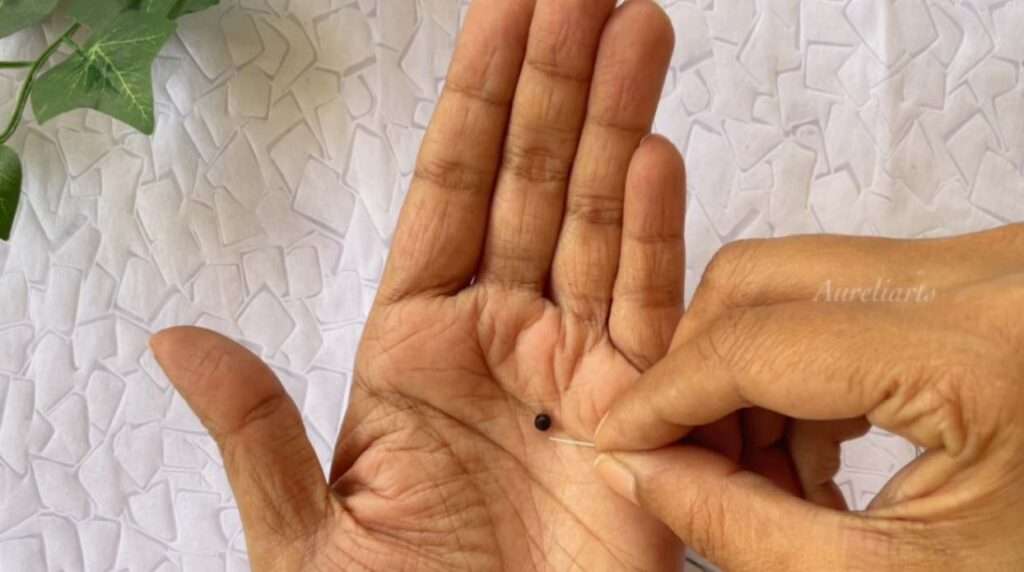
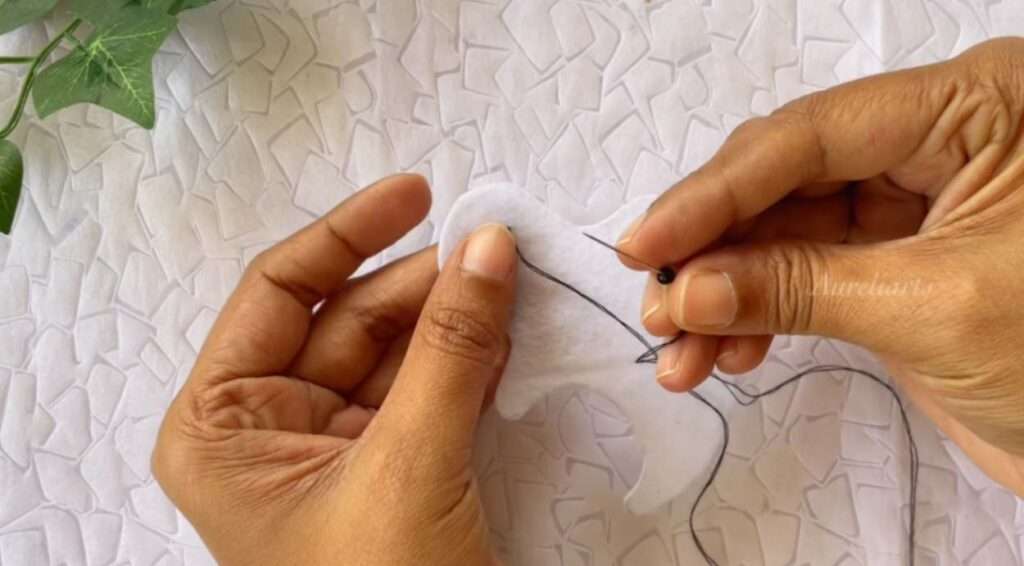
Use black thread and a needle to do this step. We use black thread for black beads for a seamless finish. You can use googly eyes if you like.
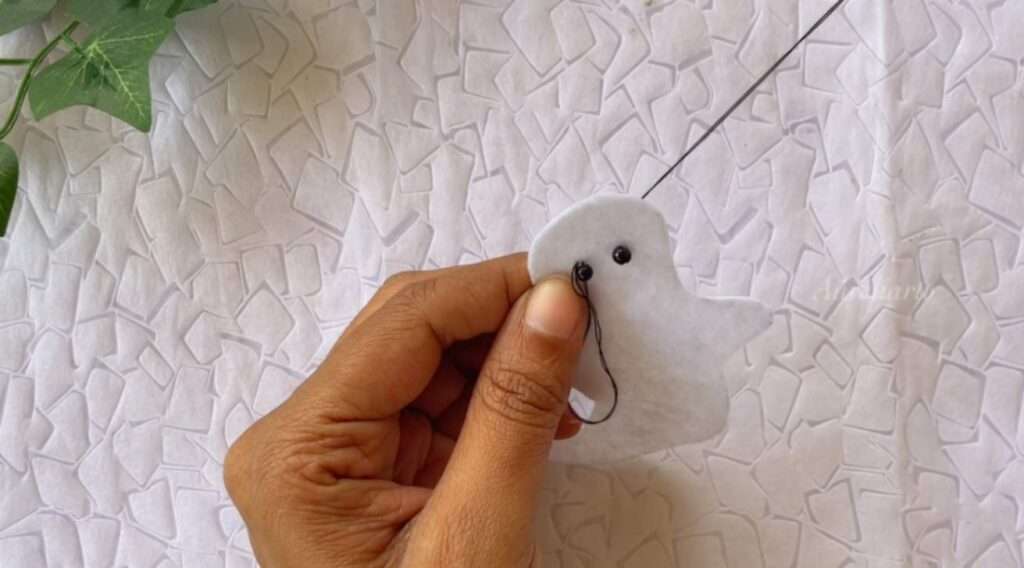
After attaching the eyes, you can attach the mouth. Cut the mouthpiece on black felt and sew it on the ghost’s face, under the eyes that we previously added.
Step Three: Create the "Boo" Garland.
Now that we finished sewing the front part of our cute little ghost, we can start to sew the “Boo” garland.
As we used orange felt to cut flags for garland, you can use any color you like.
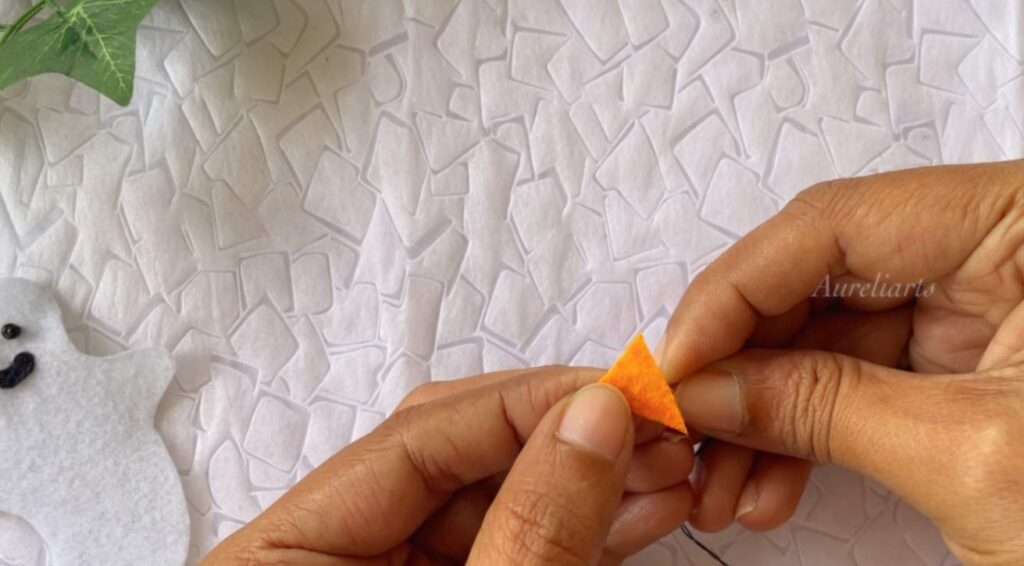
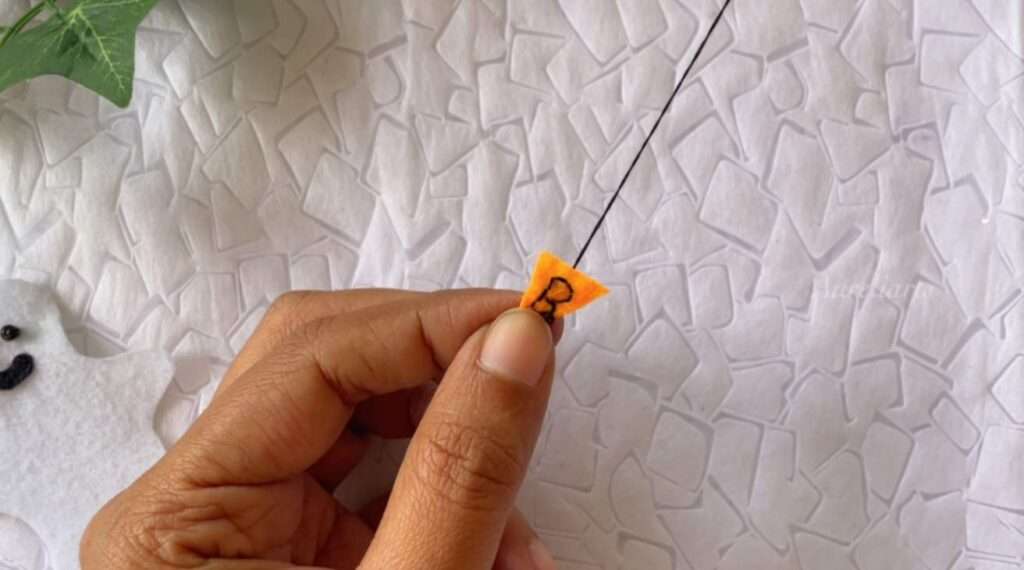
To make the stitching easier, we can write the “Boo” word using a pencil.
Use black thread to sew the “Boo” letters.
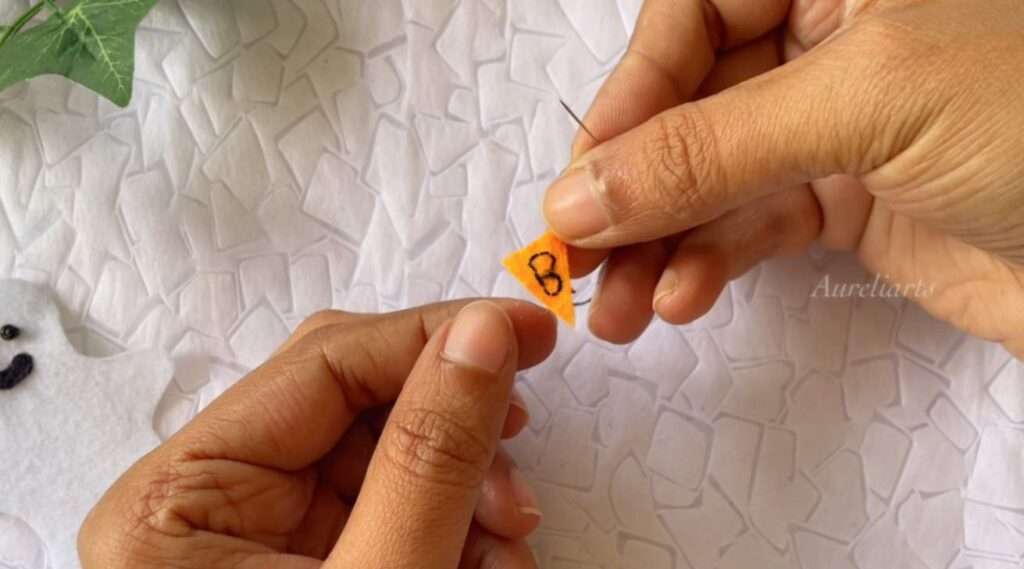
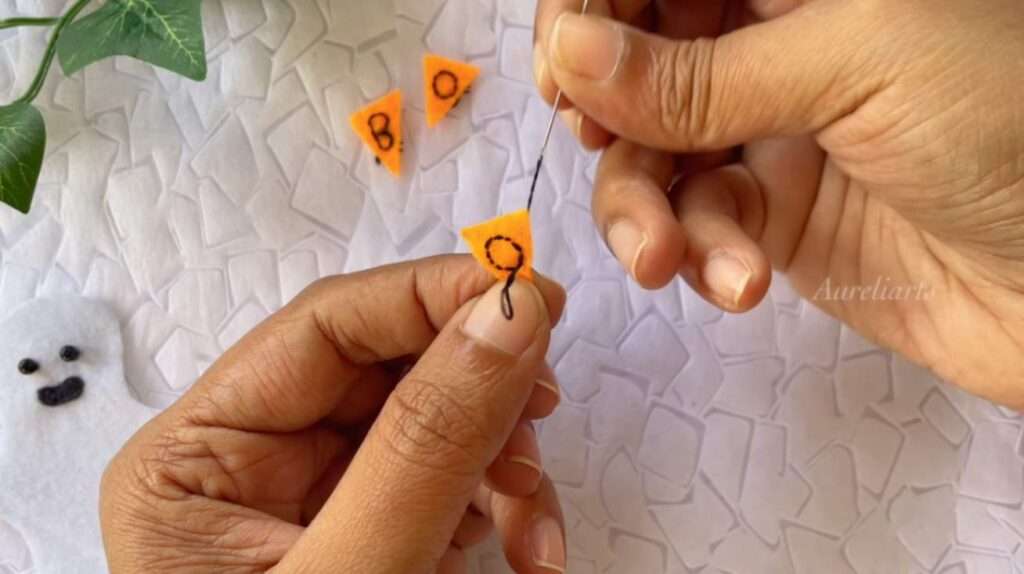
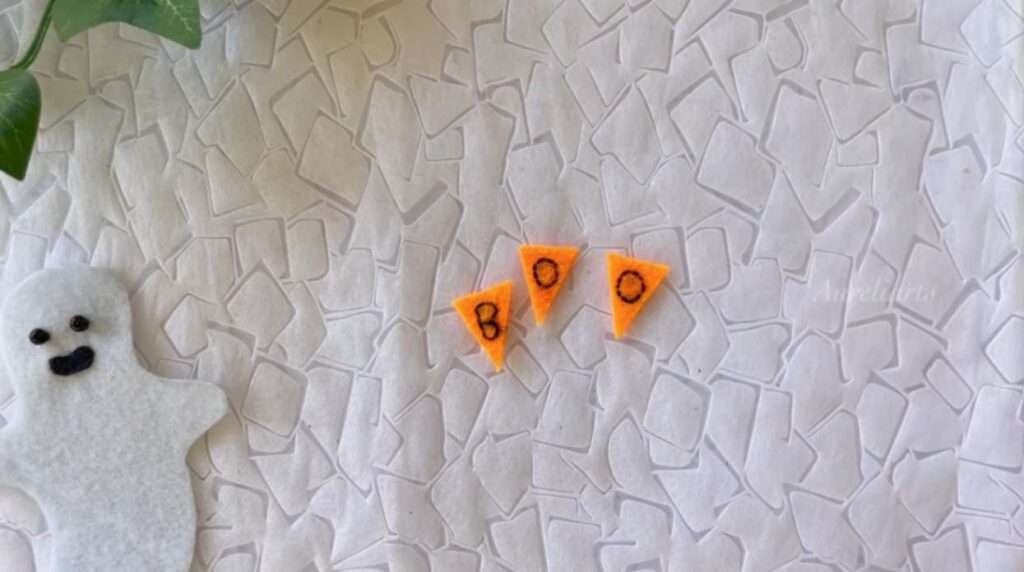
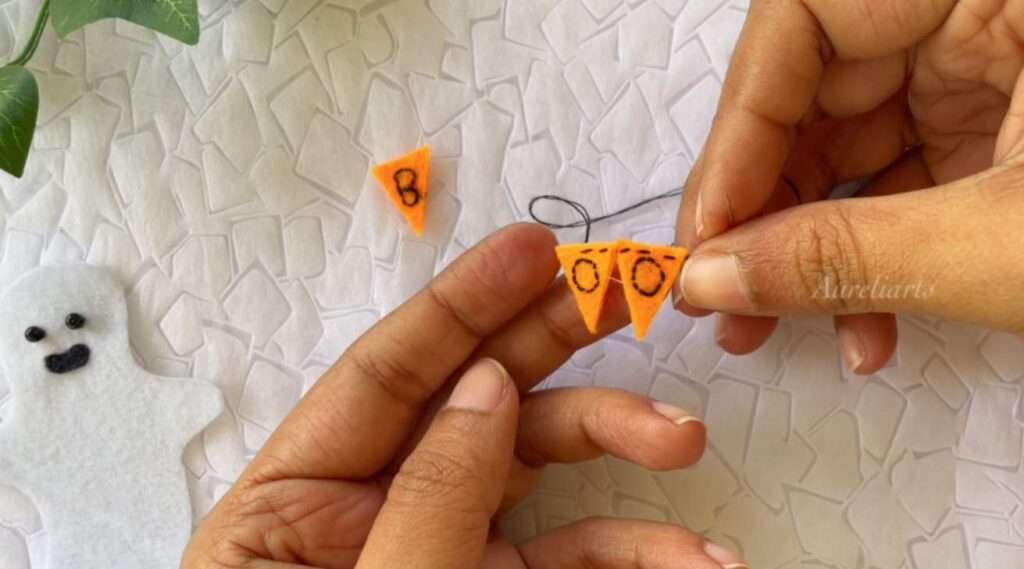
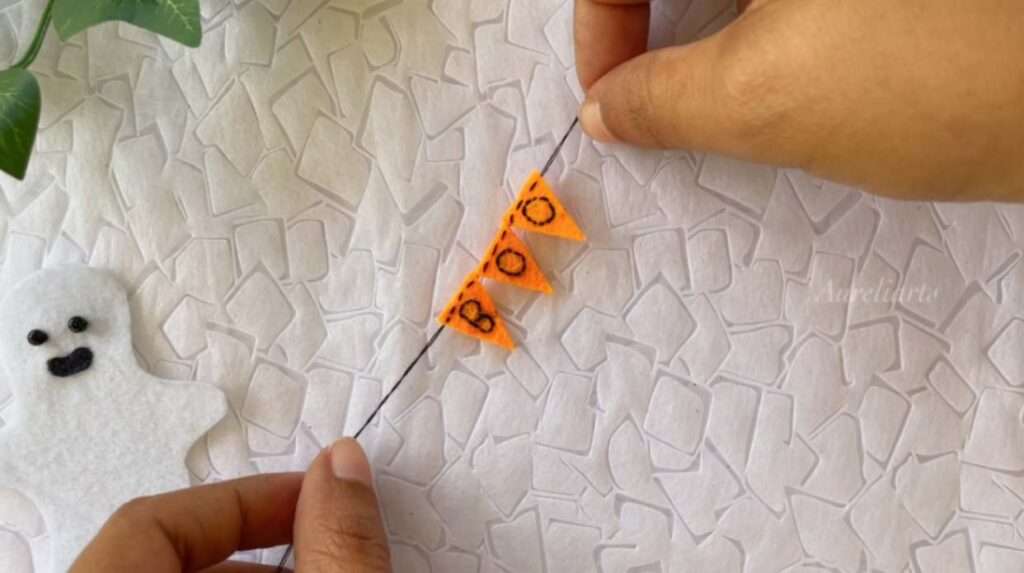
Step Four: Attach the Flags as a Garland.
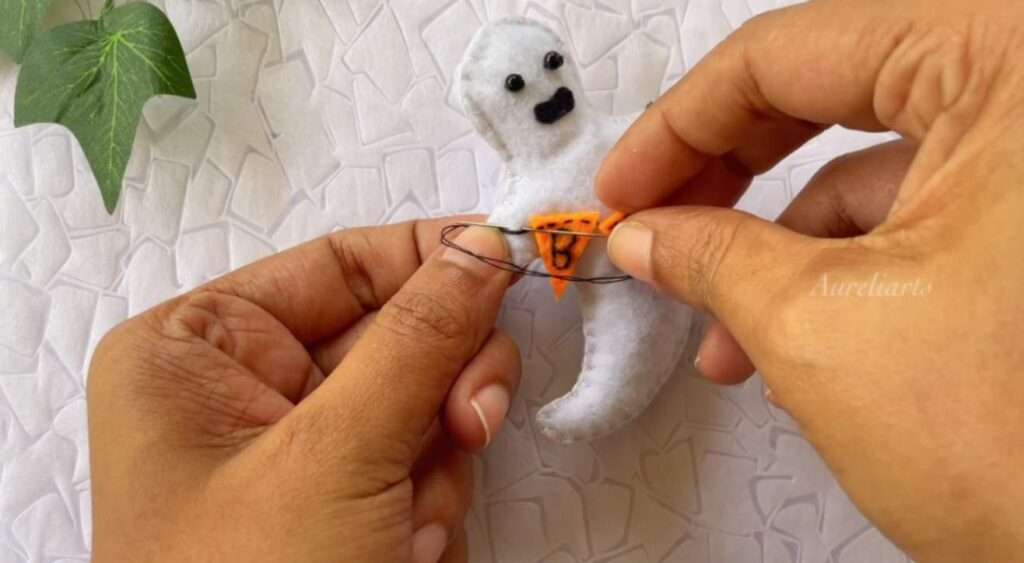
Using a black thread, we can attach separate triangle flags into one garland as shown below.
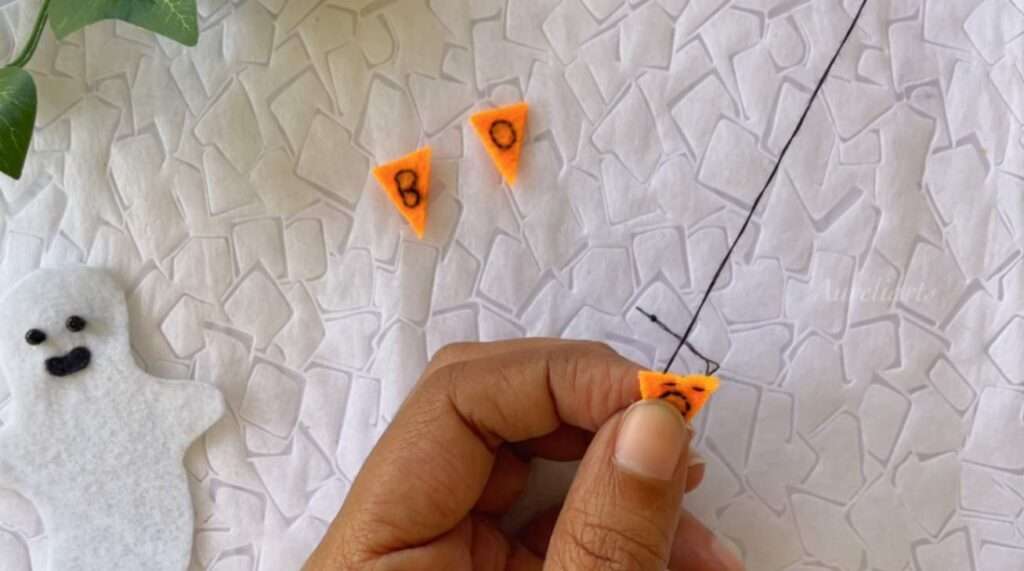
Step Five: Create the Ghost's Body.
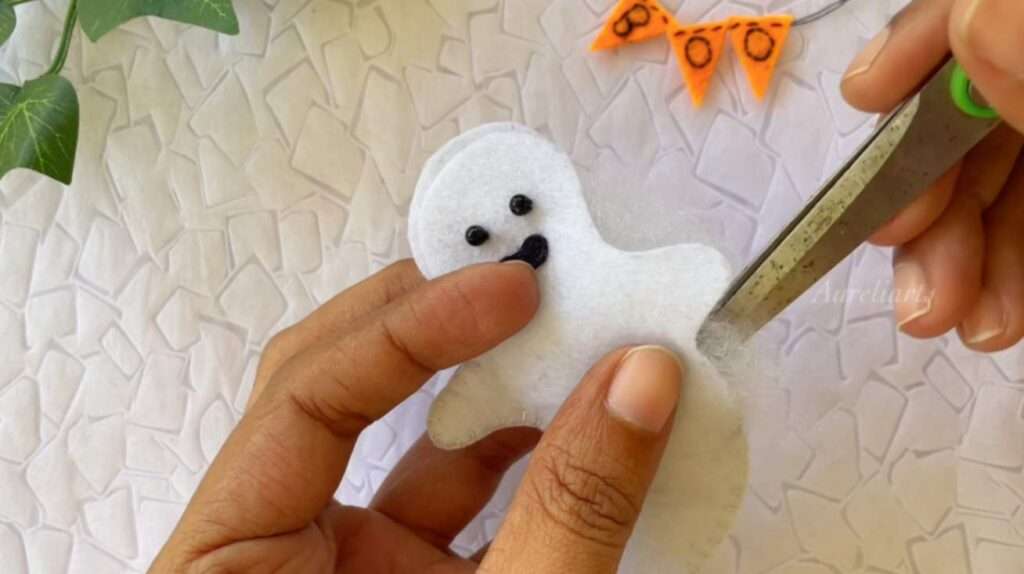
Grab the two white felt body pieces and keep them together to sew. Start to sew both pieces together.
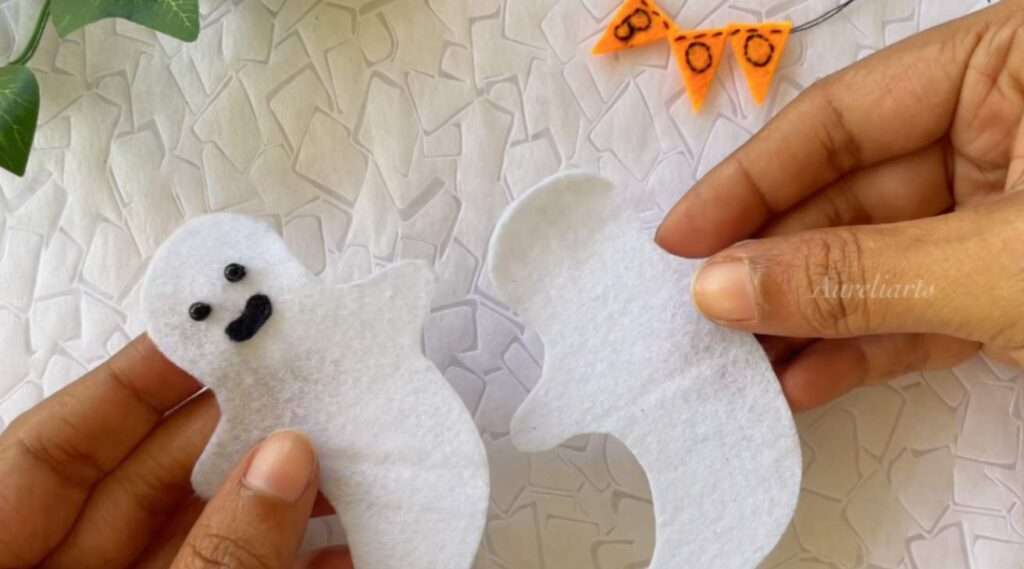
I used a blanket stitch to sew the pieces together. It’s more durable for the ornament.
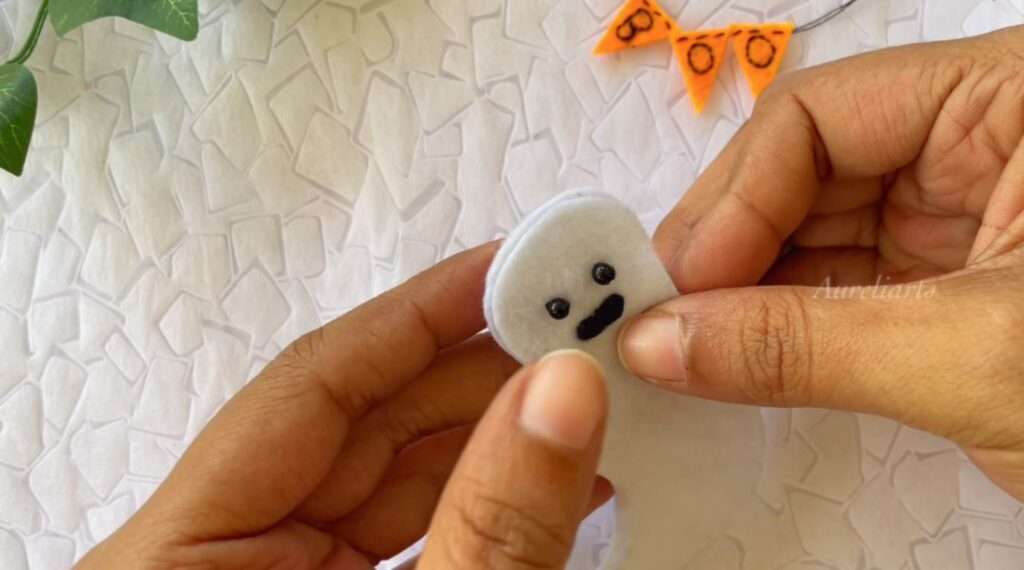
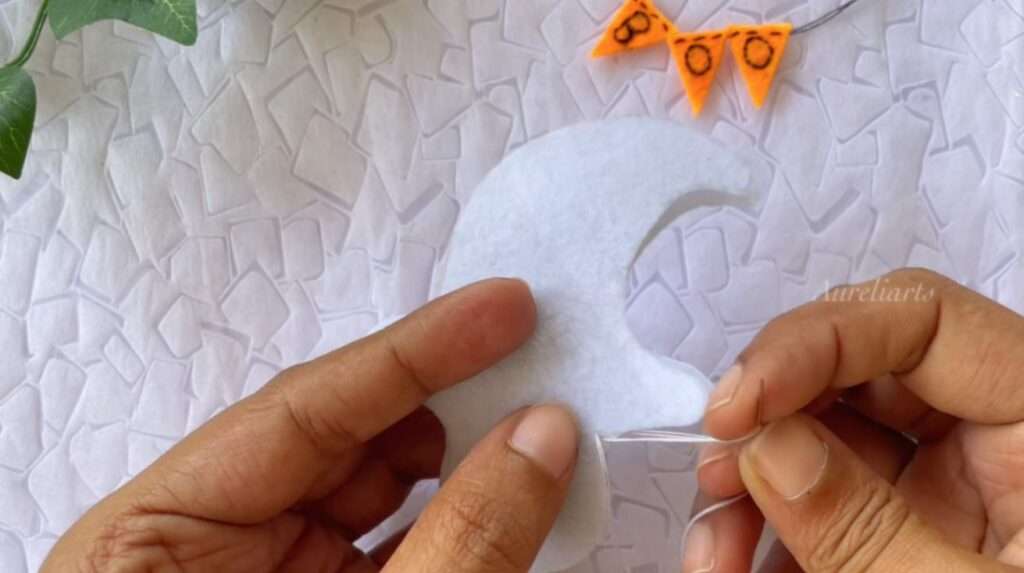
This is how it looked when halfway sewed the ghost.
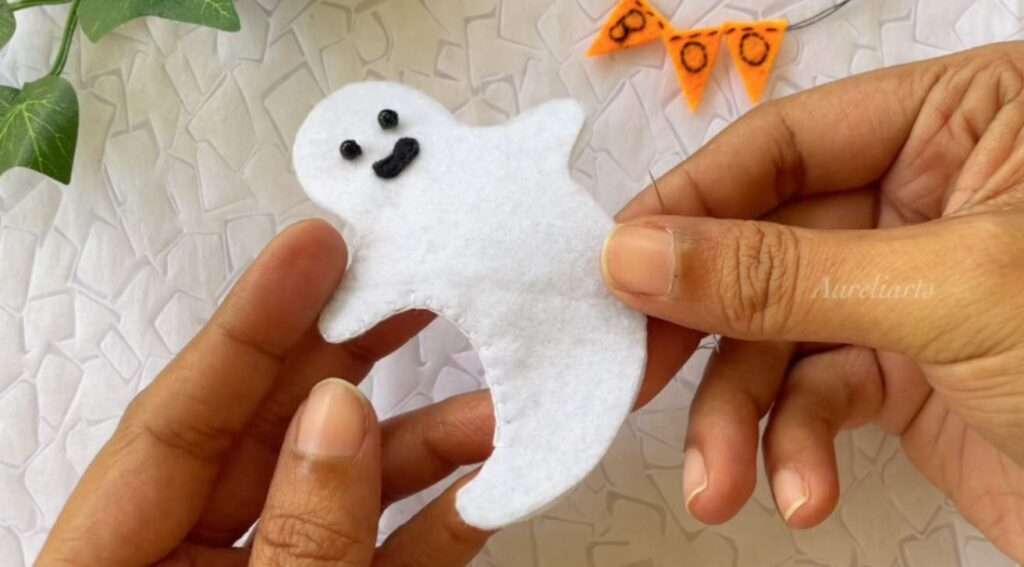
Be sure to keep a small opening on one side of the body while stitching it.
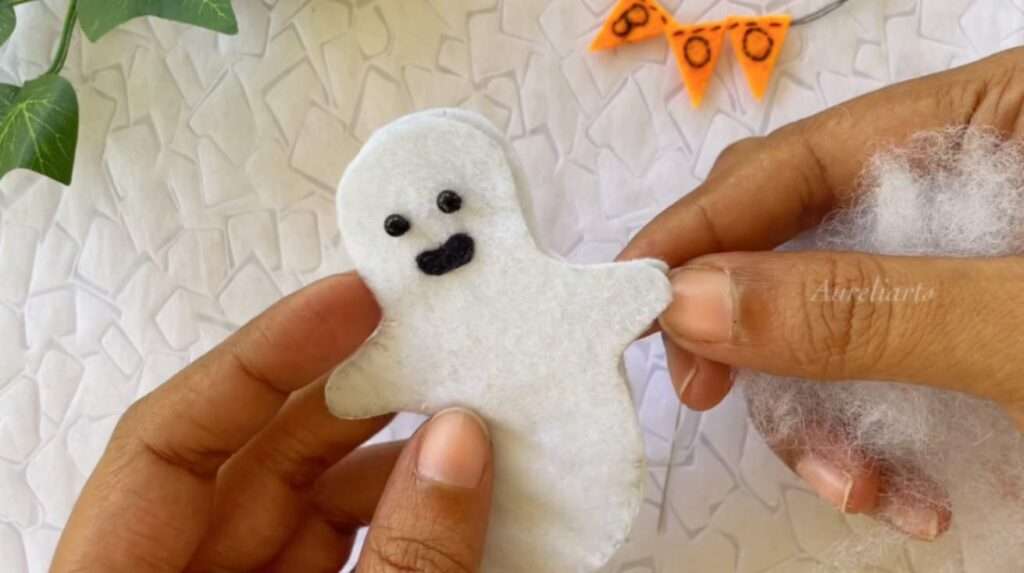
Next, you can use cotton or the leftover scrap pieces of felt to stuff the ghost. I used cotton to stuff.
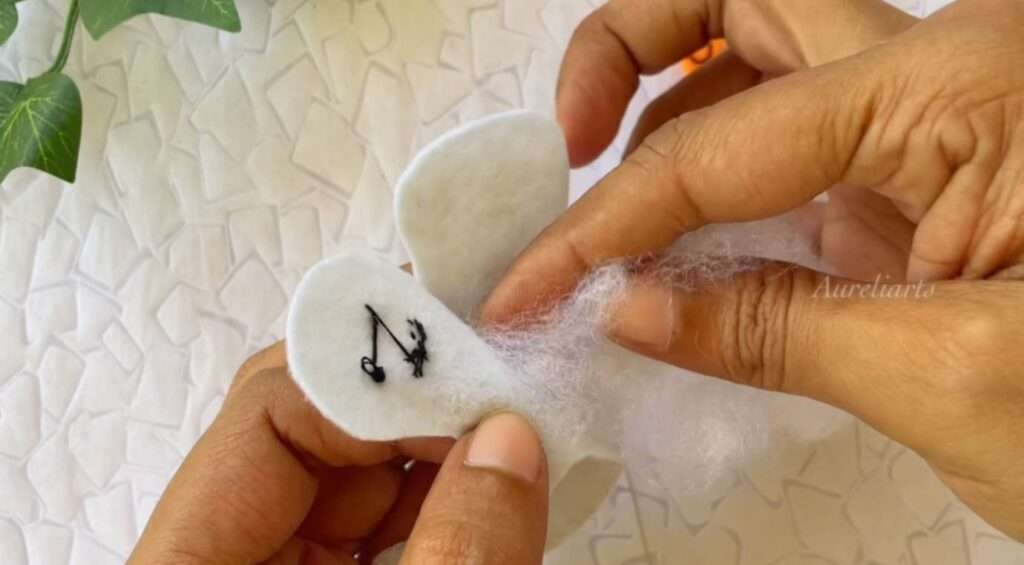
Step Six: Attach the "Boo" Garland into the Ghost Body.
This can be a little bit tricky to add the garland on the ghost’s hands.
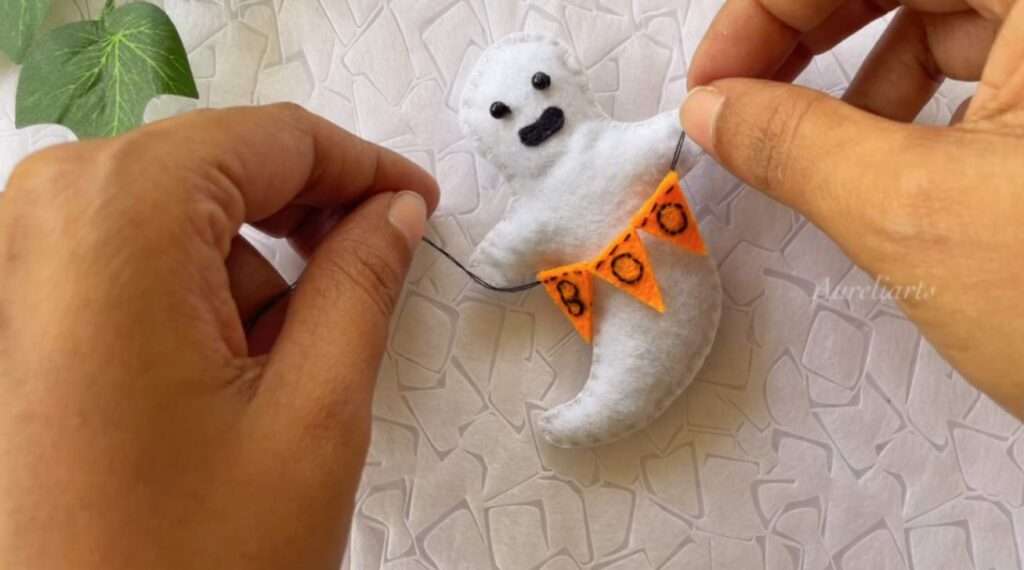
we have to add the garland on its hands like he is holding the garland.
You can just glue the garland ends onto the ghost’s hands or you can sew it.
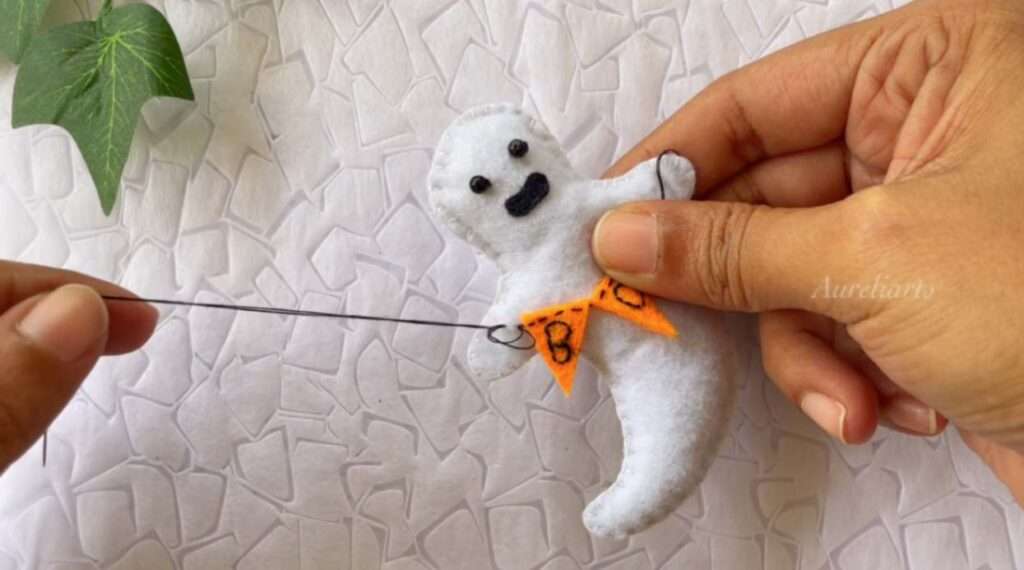
Finally, add a cute ribbon loop to the backside of your felt ghost so you can hang it on your wall.
I forgot to add a ribbon loop, but I love the way it turned out.
And voila! You’ve got a finished felt ghost ornament ready to hang or give as a handmade gift this Halloween season.
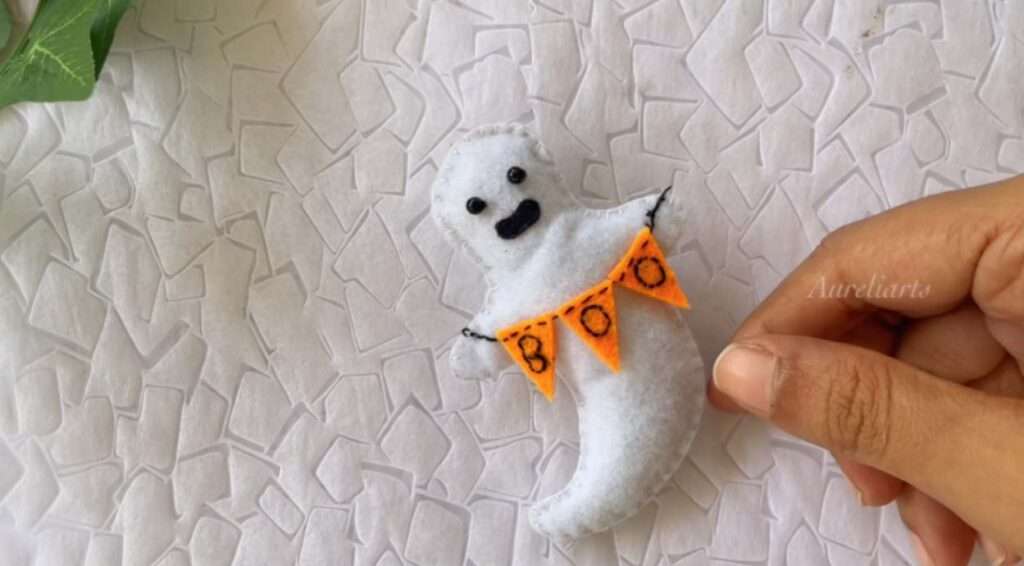
He looks so cute, right?
And if you want to grab the free felt ghost pattern, here it is.
pattern
Make sure to check out the rest of our Halloween crafts.
Prep Time: 5-10 minutes
Active Time: 20 minutes
Total Time: 25 minutes
Difficulty: Medium
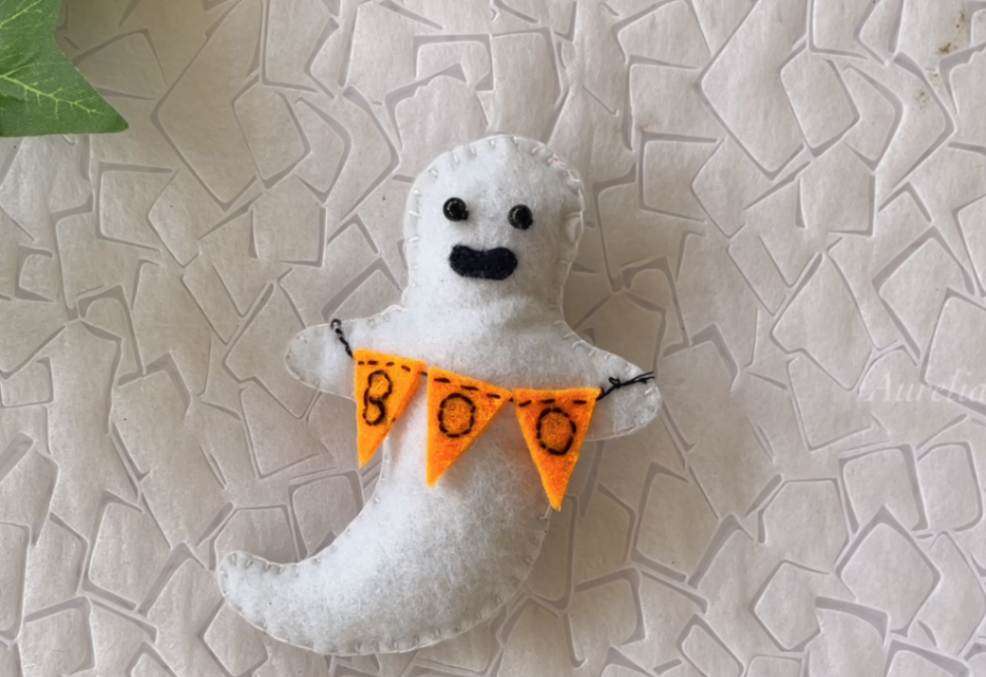
This cute little DIY felt ghost ornament is a gorgeous handmade felt Halloween ornament that looks great for your Halloween decorations. It also makes a wonderful gift or a fun craft to make and sell.
Notes
Have fun with your color choices. For a more seamless look try to match your thread color with the felt color that you’re sewing on.
If you like to watch our video tutorial on How to make a Halloween Felt Ghost,
Your Comments and suggestions are highly appreciated.

