How to make a Paper Pumpkin Treat Bag
Hello everyone! Today we are going to make another fun Halloween craft.
It’s a Paper Pumpkin Treat bag! Sounds fun right?
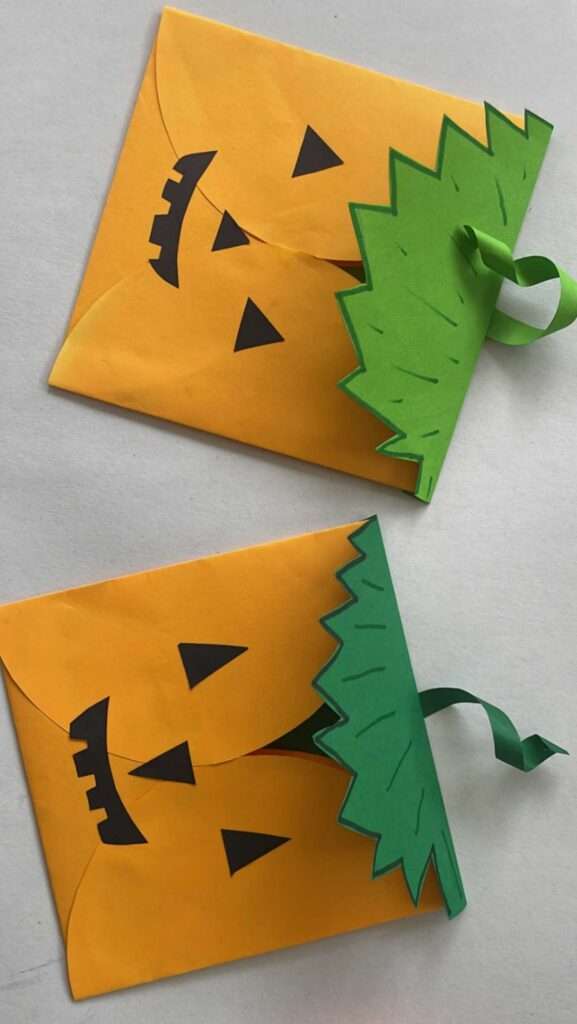
It’s really easy to make and takes no time. But it looks quite adorable and is perfect to impress your kids this Halloween.
So without a delay, let’s dive right in!
To make this cute bag, you’ll need,
- Colored paper (Orange, Green and Black)
- Felt pen
- Pencil
- Compass (not necessary)
- Scissor
- Glue
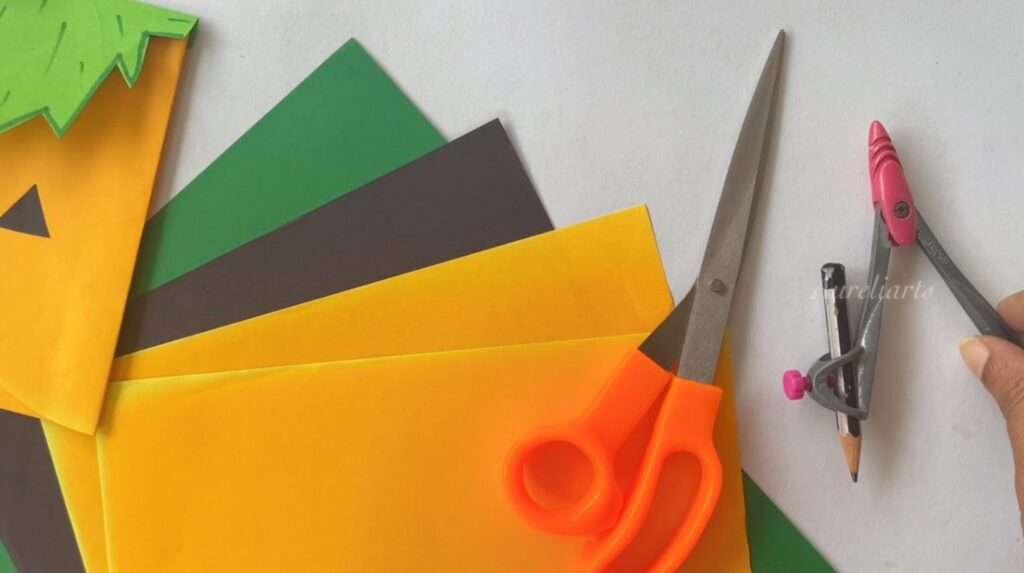
Have you gathered everything? Then let’s go!
Step One
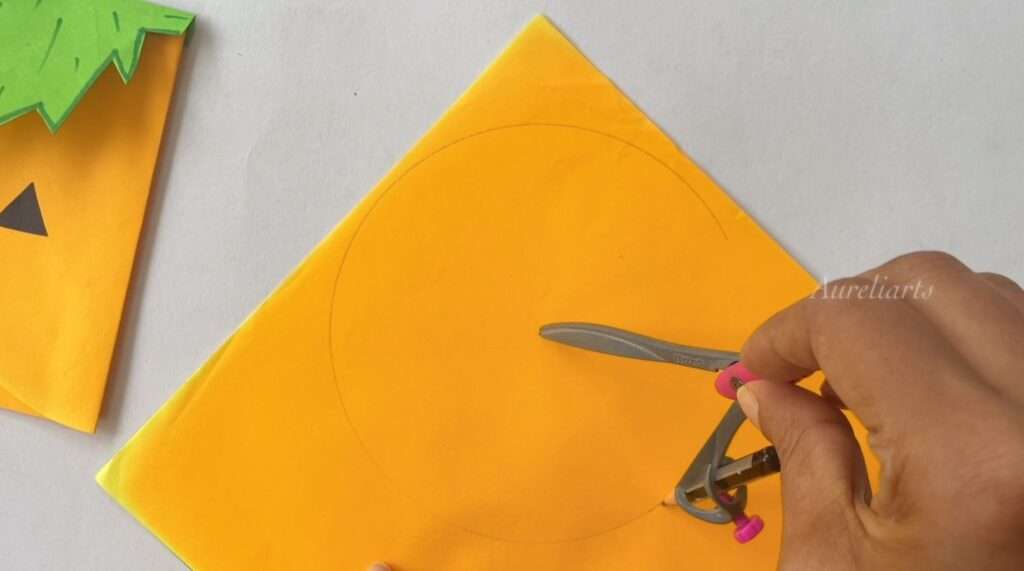
First you need to cut out circles of about 10cm in diameter, from the papers.
You can do this easily if you have a compass. If not, you can simply use an object about the same size, to draw the circles.
Step Two
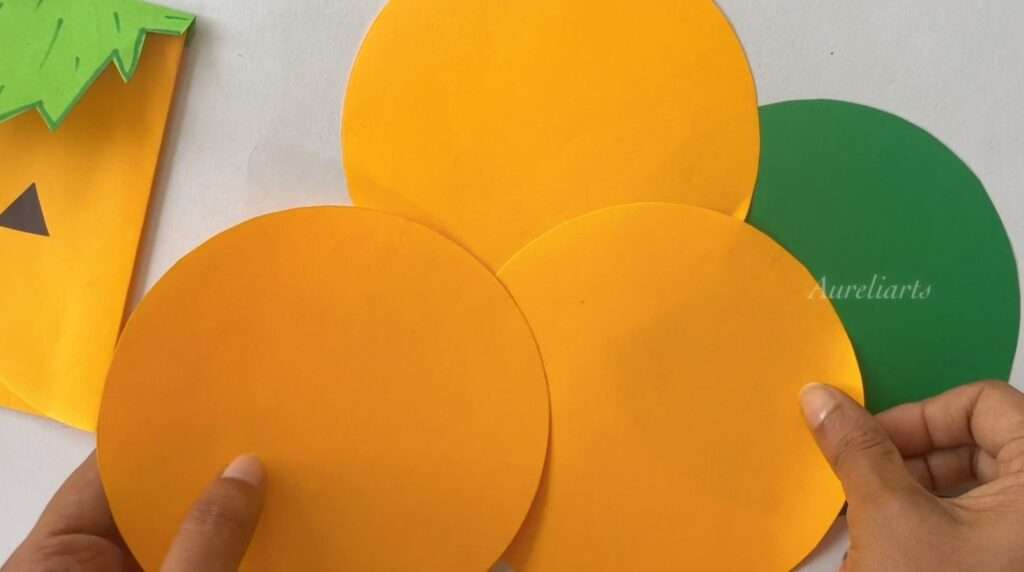
Cut out the circles from the papers.
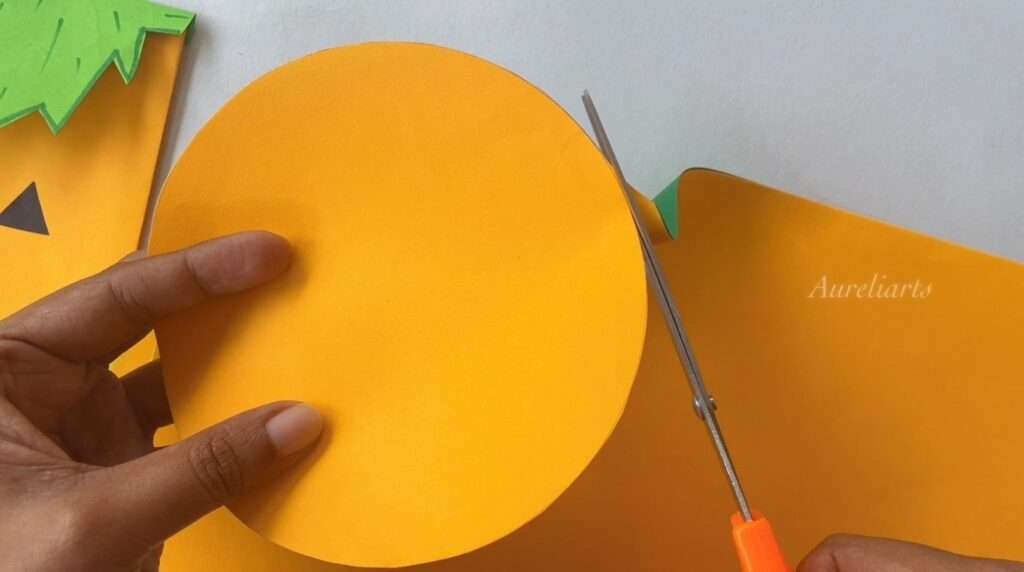
You need 3 orange circles and 1 green.
Step Three
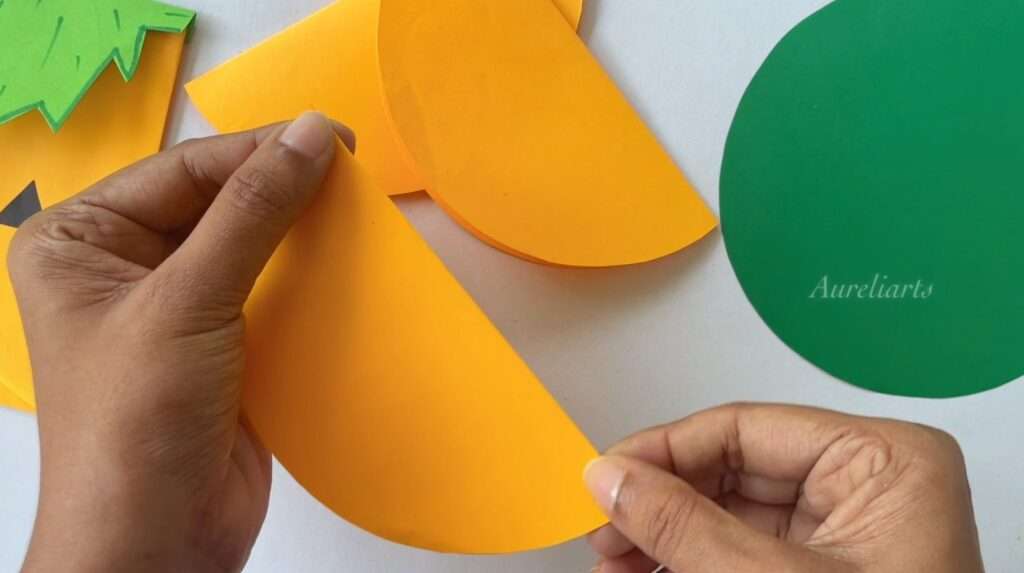
Fold the circles in half to get a crease in the middle.
Step Four
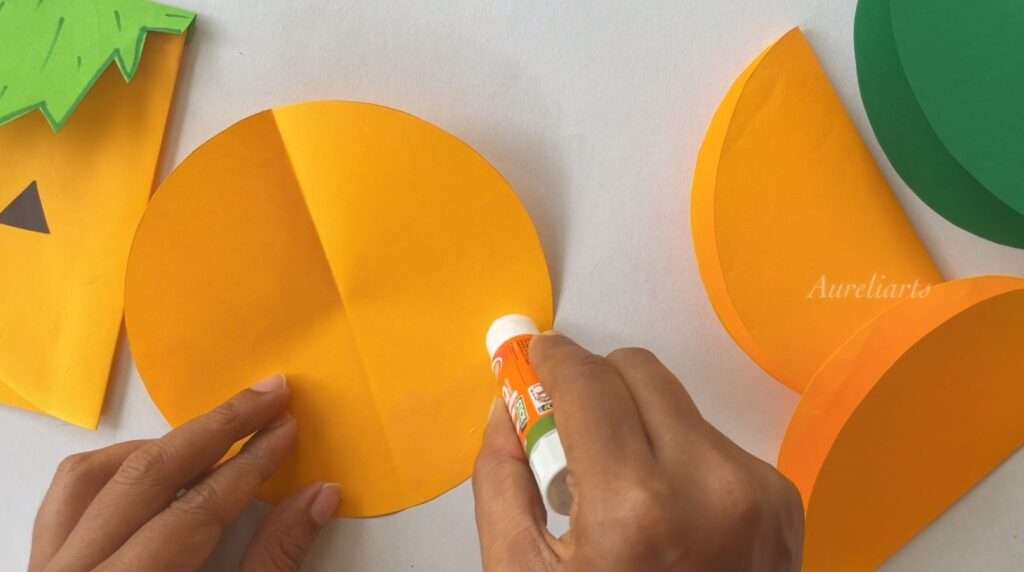
Apply glue over the lower half of the circle, perpendicular to the crease.
Step Five
Take another circle, fold it and paste it perpendicular to one half of the previous circle, as shown in the picture.
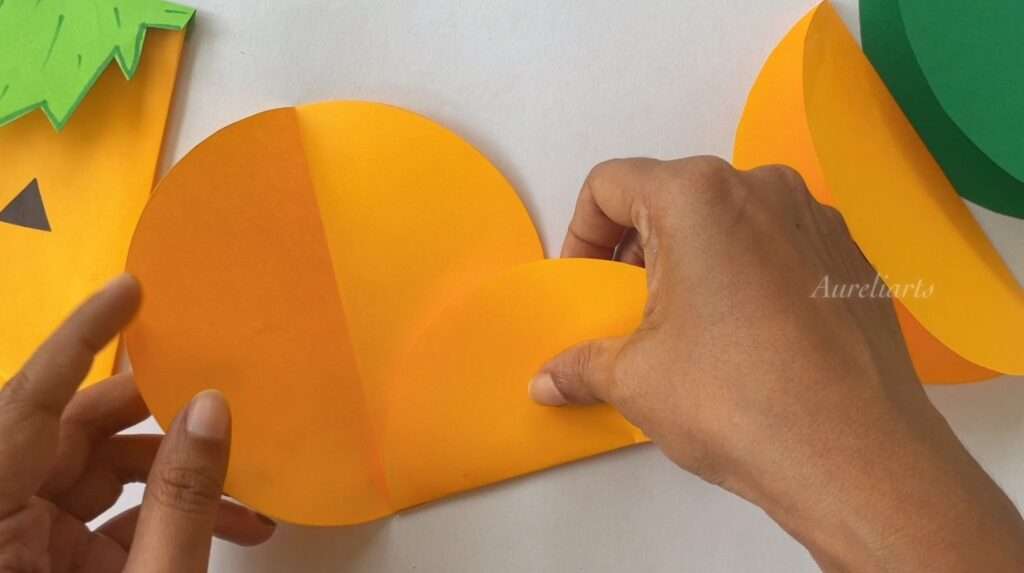
Then paste the other half on top. Just like in the picture.
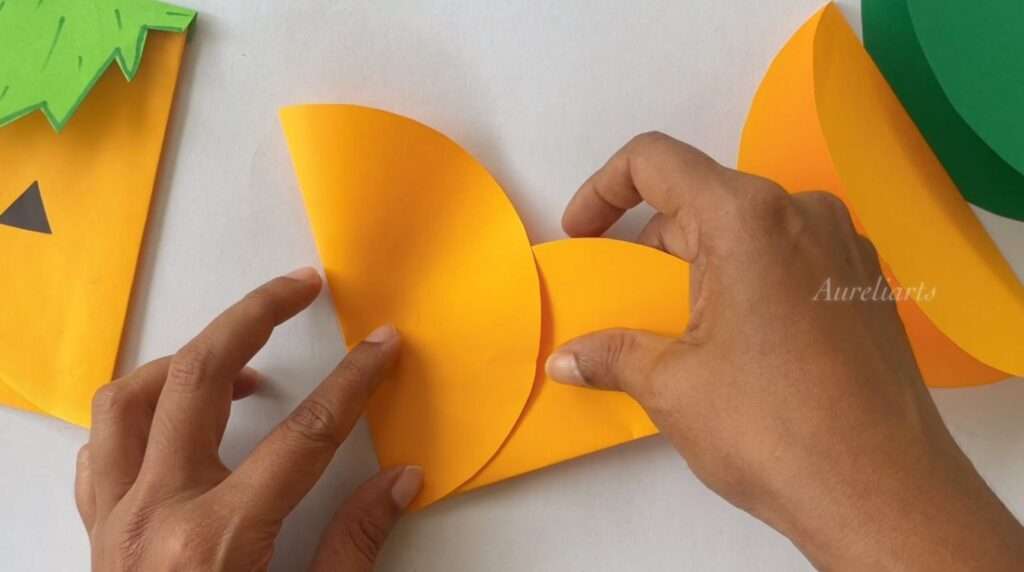
Step Six
Do the same on the other side as well…
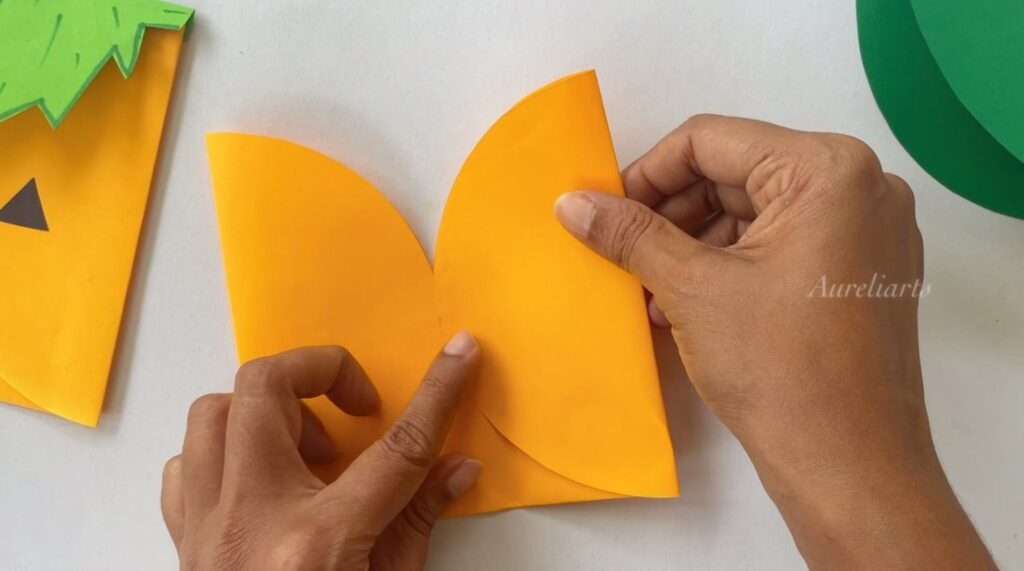
so that you get a small pocket!
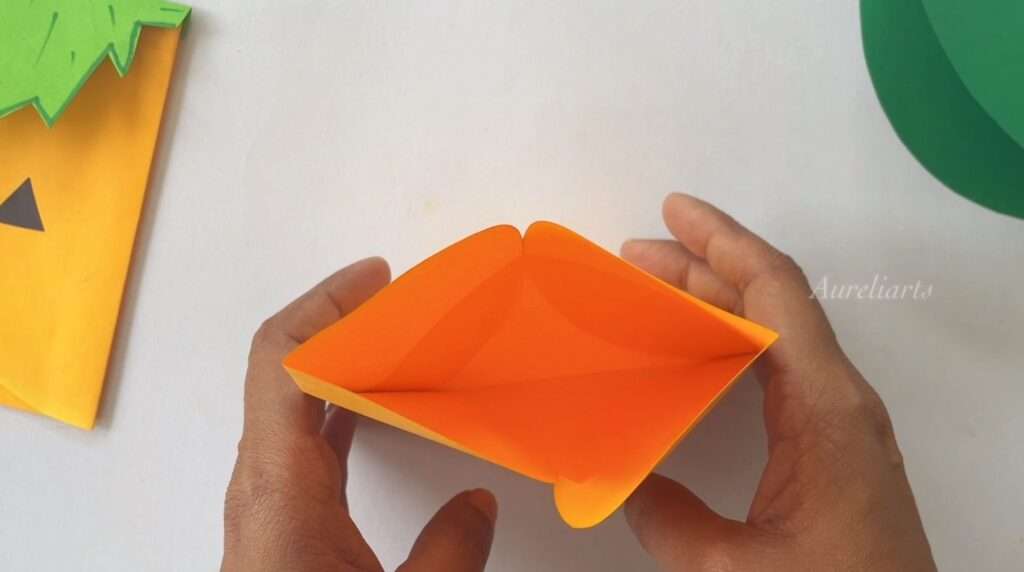
Step Seven
Draw a leaf pattern on one half of the green circle, using a felt pen.
And cut it out.
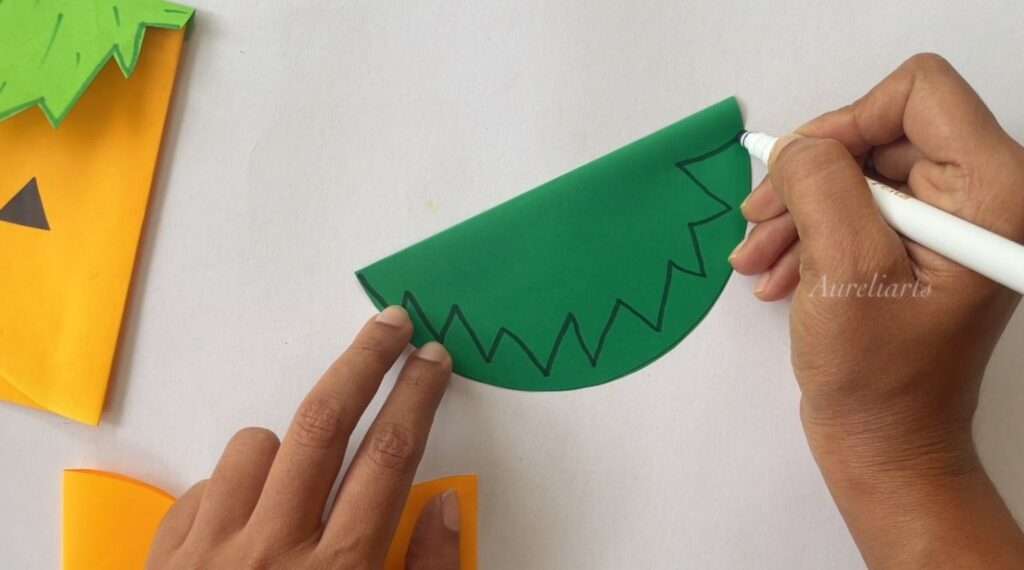
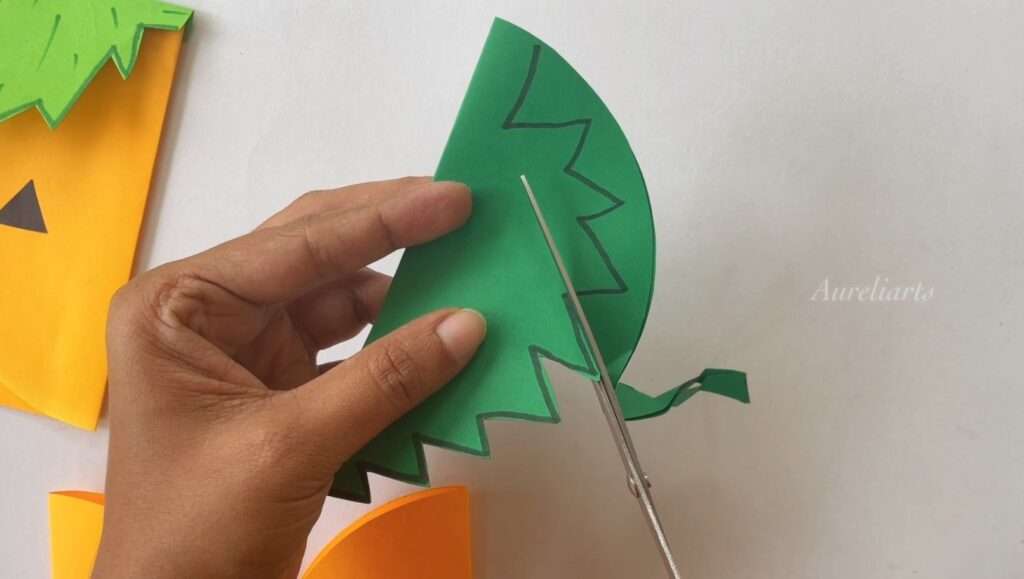
Get creative and decorate it as you like. 😉
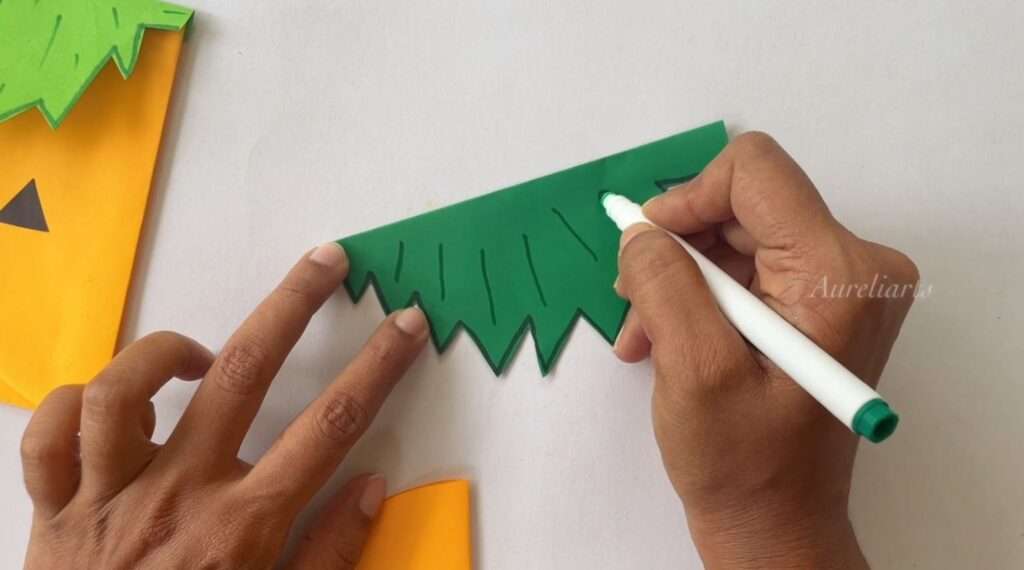
Step Eight
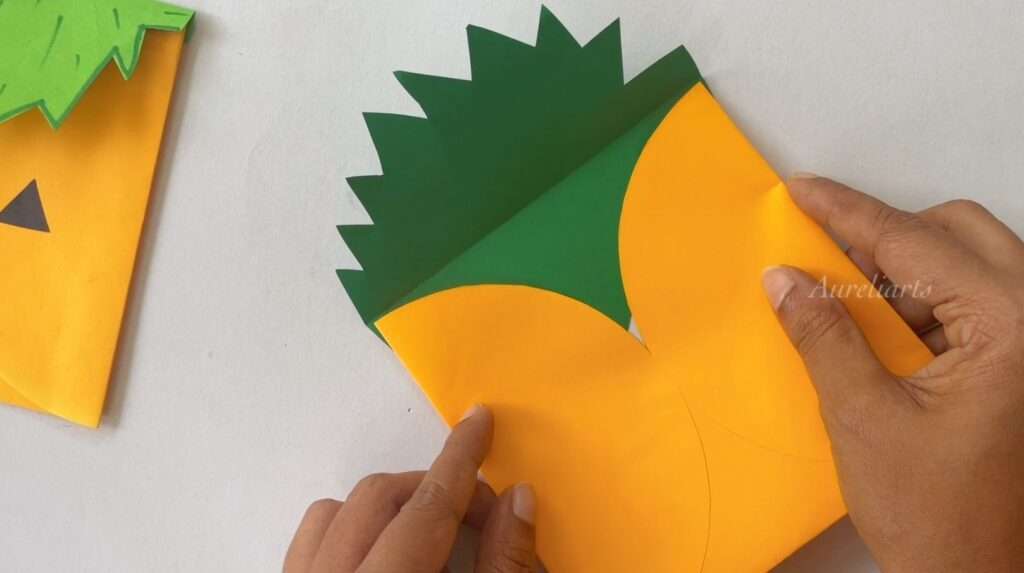
Apply glue over one half of the inside of the leaf.
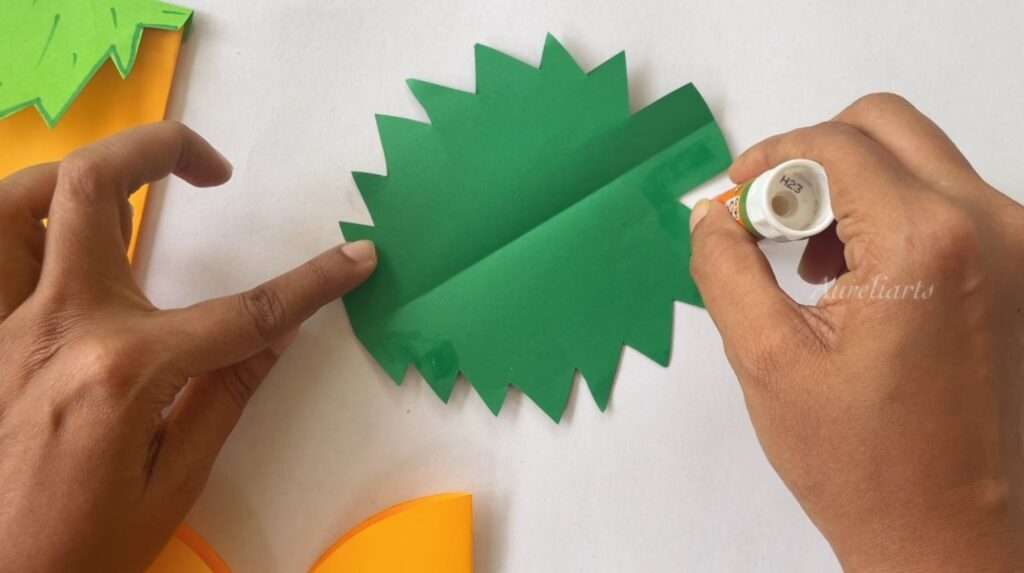
Then paste it on the upper side of the pocket you made, like in the picture.
Step Nine
Cut a thin strip of green paper and roll it using a thin stick, as shown in the picture.
Or you can simply roll it up using your hands.
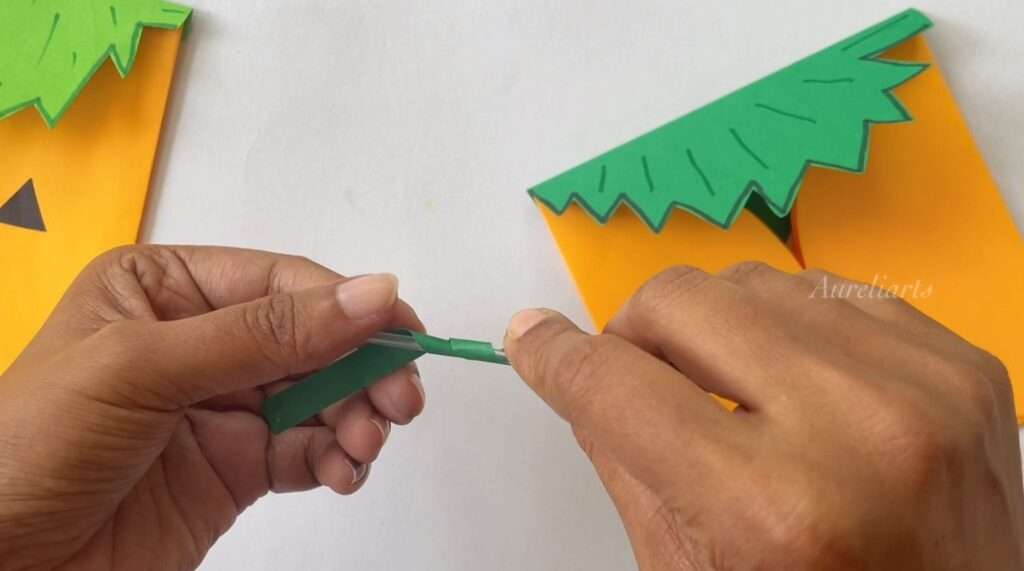
Then paste it on top of the leafy head.
There you have a cute stalk for your pumpkin!

Step Ten
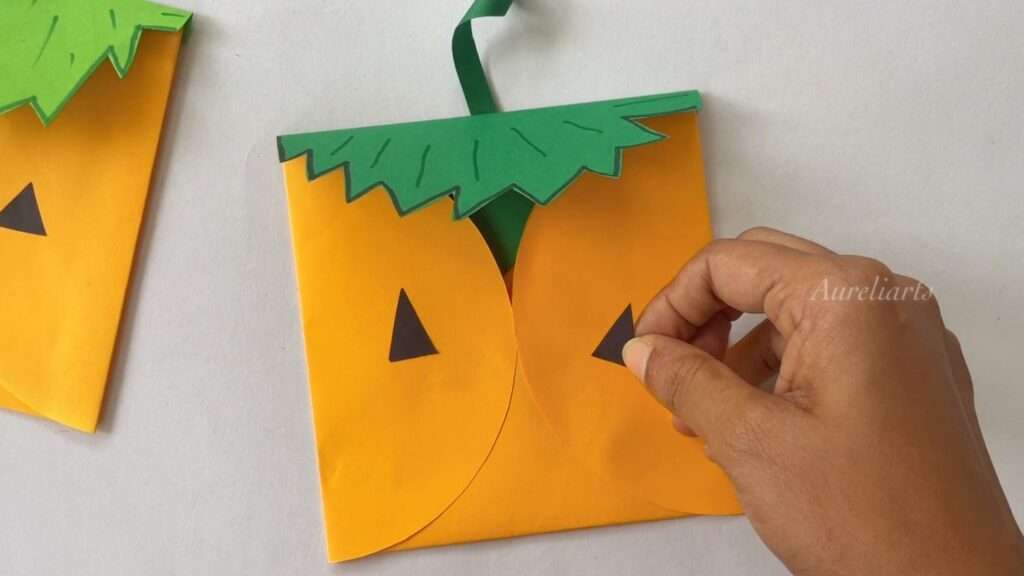
Next we are going to give our pumpkin two eyes.
For that, cut 2 triangles out of black paper and paste it.
Get creative and experiment with different shapes too!
Step Eleven
We have to give it a mouth too, right?
Draw a spooky mouth on black paper and cut it.
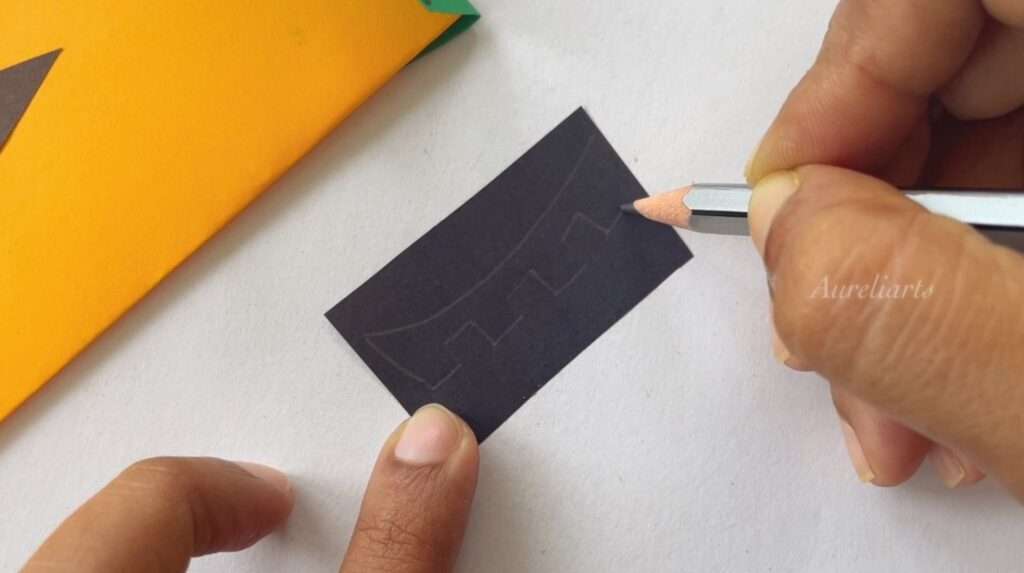
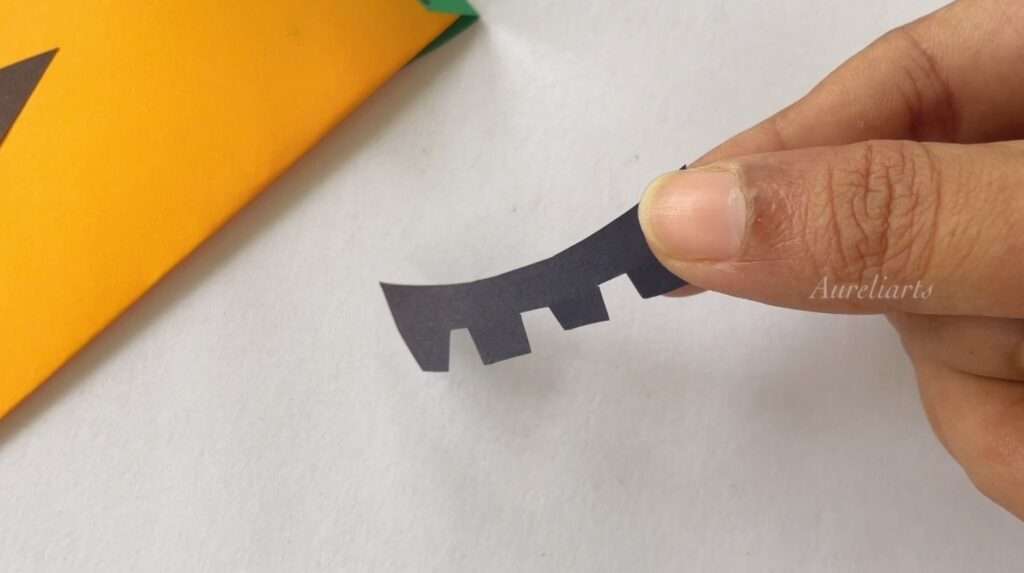
And paste it on your pumpkin bag.
Don’t forget to add a nose too!
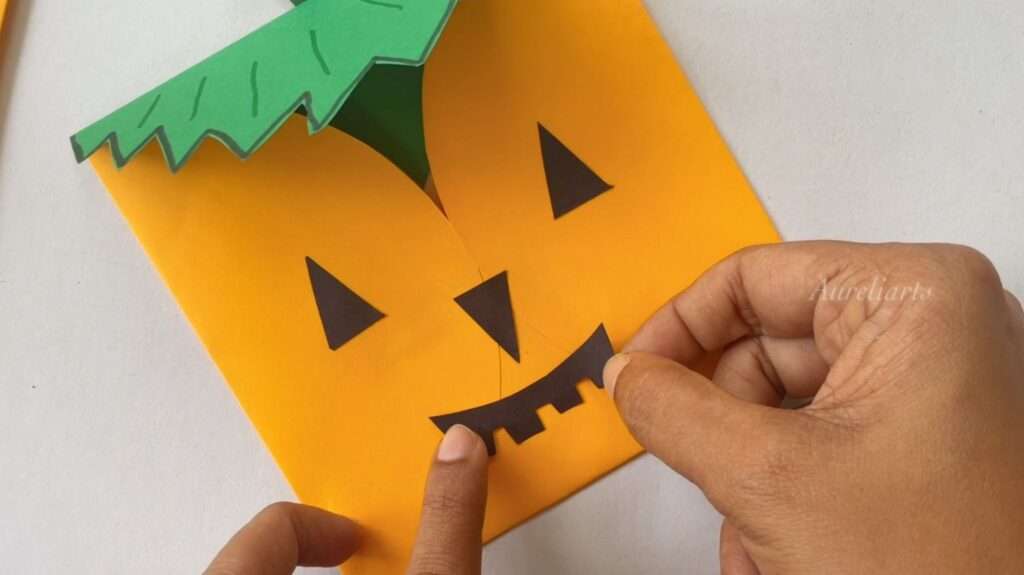
And we are done.
Behold, The Halloween Pumpkin Treat bag!
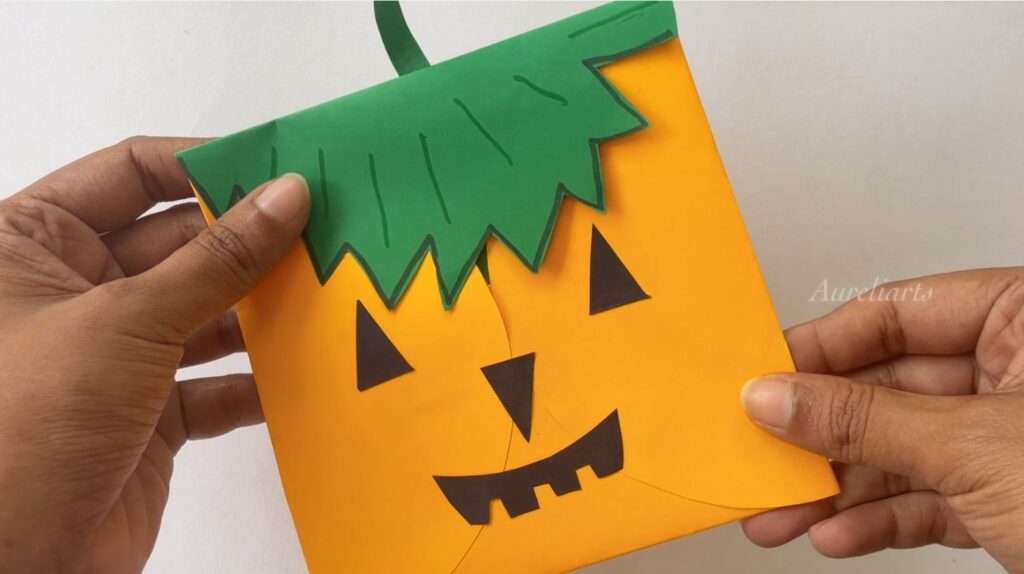
It’s really easy to make and takes a very little time.
Nevertheless, it’s very cute and functioning!
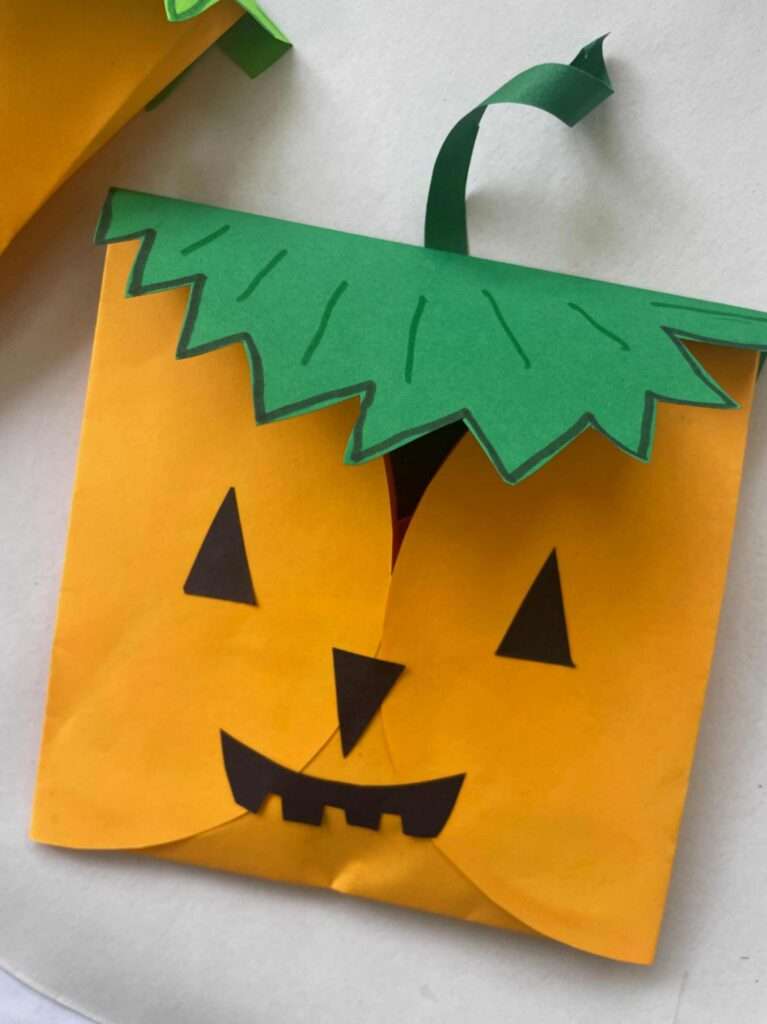
It’s perfect to put your Halloween treats and give them away.
The kids would be really excited!
You can make even bigger bags and put as much treats as you like 😉 Kids would love that for sure.
Suggestion:
Experiment with different colours and different shapes for the facial features and have fun!
If you’d like to watch a video tutorial on how to make this, we got you.
Thank you for staying with us till the end.
Your comments and suggestions are highly appreciated.

