How to Make Halloween Paper Garlands: An Easy Step-by-Step Tutorial
Piyumi J.
Craft Blogger
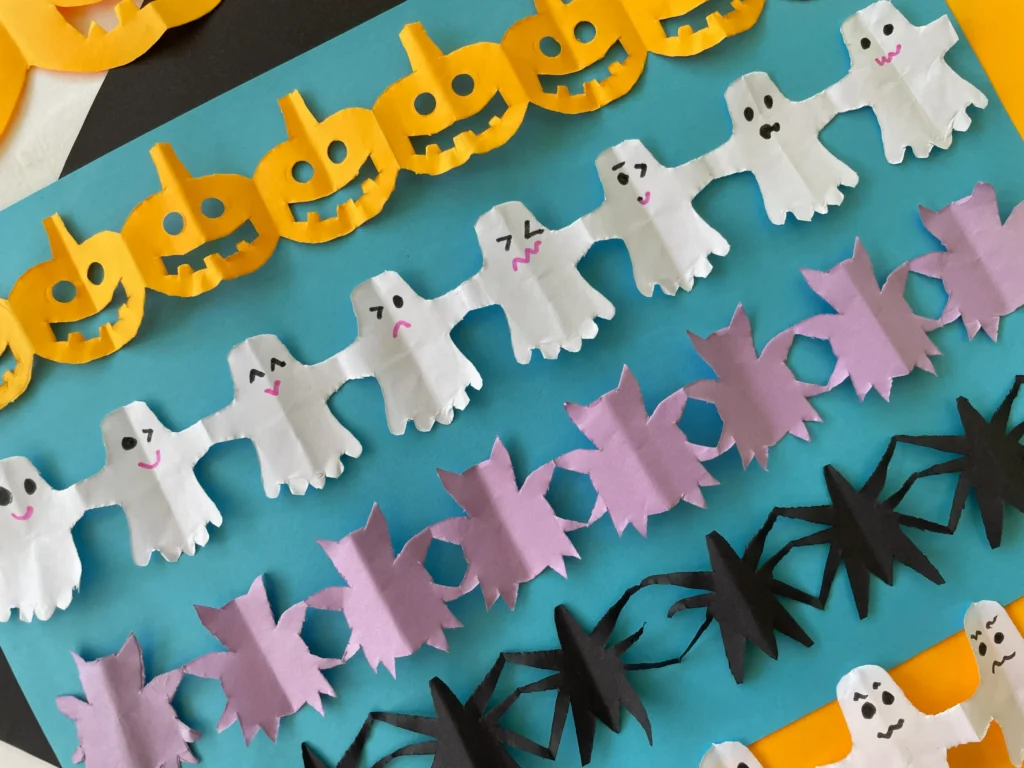
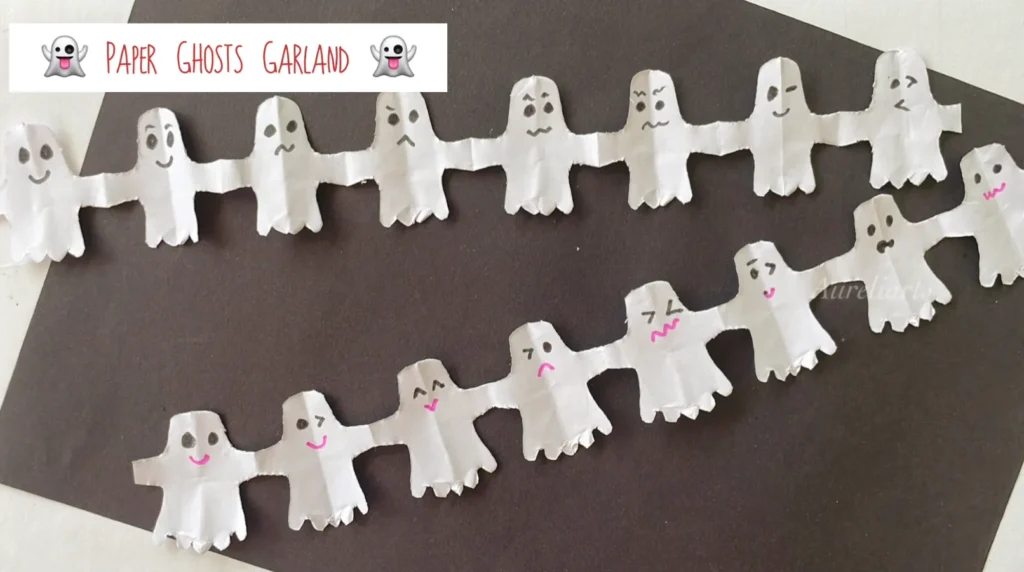
Every October I get the same urge: decorate everything, spend nothing. That’s how these Halloween paper garlands started. Some coloured paper, a pair of scissors, and a fold you probably learned in primary school turn into a whole spooky parade: grinning orange pumpkins, sleepy little ghosts, spiky purple bats and long-legged black spiders.
This DIY Halloween paper garland is one of the easiest Halloween crafts you can make. It works as a rainy-afternoon project for kids, a classroom decoration, a party backdrop, or a cheap way to make a doorway look haunted. You don’t need a cutting machine or fancy supplies. Below you’ll find every step, from preparing your paper to hanging the finished garland.
Why You'll Love These Paper Halloween Garlands
Budget-friendly: a few sheets of coloured paper make metres of decoration.
Beginner-friendly: if you can fold paper and cut along a line, you can do this.
Kid-friendly: children can draw the faces, decorate, and help with the cutting (with safe scissors).
Endlessly customisable: mix all four shapes, or make one long garland per character.
Quick Project Overview
Time: About 15–20 minutes per garland
Difficulty: Easy (pumpkins take a little more patience)
Best for: Ages 6+ with supervision, or adults
MakesOne garland per strip, joined together as long as you like
What's in this tutorial
Materials you'll need
Cut your petal layers
Shape each petal
Curl the edges
Layer and glue
Add the leaves
Finish and display
Materials You'll Need
Paper
Orange paper for the pumpkins (A4 sized color papers)
White paper for the ghosts
Purple or lilac paper for the bats
Black paper for the spiders
Regular 80–100 gsm copy paper works best. Thick card is too hard to cut through when folded.
Tools
Sharp scissors (small, pointed scissors give you cleaner detail)
Pencil and eraser
Ruler
Black fine-tip marker (for faces)
Pink marker or pen (for ghost cheeks and smiles)
Tape or a glue stick
A white gel pen or white pencil for drawing on the black paper
Optional Extras
A small hole punch for pumpkin eyes
String, twine or washi tape for hanging
Mini clothespins
Craft knife and cutting mat (adults only) for the pumpkin faces
Free Templates
Download the printable shapes used in this tutorial
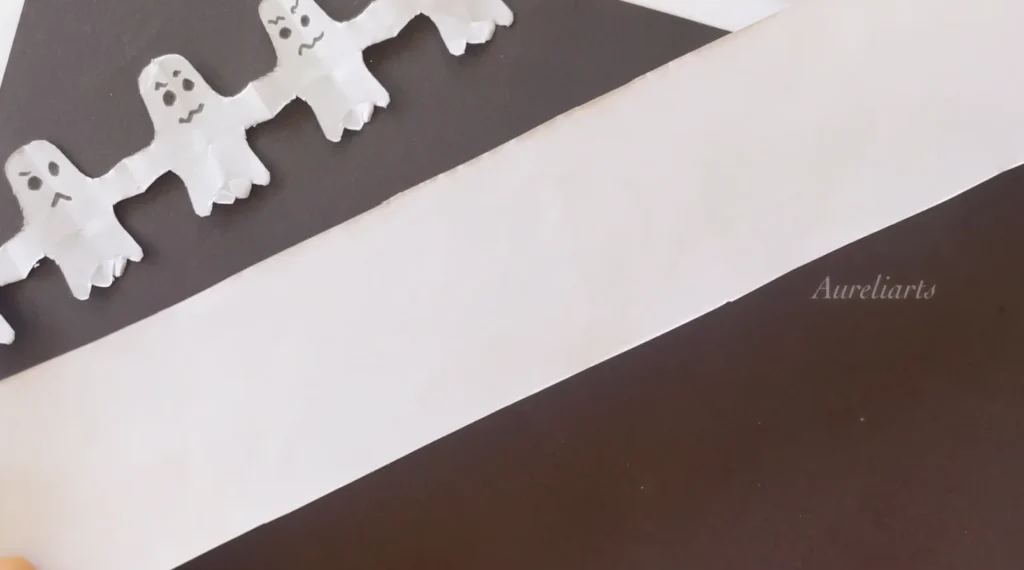
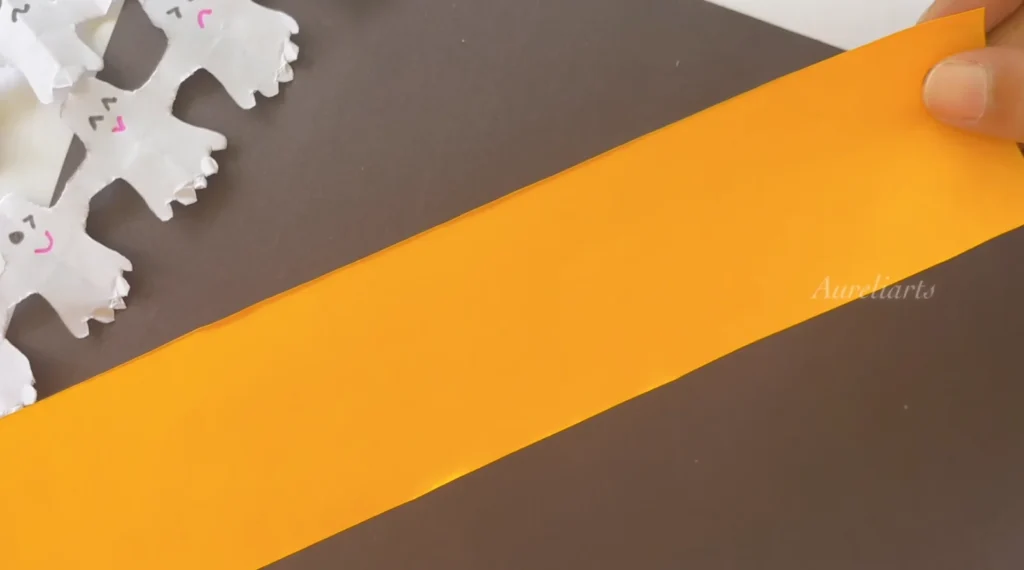
Take a white A4 (printer paper) sheet and cut into a half. Then take one strip, fold into half, and cut it. Now you have a thin strip like the image below.
Tip: Use a ruler so the edges are straight, which makes the folding much neater.
4 minutes
2
Cut the strip from the A4 paper
Fold the strip back and forth like a paper fan. Make 4 panels for bigger shapes, or 6 panels for smaller, cuter ones. Press each fold flat with your fingernail. The more even your folds, the more identical your shapes will be.
8 minutes
3
Garland No. 02
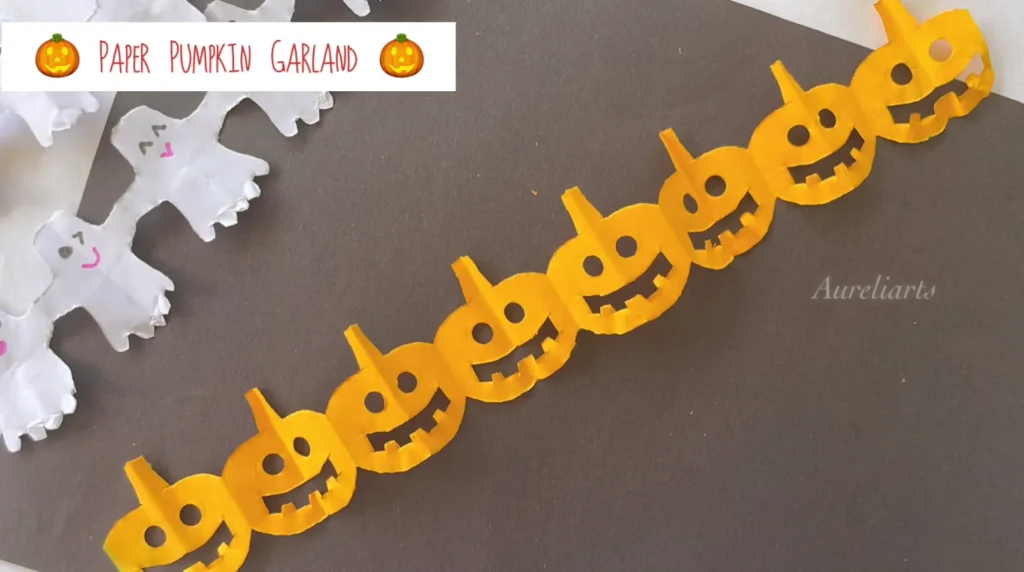
Paper Pumpkin Garland
Steps:
1
Cut the strip from the A4 paper
Take a white A4 (printer paper) sheet and cut into a half. Then take one strip, fold into half, and cut it. Now you have a thin strip like the image below.
Tip: Use a ruler so the edges are straight, which makes the folding much neater.
4 minutes
2
Cut the strip from the A4 paper
Fold the strip back and forth like a paper fan. Make 4 panels for bigger shapes, or 6 panels for smaller, cuter ones. Press each fold flat with your fingernail. The more even your folds, the more identical your shapes will be.
3
Cut the strip from the A4 paper
Fold the strip back and forth like a paper fan. Make 4 panels for bigger shapes, or 6 panels for smaller, cuter ones. Press each fold flat with your fingernail. The more even your folds, the more identical your shapes will be.
Pro tip
If your cardstock is on the thicker side, lightly dampen the petal edge with a fingertip before curling — it holds the curl much better and is less likely to crack.
Lorem ipsum dolor sit amet, consectetur adipisicing elit. Optio, neque qui velit. Magni dolorum quidem ipsam eligendi, totam, facilis laudantium cum accusamus ullam voluptatibus commodi numquam, error, est. Ea, consequatur.
Can I make these without a printable template?
Lorem ipsum dolor sit amet, consectetur adipisicing elit. Optio, neque qui velit. Magni dolorum quidem ipsam eligendi, totam, facilis laudantium cum accusamus ullam voluptatibus commodi numquam, error, est. Ea, consequatur.
How long do paper flowers last?
Lorem ipsum dolor sit amet, consectetur adipisicing elit. Optio, neque qui velit. Magni dolorum quidem ipsam eligendi, totam, facilis laudantium cum accusamus ullam voluptatibus commodi numquam, error, est. Ea, consequatur.